
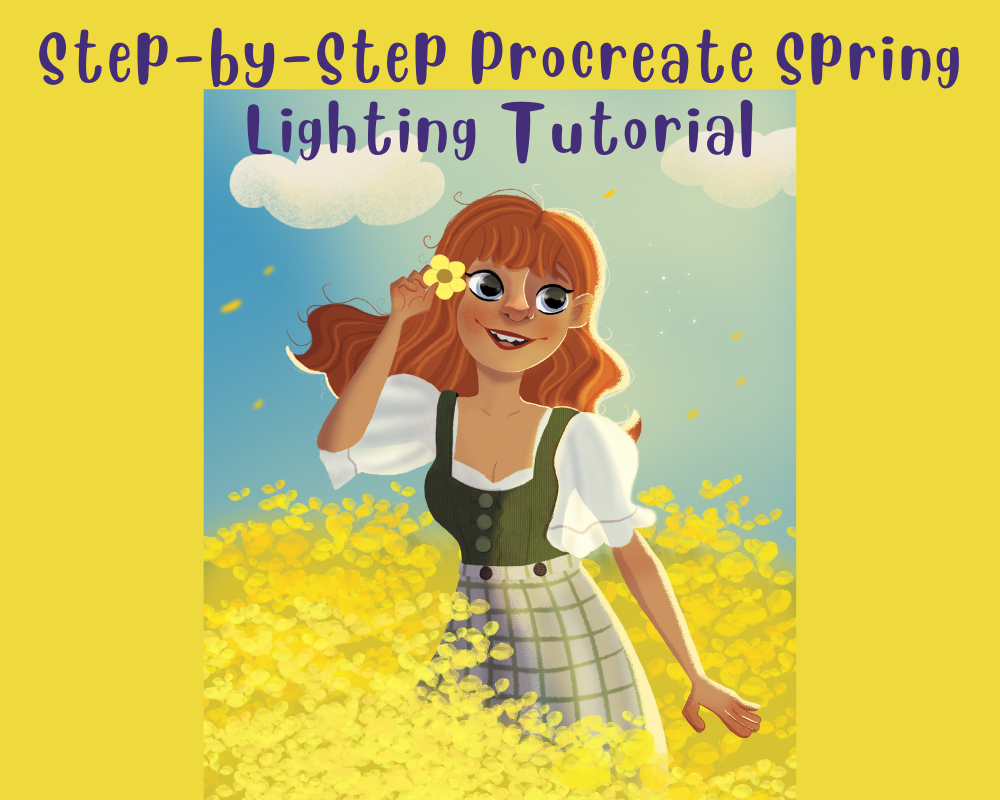
Looking to breathe life into your spring-themed digital art? In this spring lighting tutorial, I’ll show you exactly how I used Procreate lighting effects to transform a flat character illustration into a glowing, sunlit scene — perfect for capturing that golden-hour warmth.
If you’re searching for digital art lighting tips or wondering how to paint that soft, dreamy spring sunshine — this is your guide!
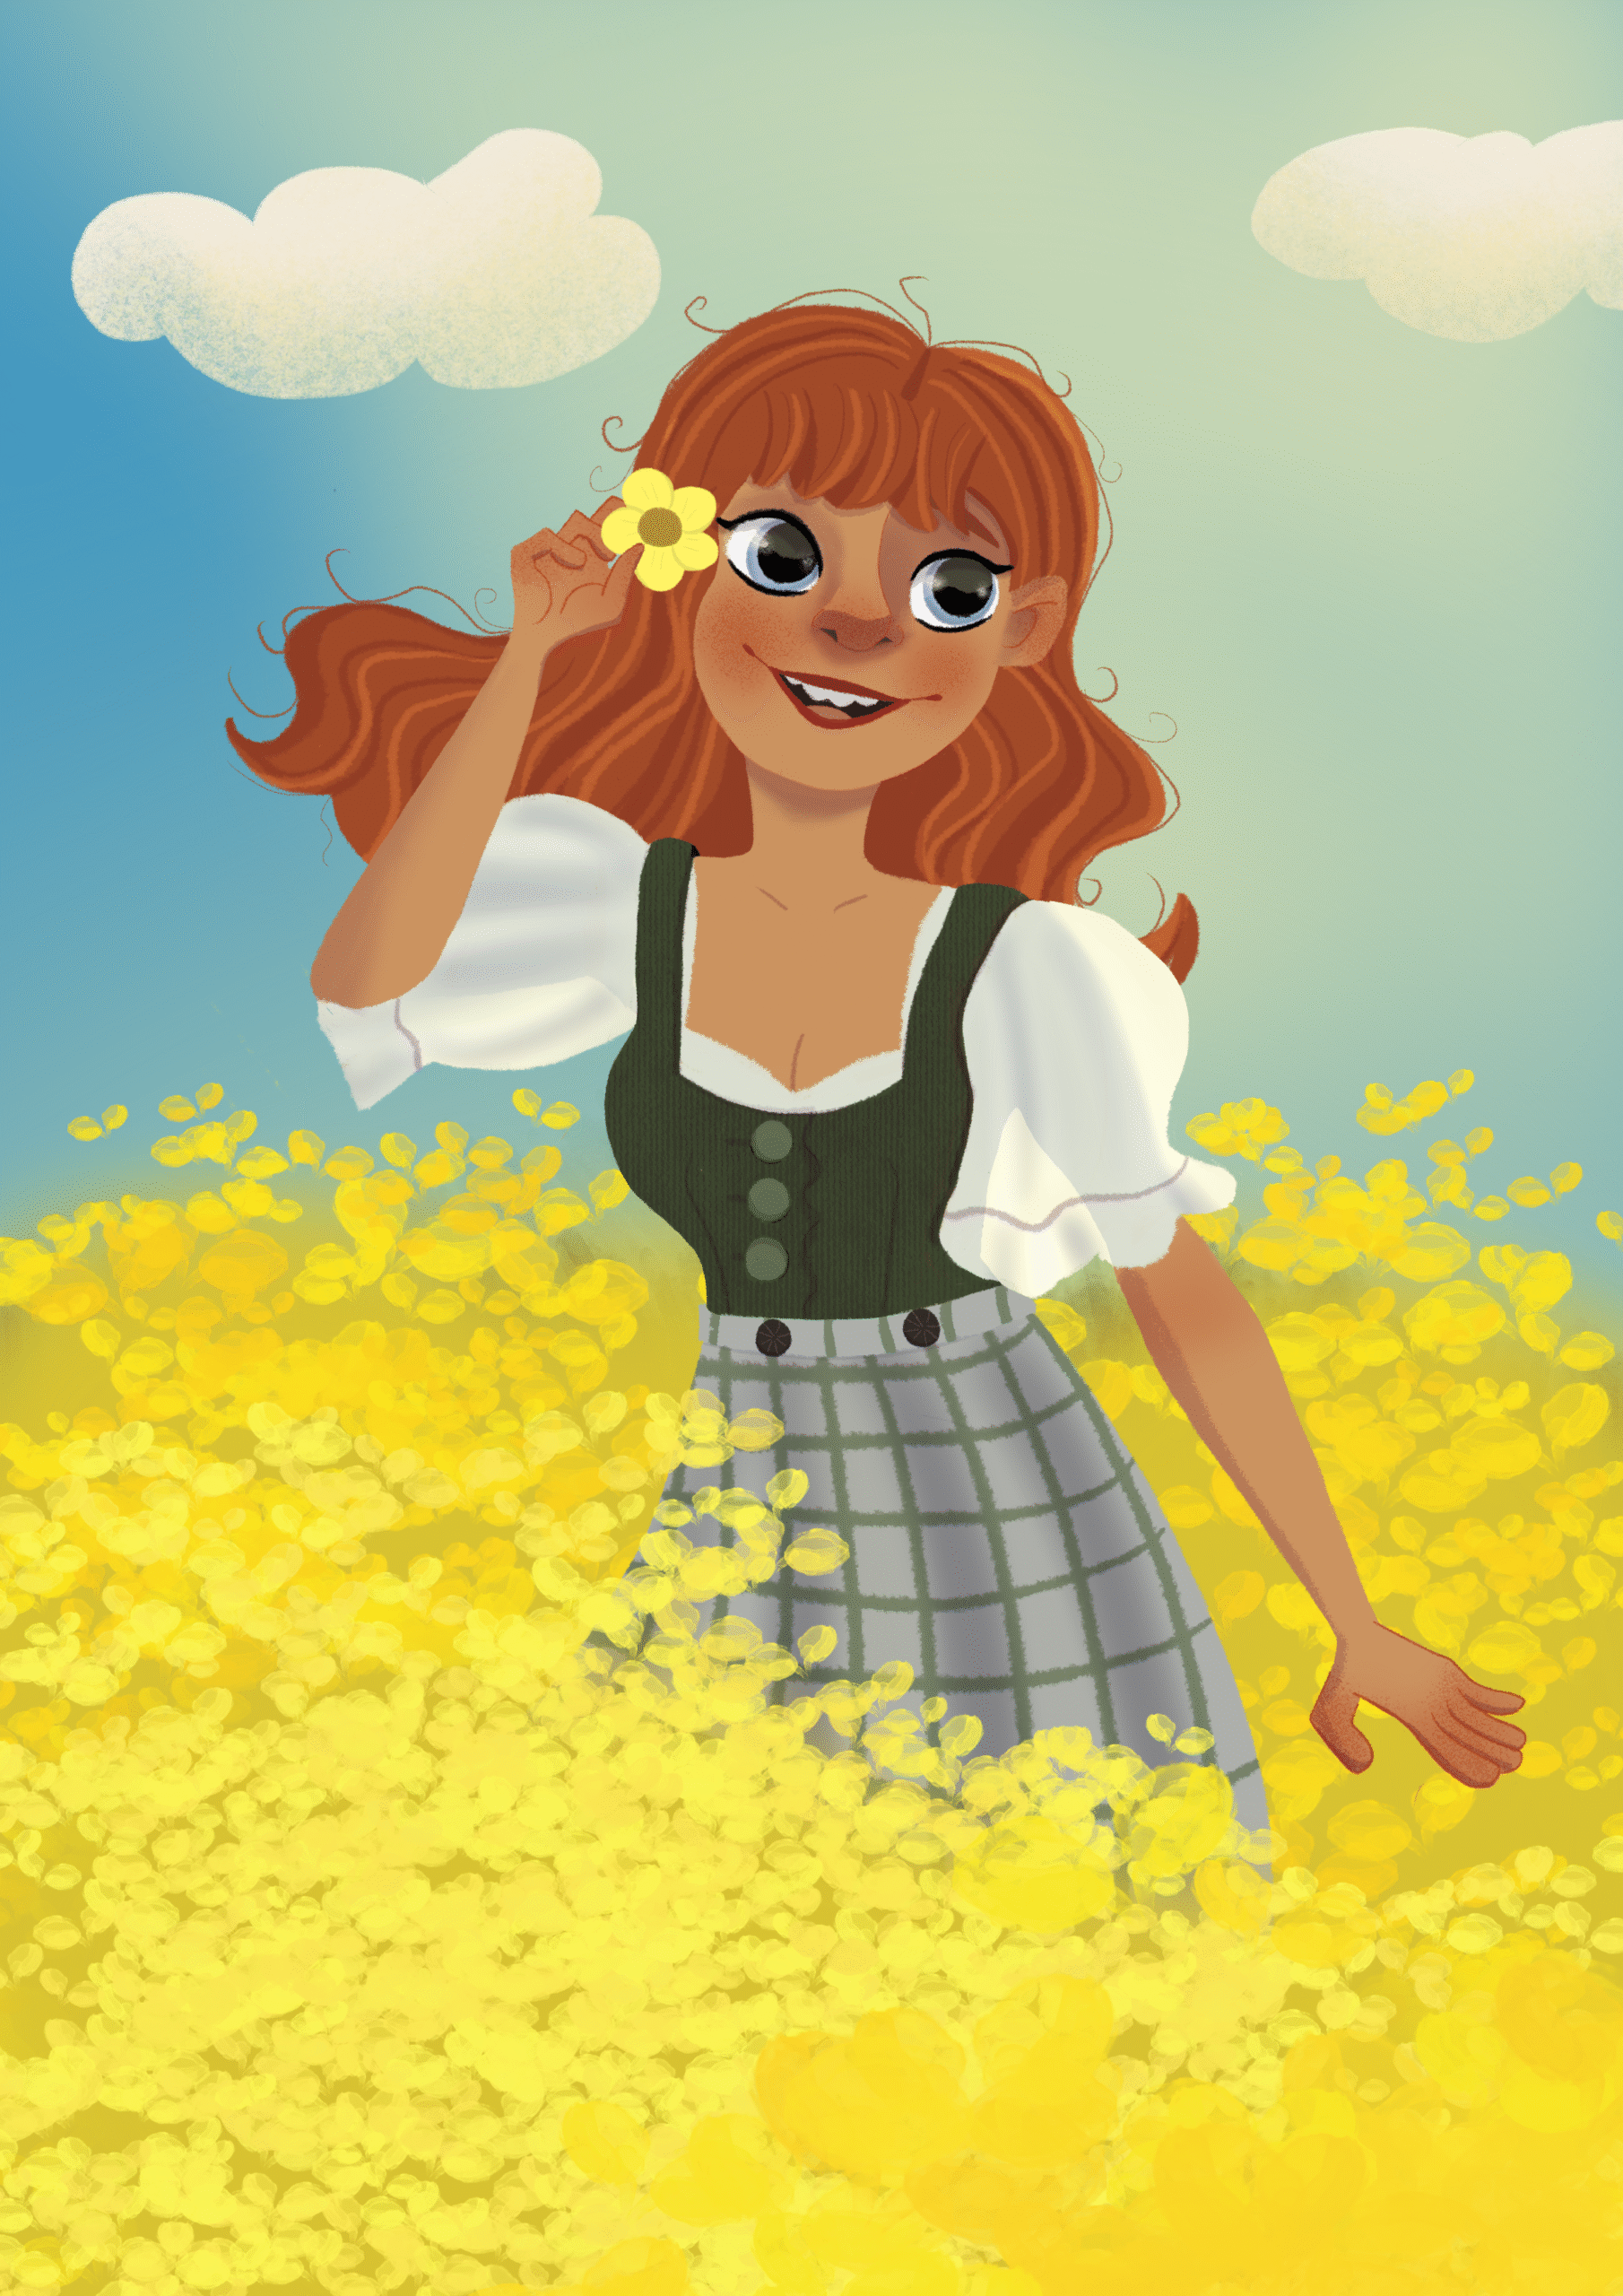
🎨 Start with a Fully Rendered Illustration (Before Lighting)
Here’s the base illustration before any lighting was added. The character, background, and shadows are fully painted — but there’s no glow just yet.
At this stage, everything is flat and clean, which is exactly where we want to start. Now, let’s bring in that soft spring sunshine using Procreate lighting effects and give the whole scene a fresh, sun-drenched vibe. Once the painting felt polished, I flattened the character into one layer. This keeps the lighting workflow smooth and ensures clean light application without accidental color blending from earlier layers.
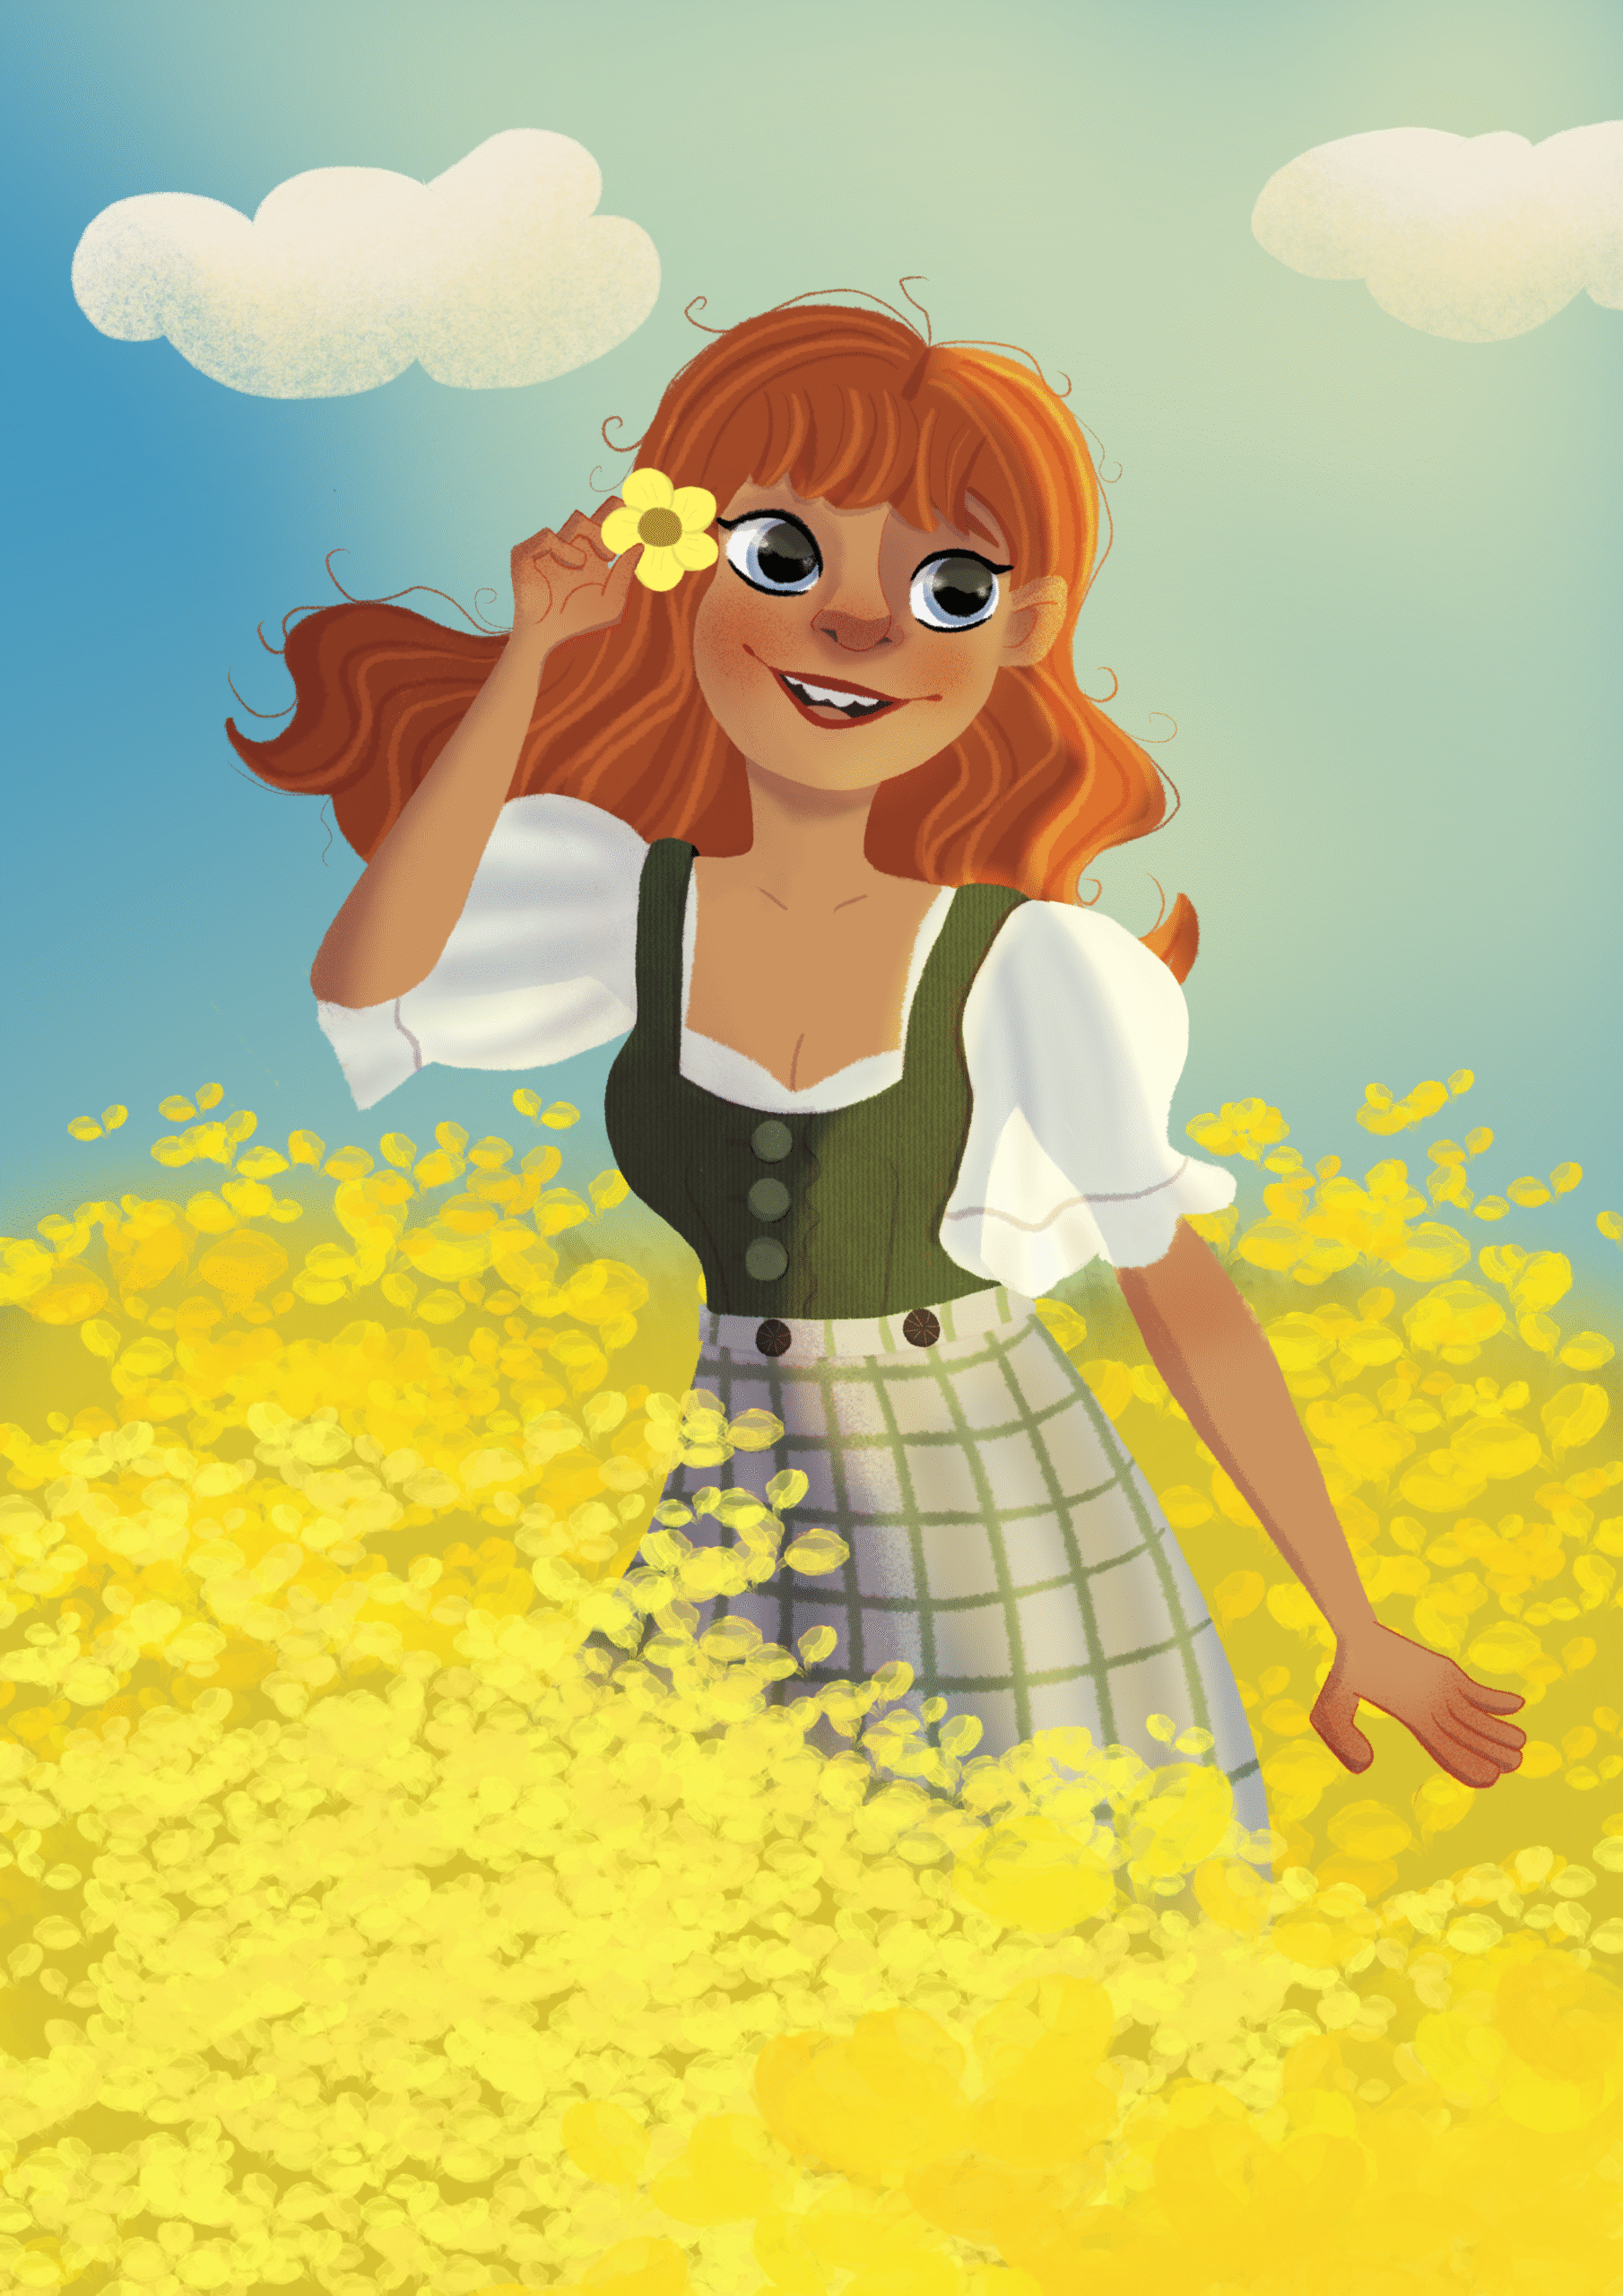
✨ Step 1: Add the Light Source — Sun Rays
This is the first major light pass. In a new layer set to “Soft Light” or “Overlay”, I brushed in soft golden tones to simulate ambient spring sunlight.
- I used a warm, buttery yellow and a large airbrush for gentle application.
- The light source is from the upper right, so I added light to the hair’s edges, the top of the shoulders, and subtle areas of the dress.
✏️ Digital art lighting tip: Avoid pure white! Warm, creamy yellows feel more like real sunshine.
🔆 Step 2: Soft Lighting on the Character — The Glow of Spring
On a separate layer set to “Overlay” or “Soft Light”, I painted the hard lighting details — this mimics sunlight catching sharp edges and shiny spots.
- Focus areas: Hair outline, cheekbones, top of the nose, and hand edges.
- This creates that energetic sparkle often seen in spring lighting scenes, where the light dances on edges.

Procreate lighting effects shine here — using “Add” mode gives that clean sunbeam look instantly.
🟣 Step 3: Shadow Pass — Creating Contrast
Underneath your lighting layers, add a Multiply layer with soft purple or muted pink tones to paint your shadows. It helps balance the glow while maintaining a springtime warmth.
- Use a soft brush and avoid harsh edges — this isn’t winter light!
- Shadowed areas: Specifically on the areas the sun rays can’t reach (Underside of the nose, the left side of the face, Underside of the arm, inside folds of the dress, lower side of the hair)
💡 Step 4:Hard Lighting Pass — Adding Energy & Rim Light
This is where the lighting really starts to shine — literally. On a separate layer set to “Add” or “Lighter Color”, I painted in stronger light accents to mimic direct sunlight hitting shiny or defined edges. Focus areas:
- The top of the hair strands
- Rim of the shoulders and arms
- Right side of the nose and cheekbone
- Right side of the dress
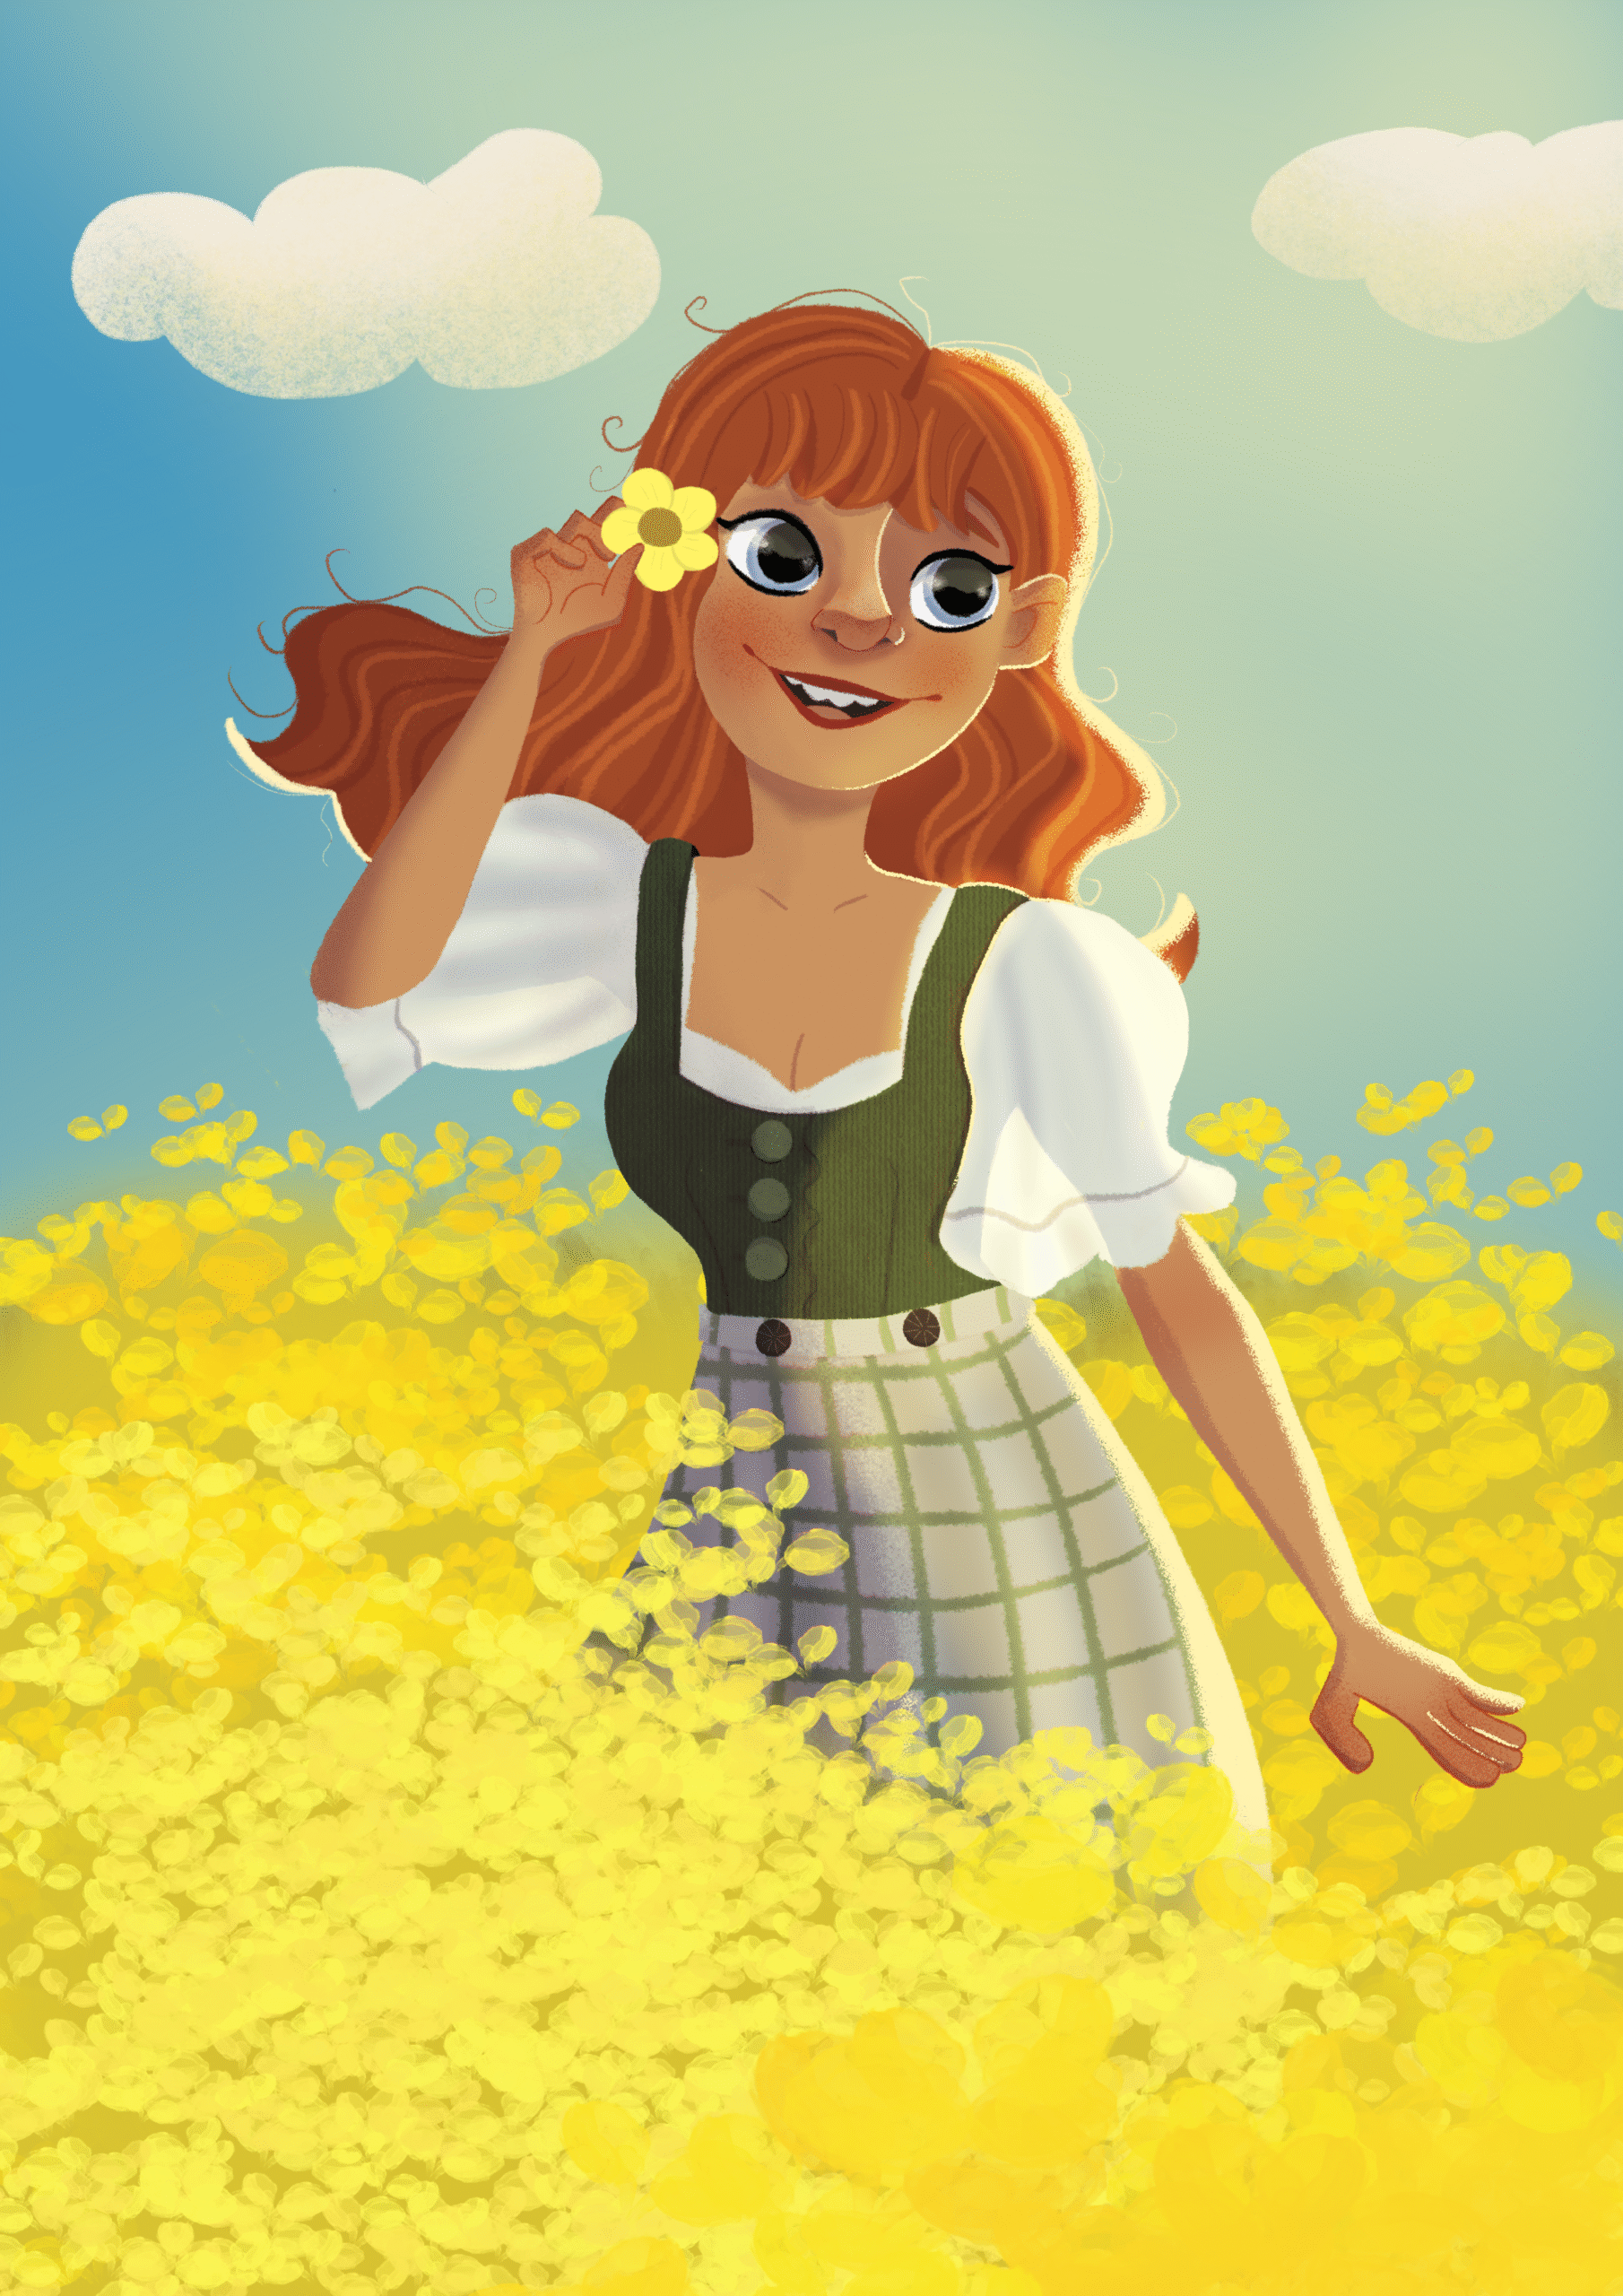
These highlights give the piece a clean, energized pop and make your character glow like they’ve stepped right into the sunlight.
✨ Step 5: Final Touches for Atmosphere
Now for the magic! On your top layer:
- Add sparkles, floating flower petals, and soft particles using scatter or texture brushes.
- These finishing details help tie your light and color story together and emphasize the breezy, blooming mood of spring.

This is where you can have the most fun — and it’s what really sells the Procreate spring lighting scene.
🌼 Why Layered Light Brings Spring to Life
By layering soft lighting, hard rim light, and warm shadows, you mimic the multi-dimensional feel of natural sunlight. In this spring lighting tutorial, I’ve shown how just a few carefully painted layers can transform your character into a sun-kissed figure basking in a spring bloom.
🖤 Bonus Step: Black & White Value Check
Before calling the piece done, I always do a quick value check to make sure everything reads well in black and white — especially the contrast between light and shadow.
Here’s how I do it in Procreate:
- Create a new layer on top of all your lighting and effects layers.
- Fill it with solid black using the Fill tool.
- Set the layer’s blend mode to “Color.”

This instantly desaturates the artwork while keeping your structure intact — letting you clearly see if the highlights are popping, and if the shadows are doing their job. If something feels muddy or too low-contrast, I go back and adjust the light or shadow layers as needed.
✏️ Tip: Do this at the very end or mid-way through lighting — it helps avoid overworking certain areas.
🗂️ Layer Structure for the Lighting Scene
Here’s how I organized my Procreate layers while painting this spring lighting setup.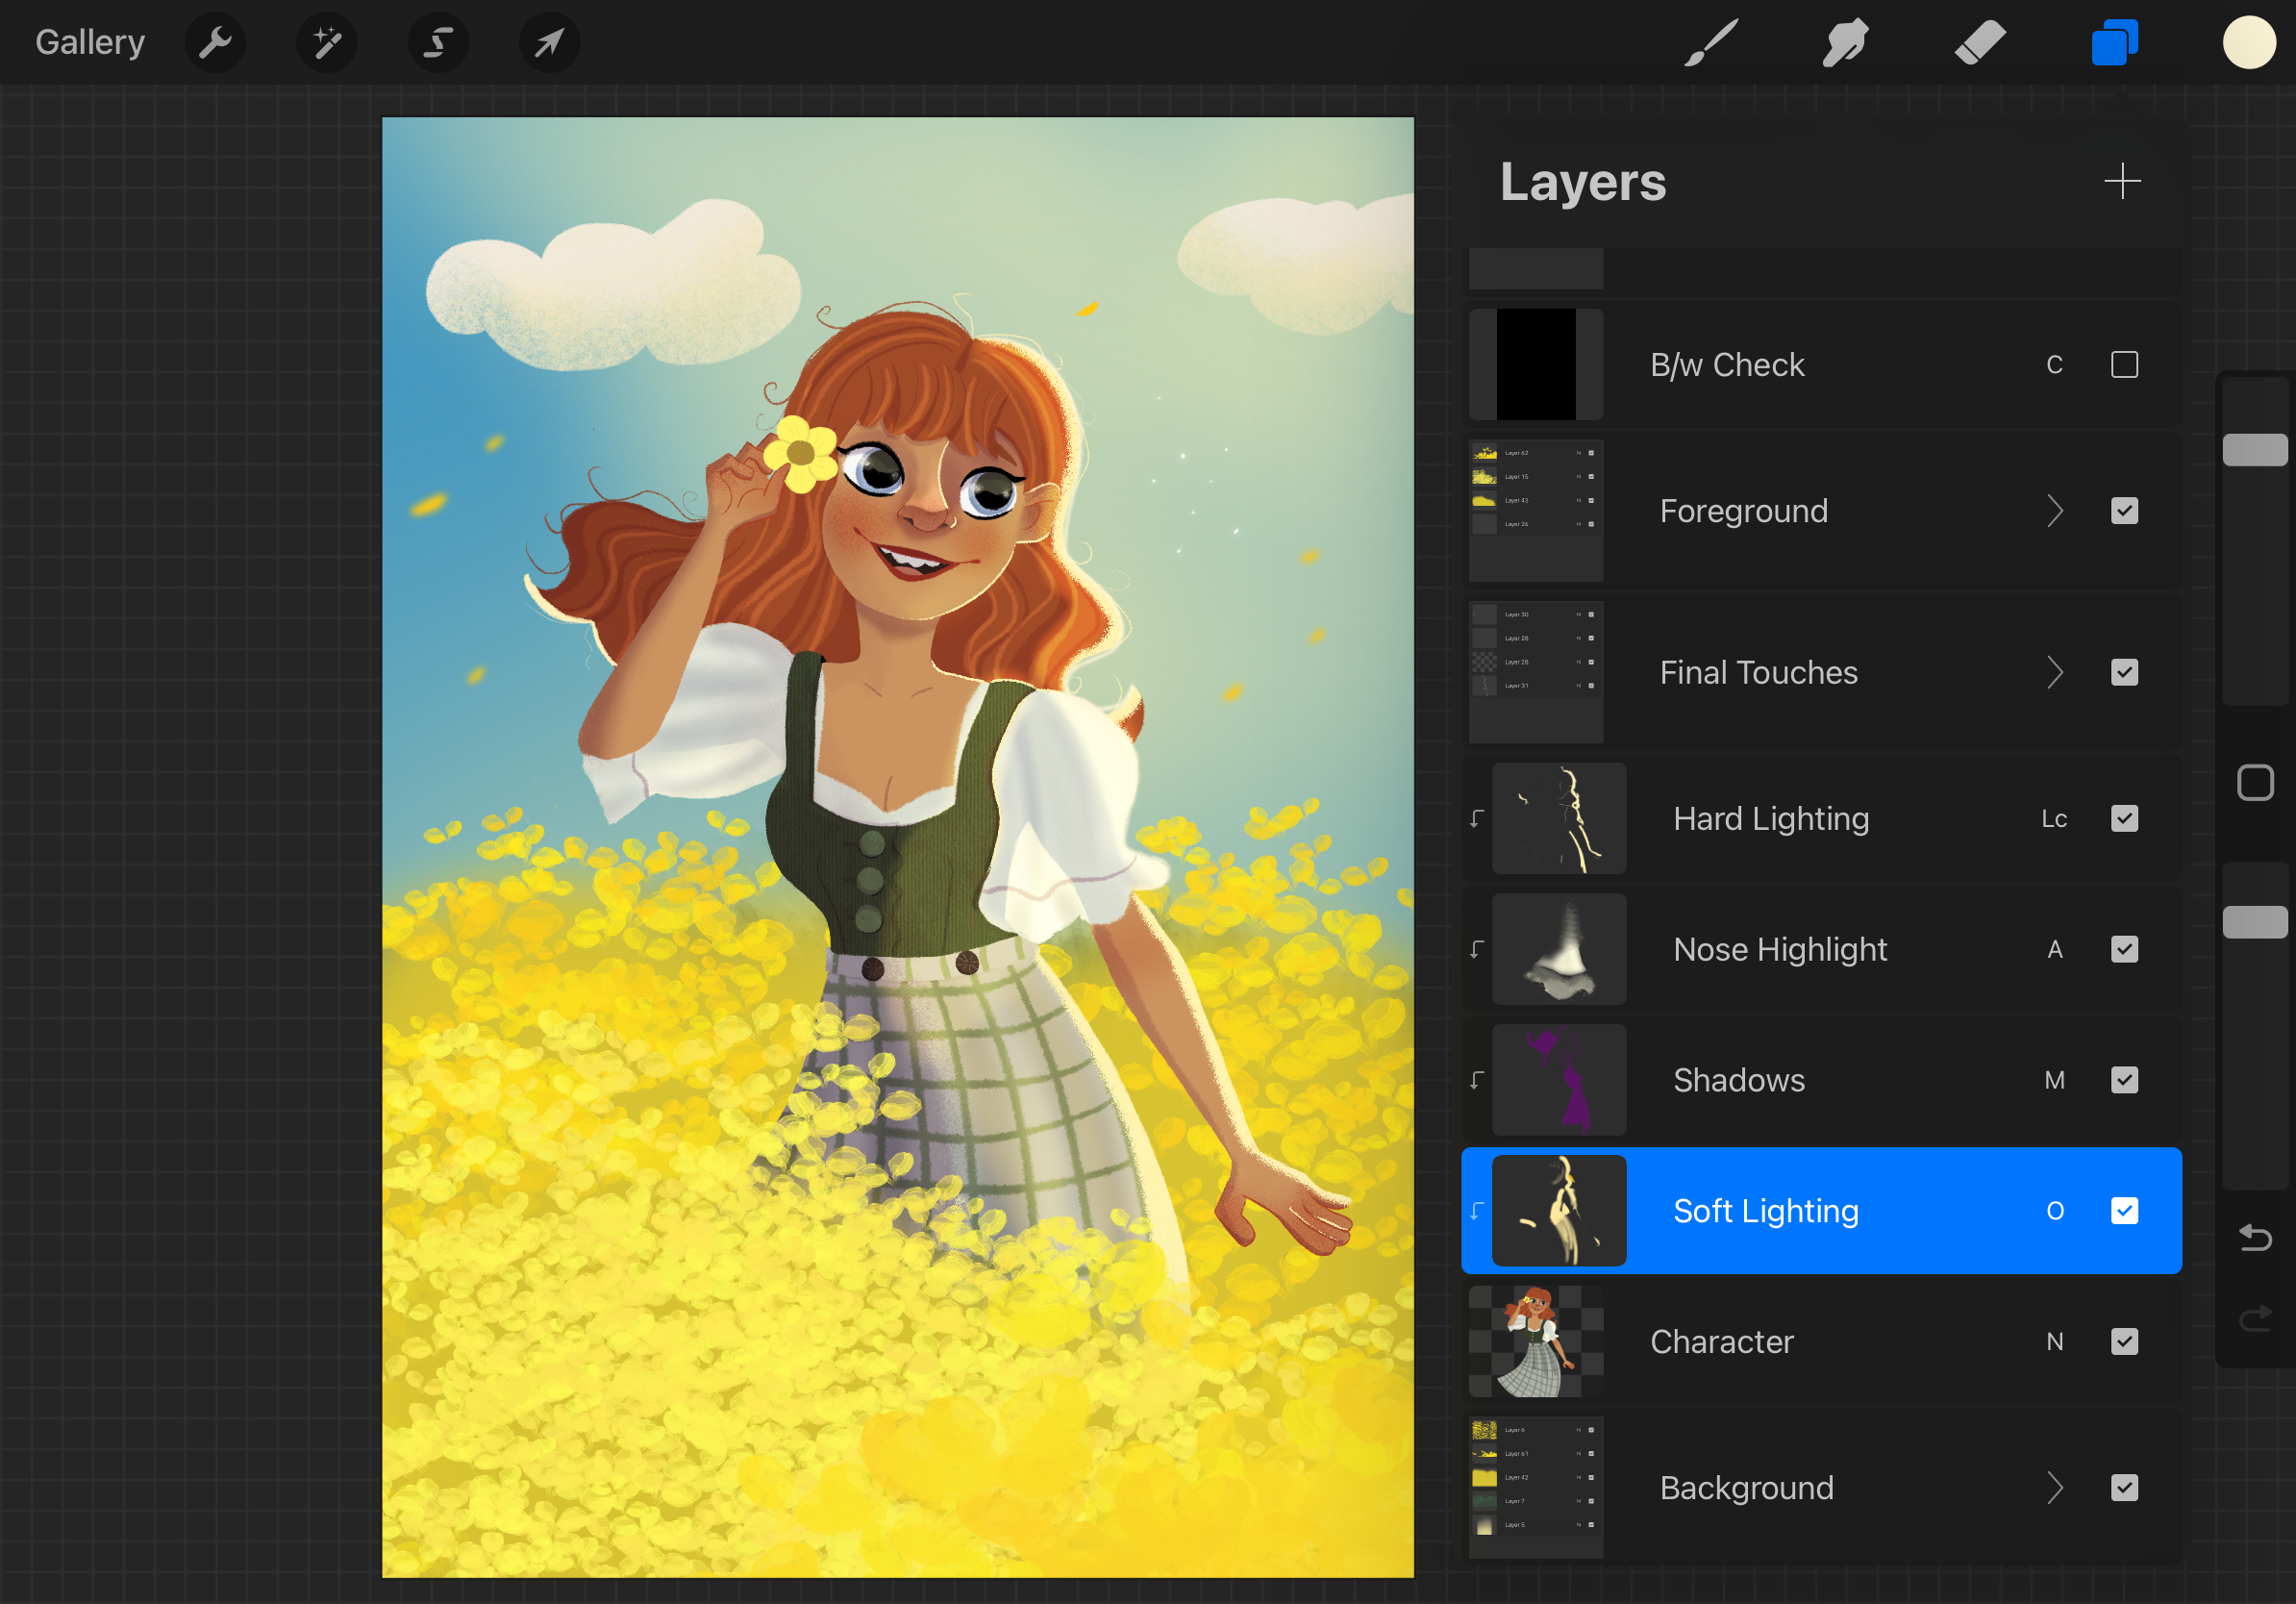
Each lighting element was kept on a separate layer — including sun rays, soft light, hard light, and cast shadows — so I could fine-tune the effect without affecting the base painting. Final touches like sparkles and petals were added on top, and a solid black Color mode layer sits at the very top for quick value checks.
🌞 Wrap-Up
And that’s it! From soft glows to rim lighting and sparkle, this Procreate spring lighting tutorial breaks down how just a few thoughtful lighting layers can completely transform a digital painting. If you’re working on a spring-themed illustration, try this method to bring out that soft seasonal energy in your own work.
Let the light tell the story. 🌸