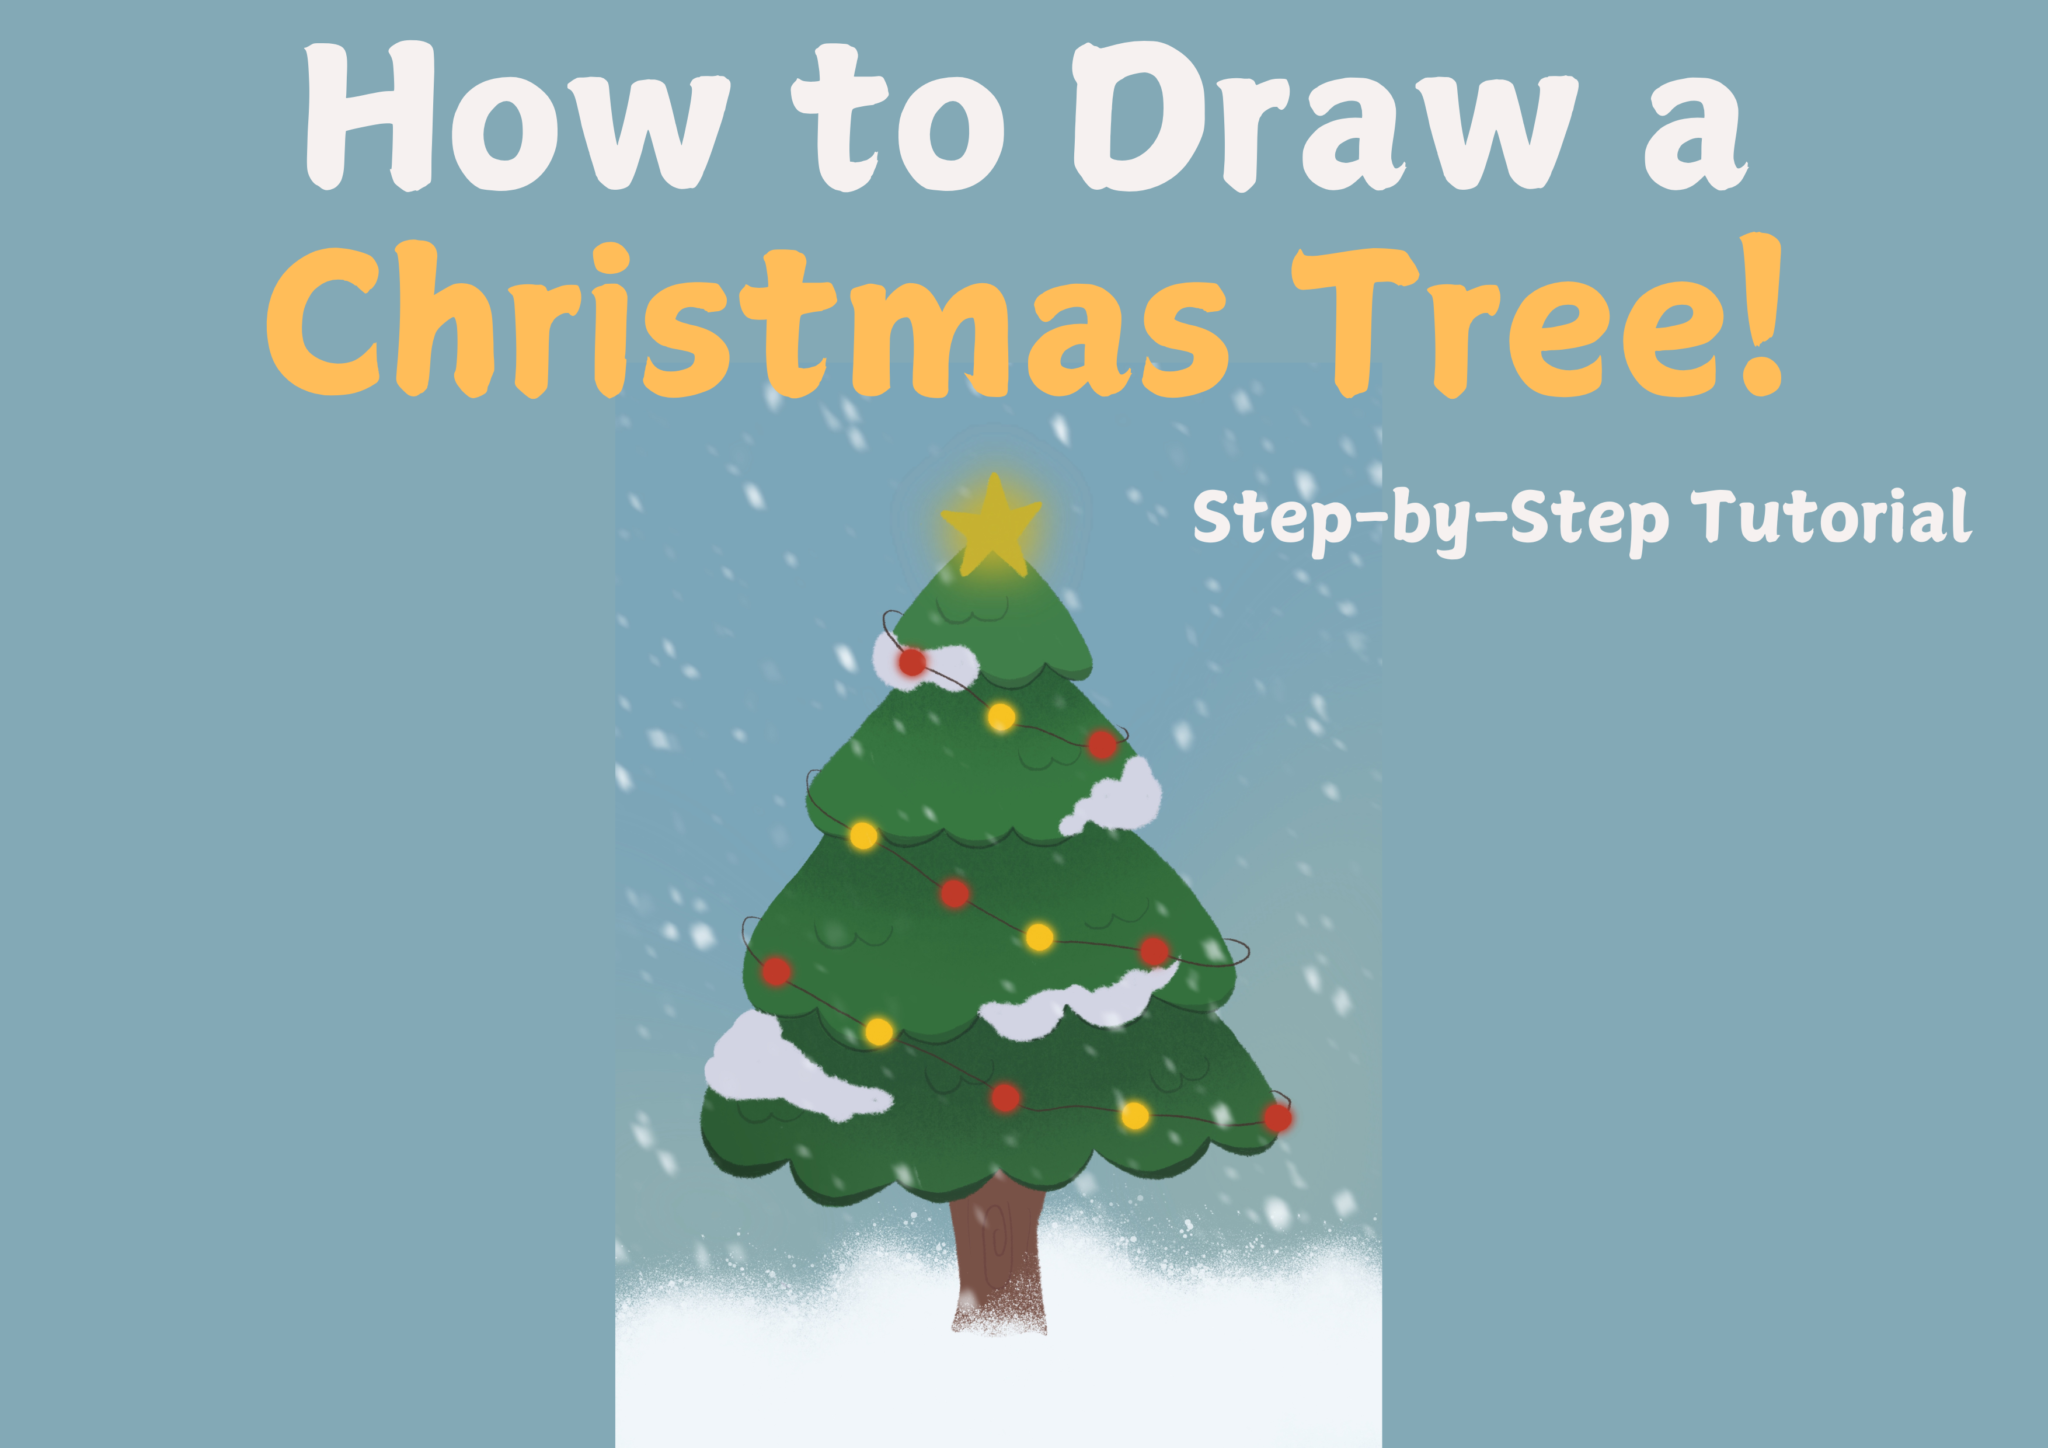
The holiday season is here, and what better way to capture the festive magic than by learning how to draw a Christmas tree step by step! 🎄✨ Whether you’re a budding artist or just looking for a joyful creative activity, this easy Christmas tree drawing tutorial will walk you through every detail. From outlining the tree’s classic triangular shape to decorating it with ornaments, twinkling lights, and snowy accents, you’ll create a holiday masterpiece full of cheer. So grab your drawing tools and let’s dive into a fun, festive drawing session that’s perfect for the season!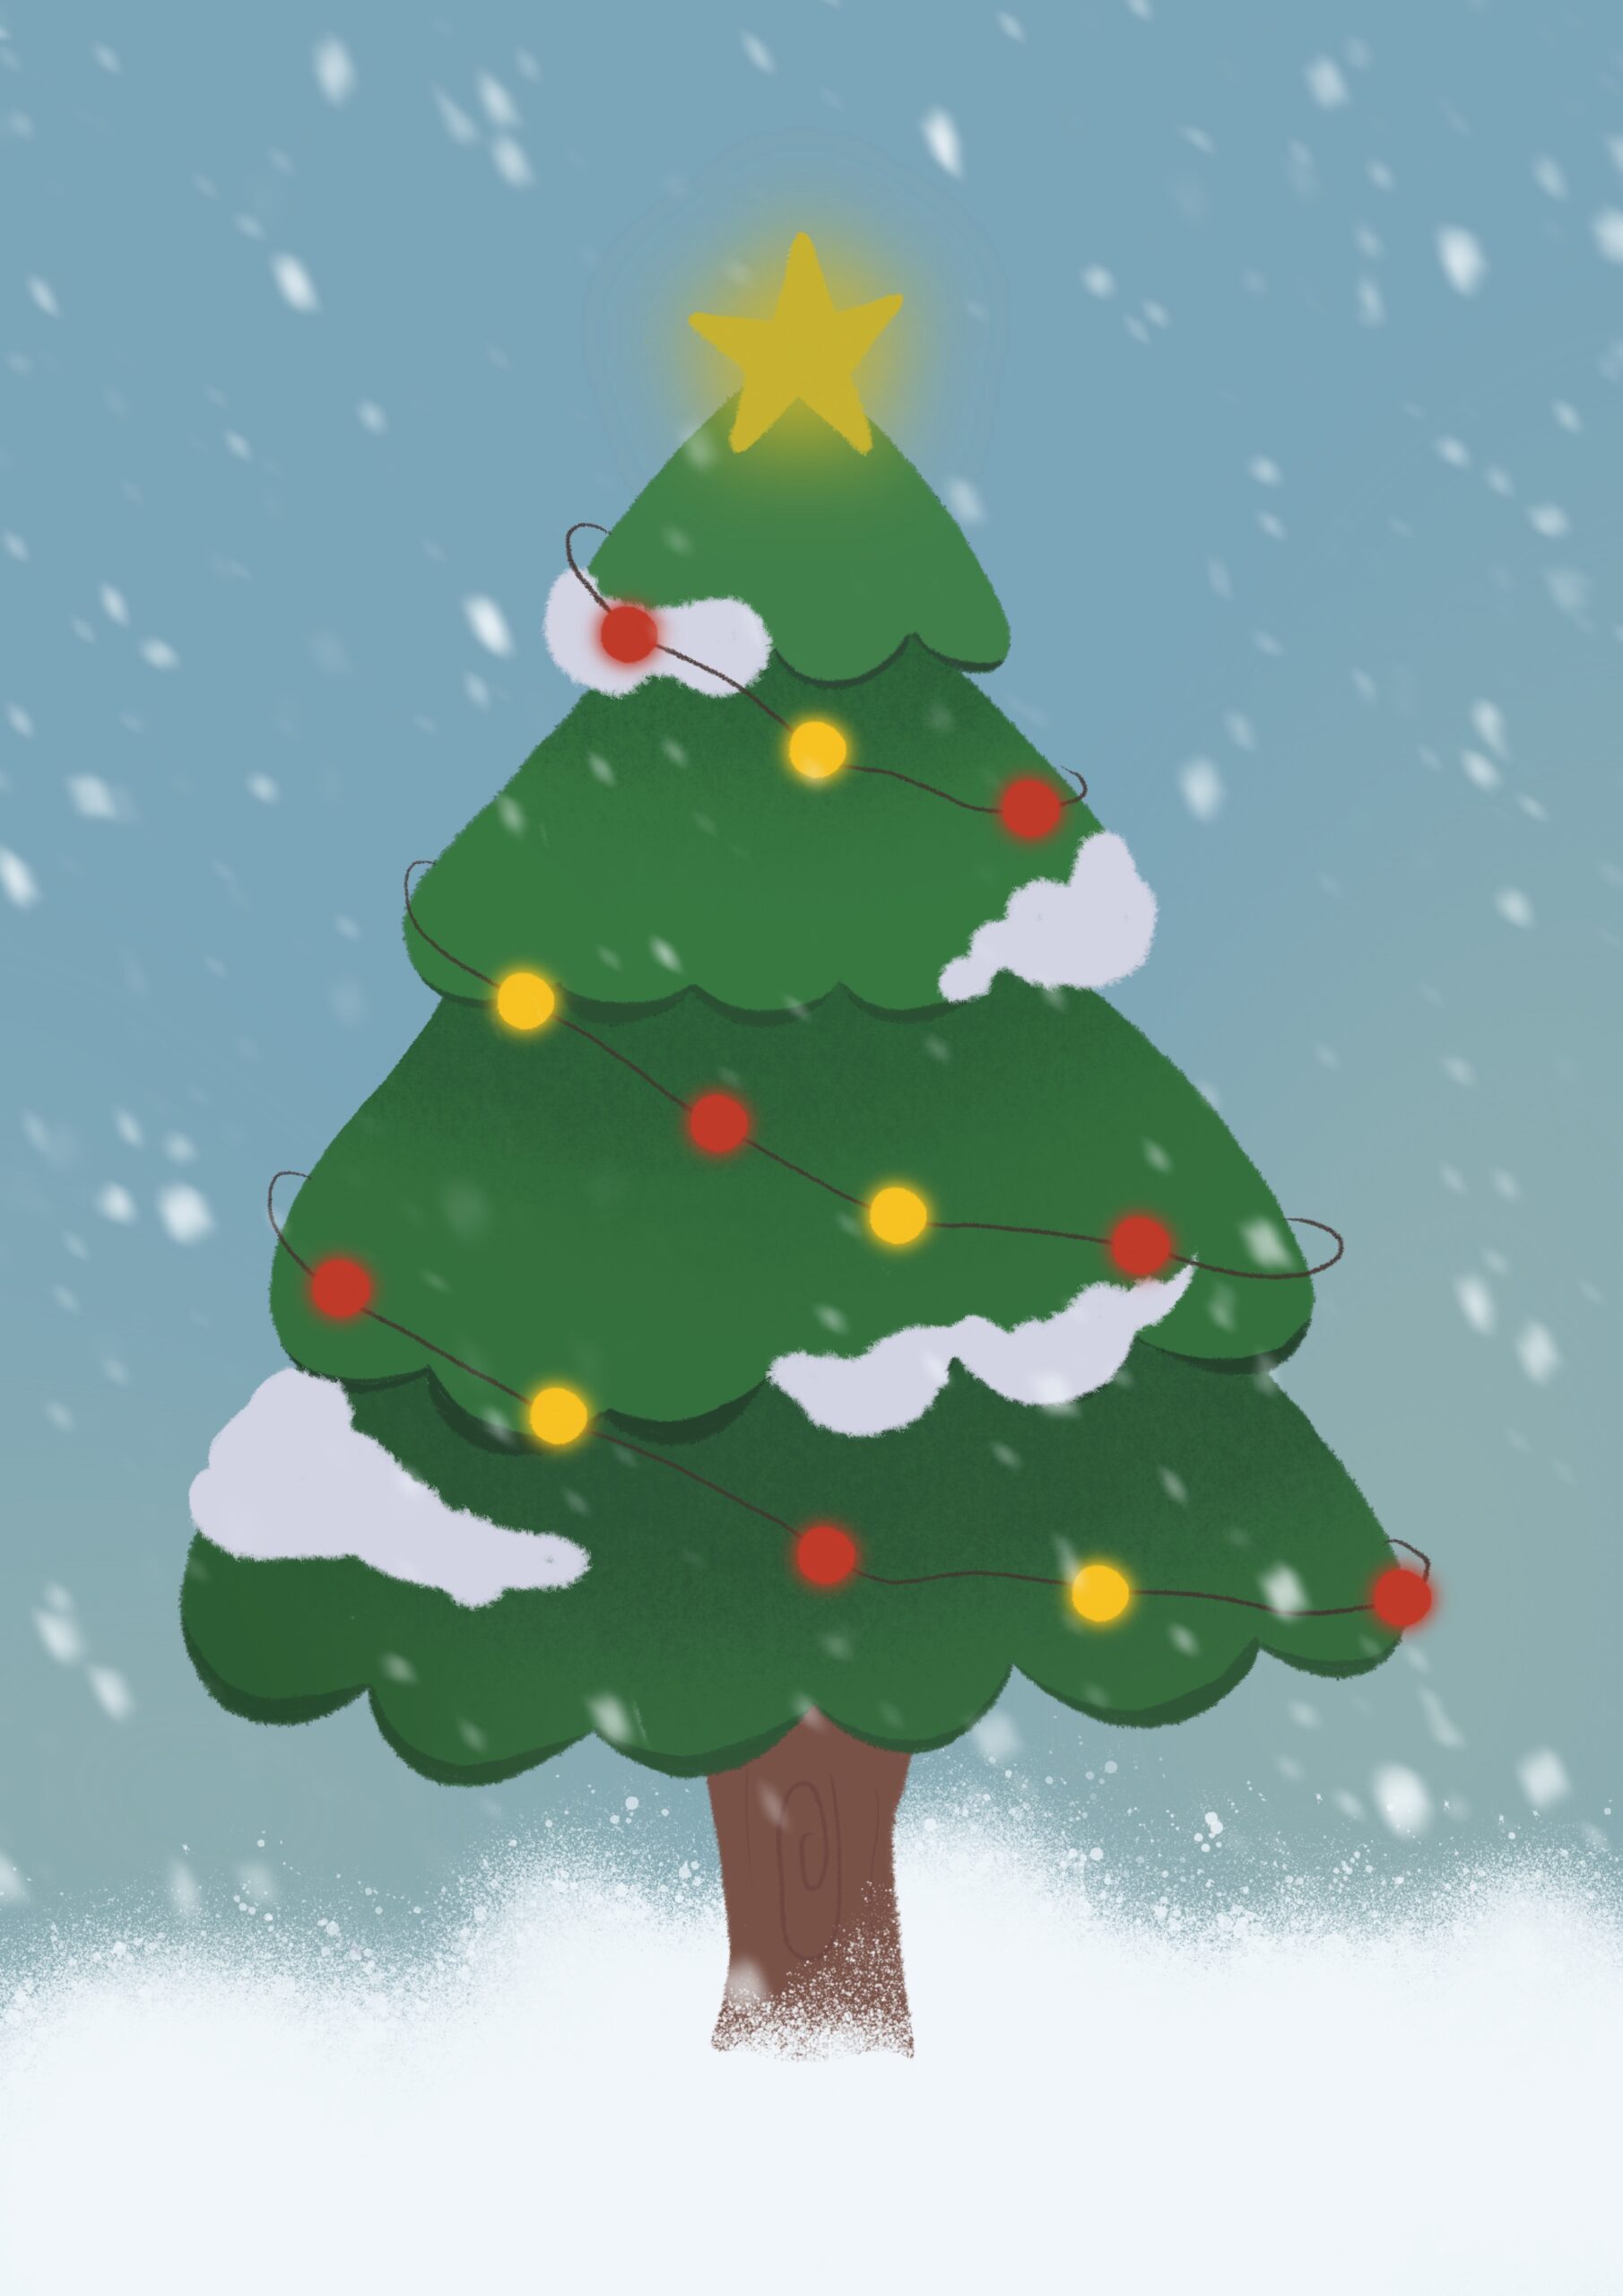
Step 1: Draw the line art
Begin by sketching a simple Christmas tree outline. Add the layered sets of leaves, the tree trunk, and a star on top. Don’t forget to map out where you’d like the lights and snow to go. This is where the magic begins!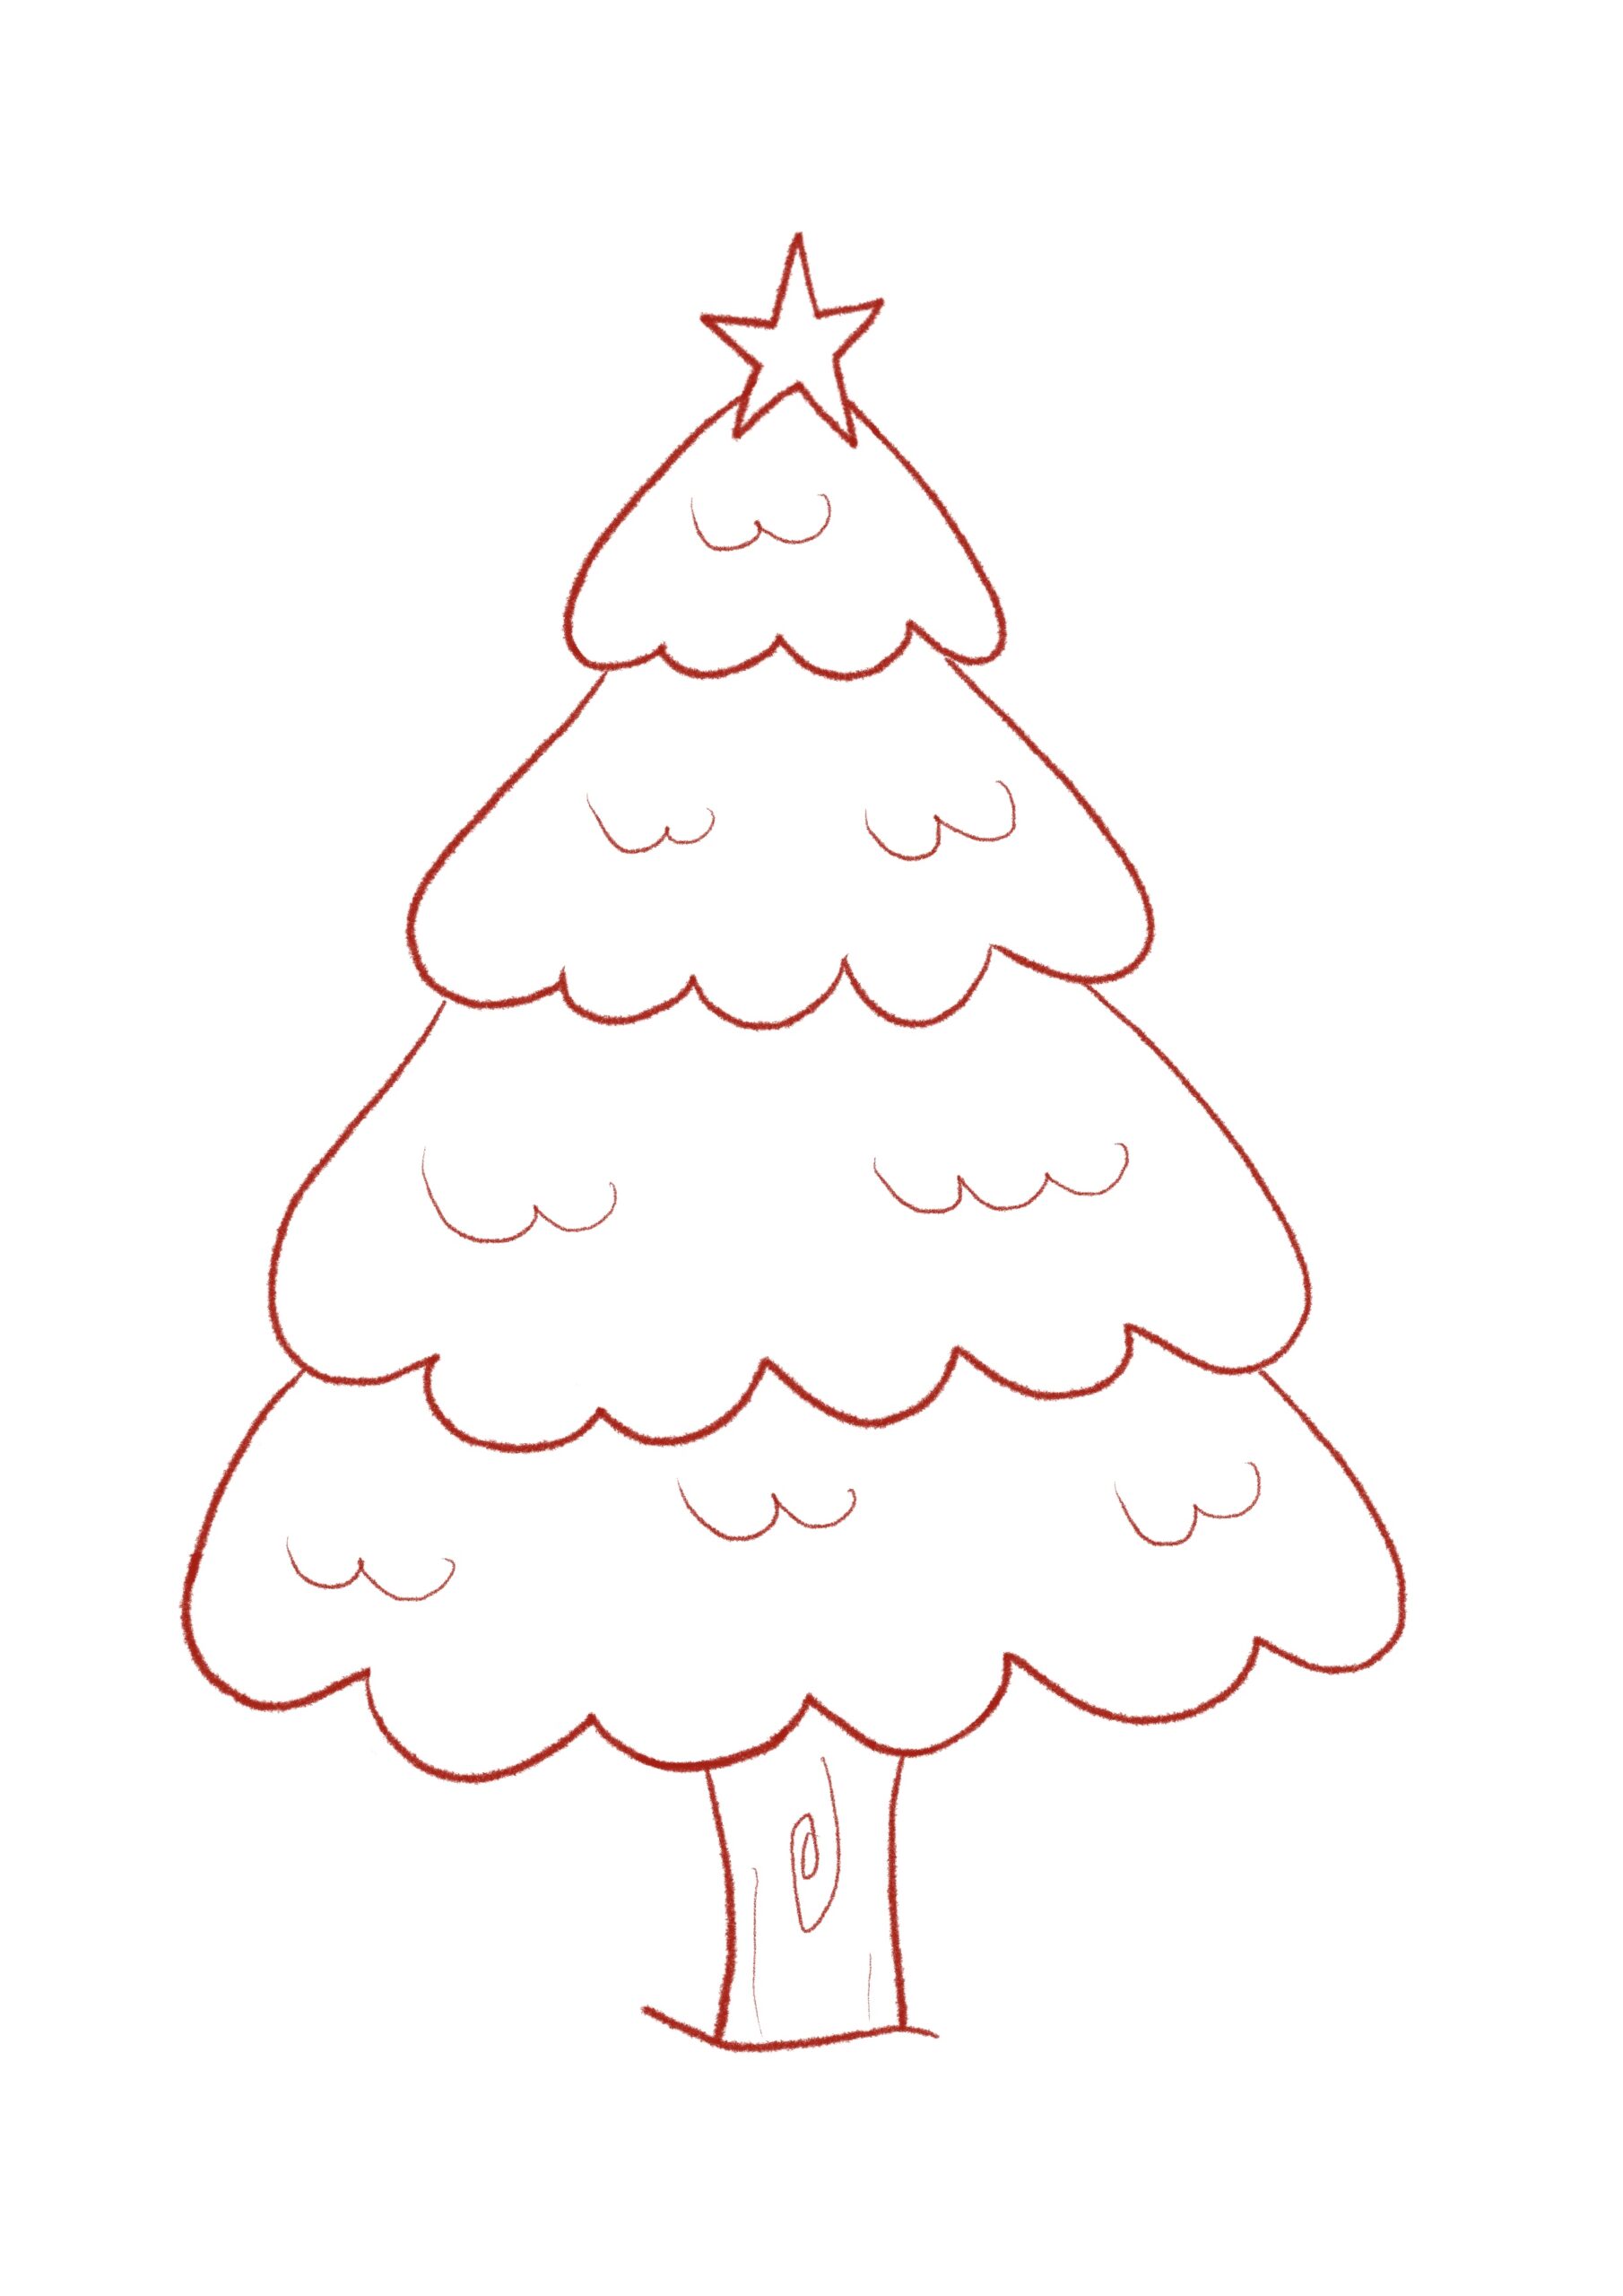
Step 2: Lower the opacity of the line art
Gently fade your line art to keep it as a subtle guide. This will make your colors pop and allow you to focus on building the tree’s personality.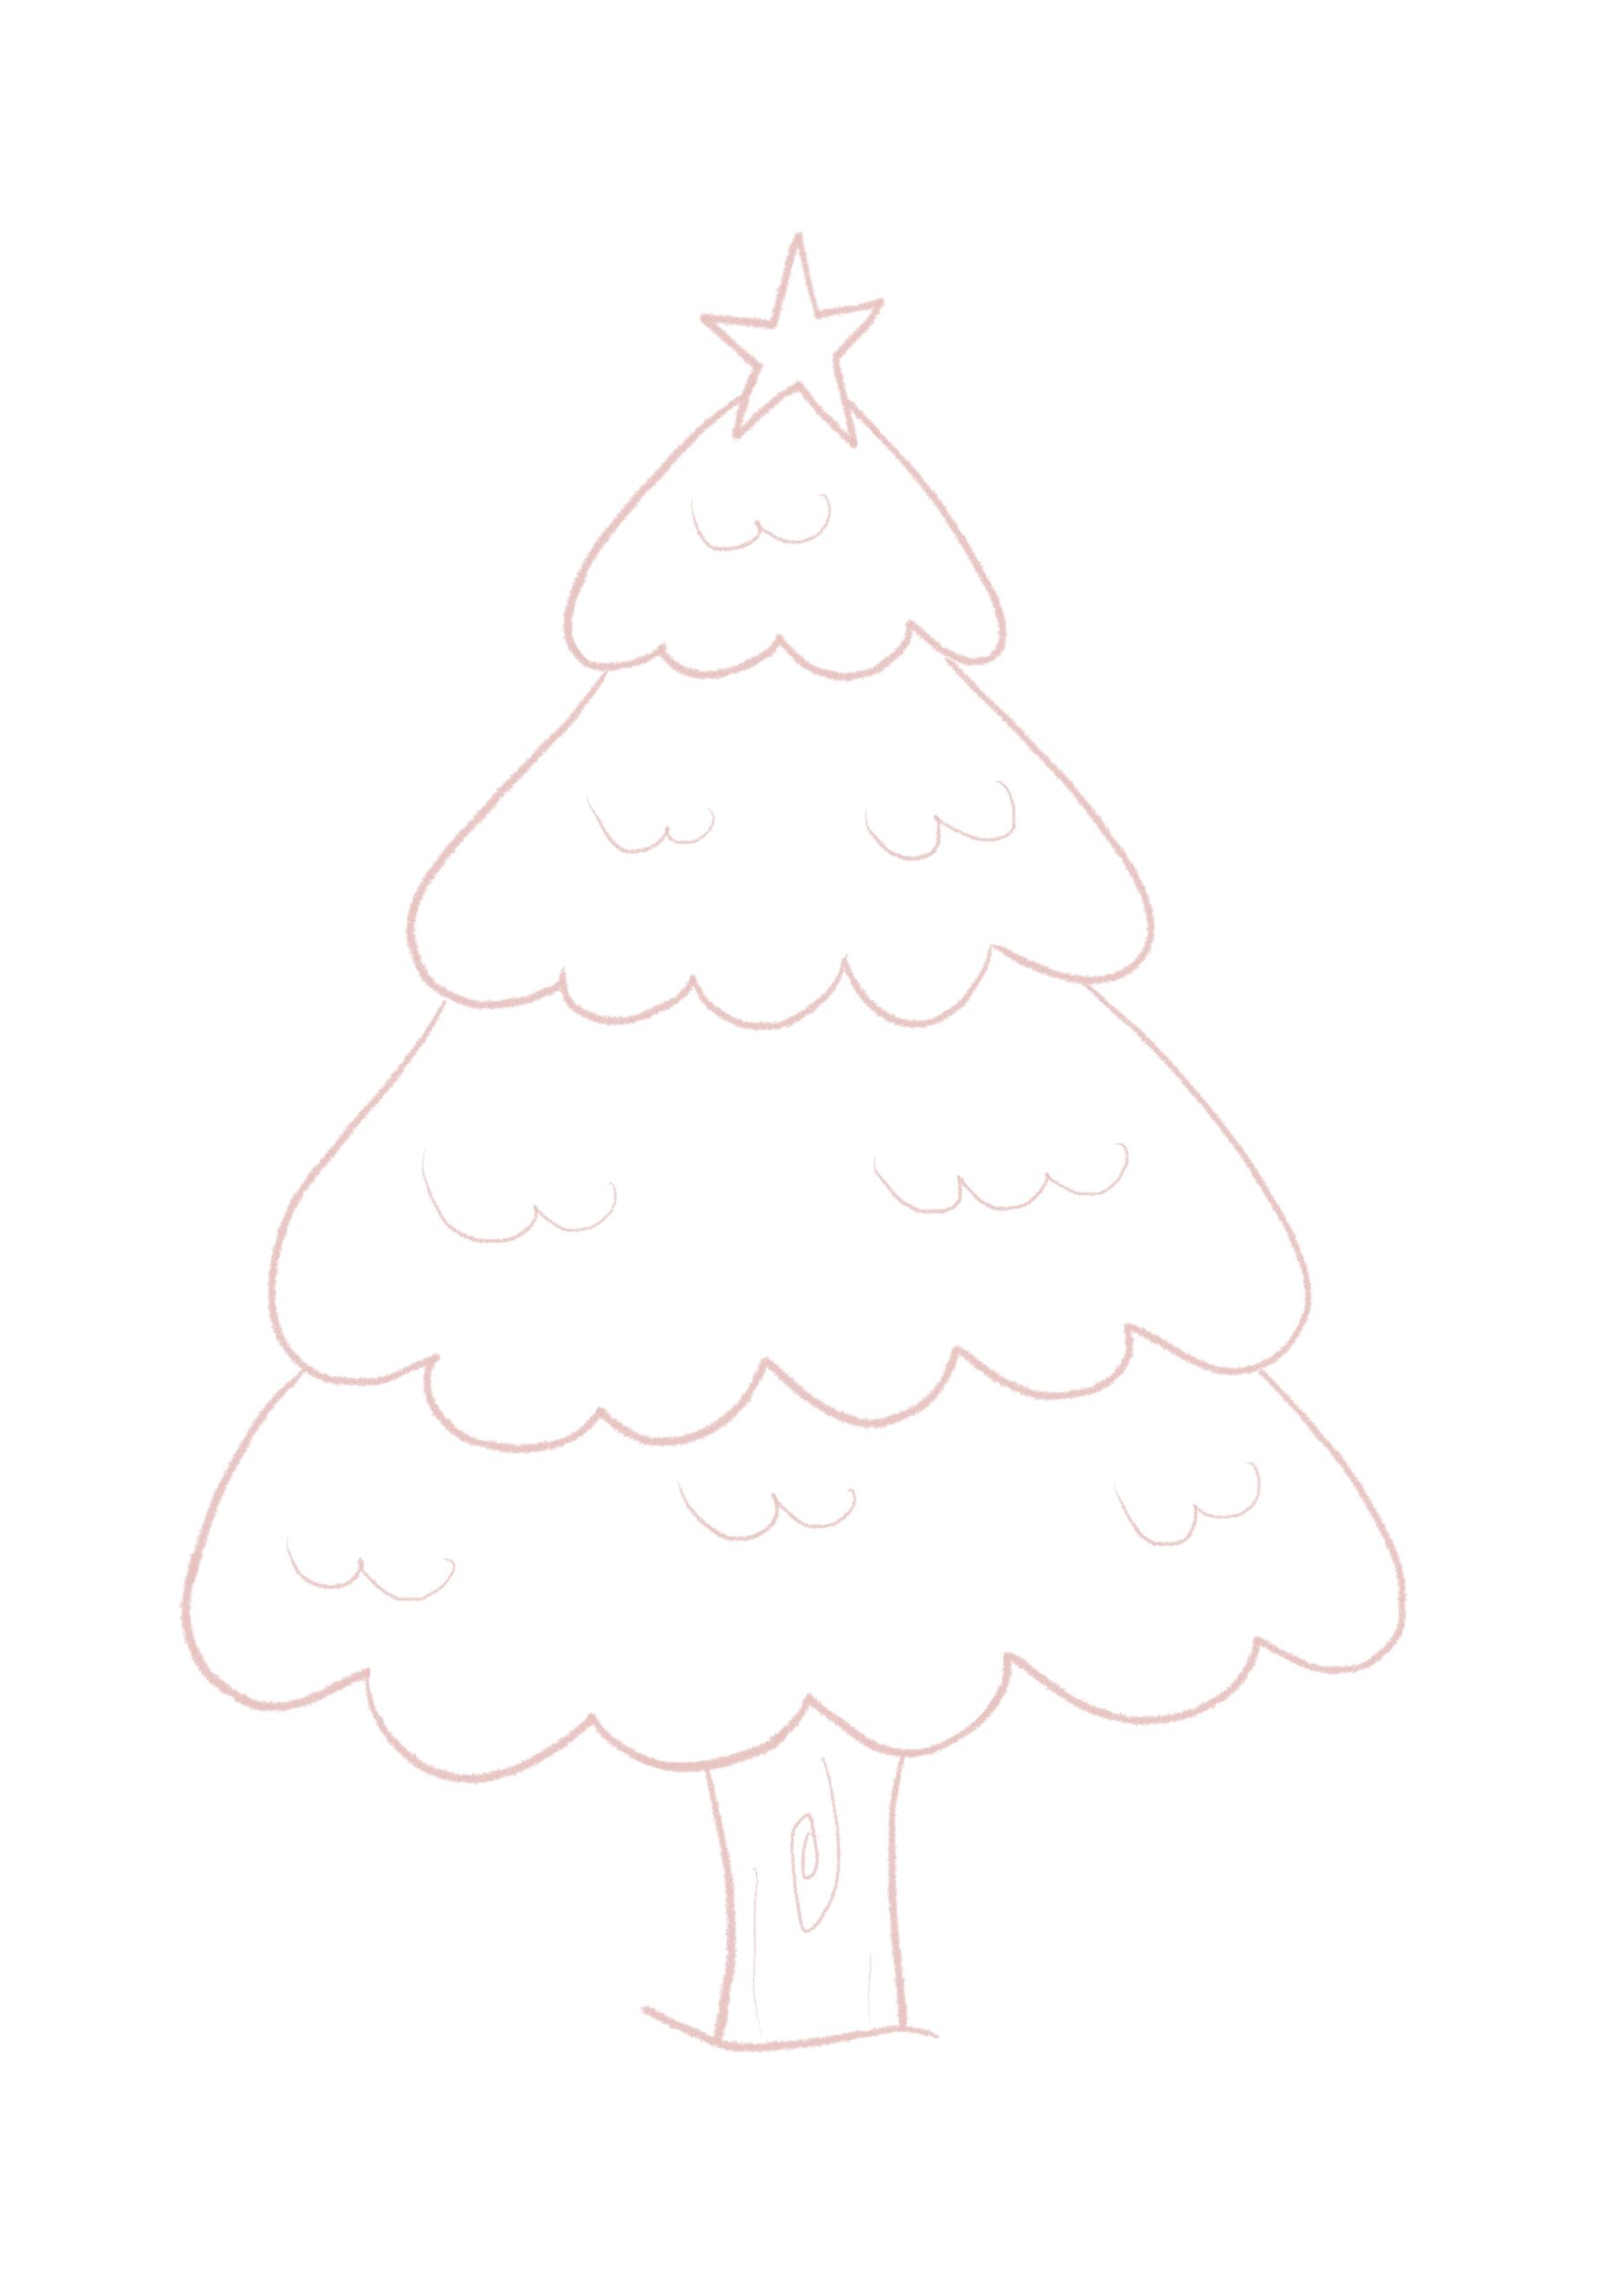
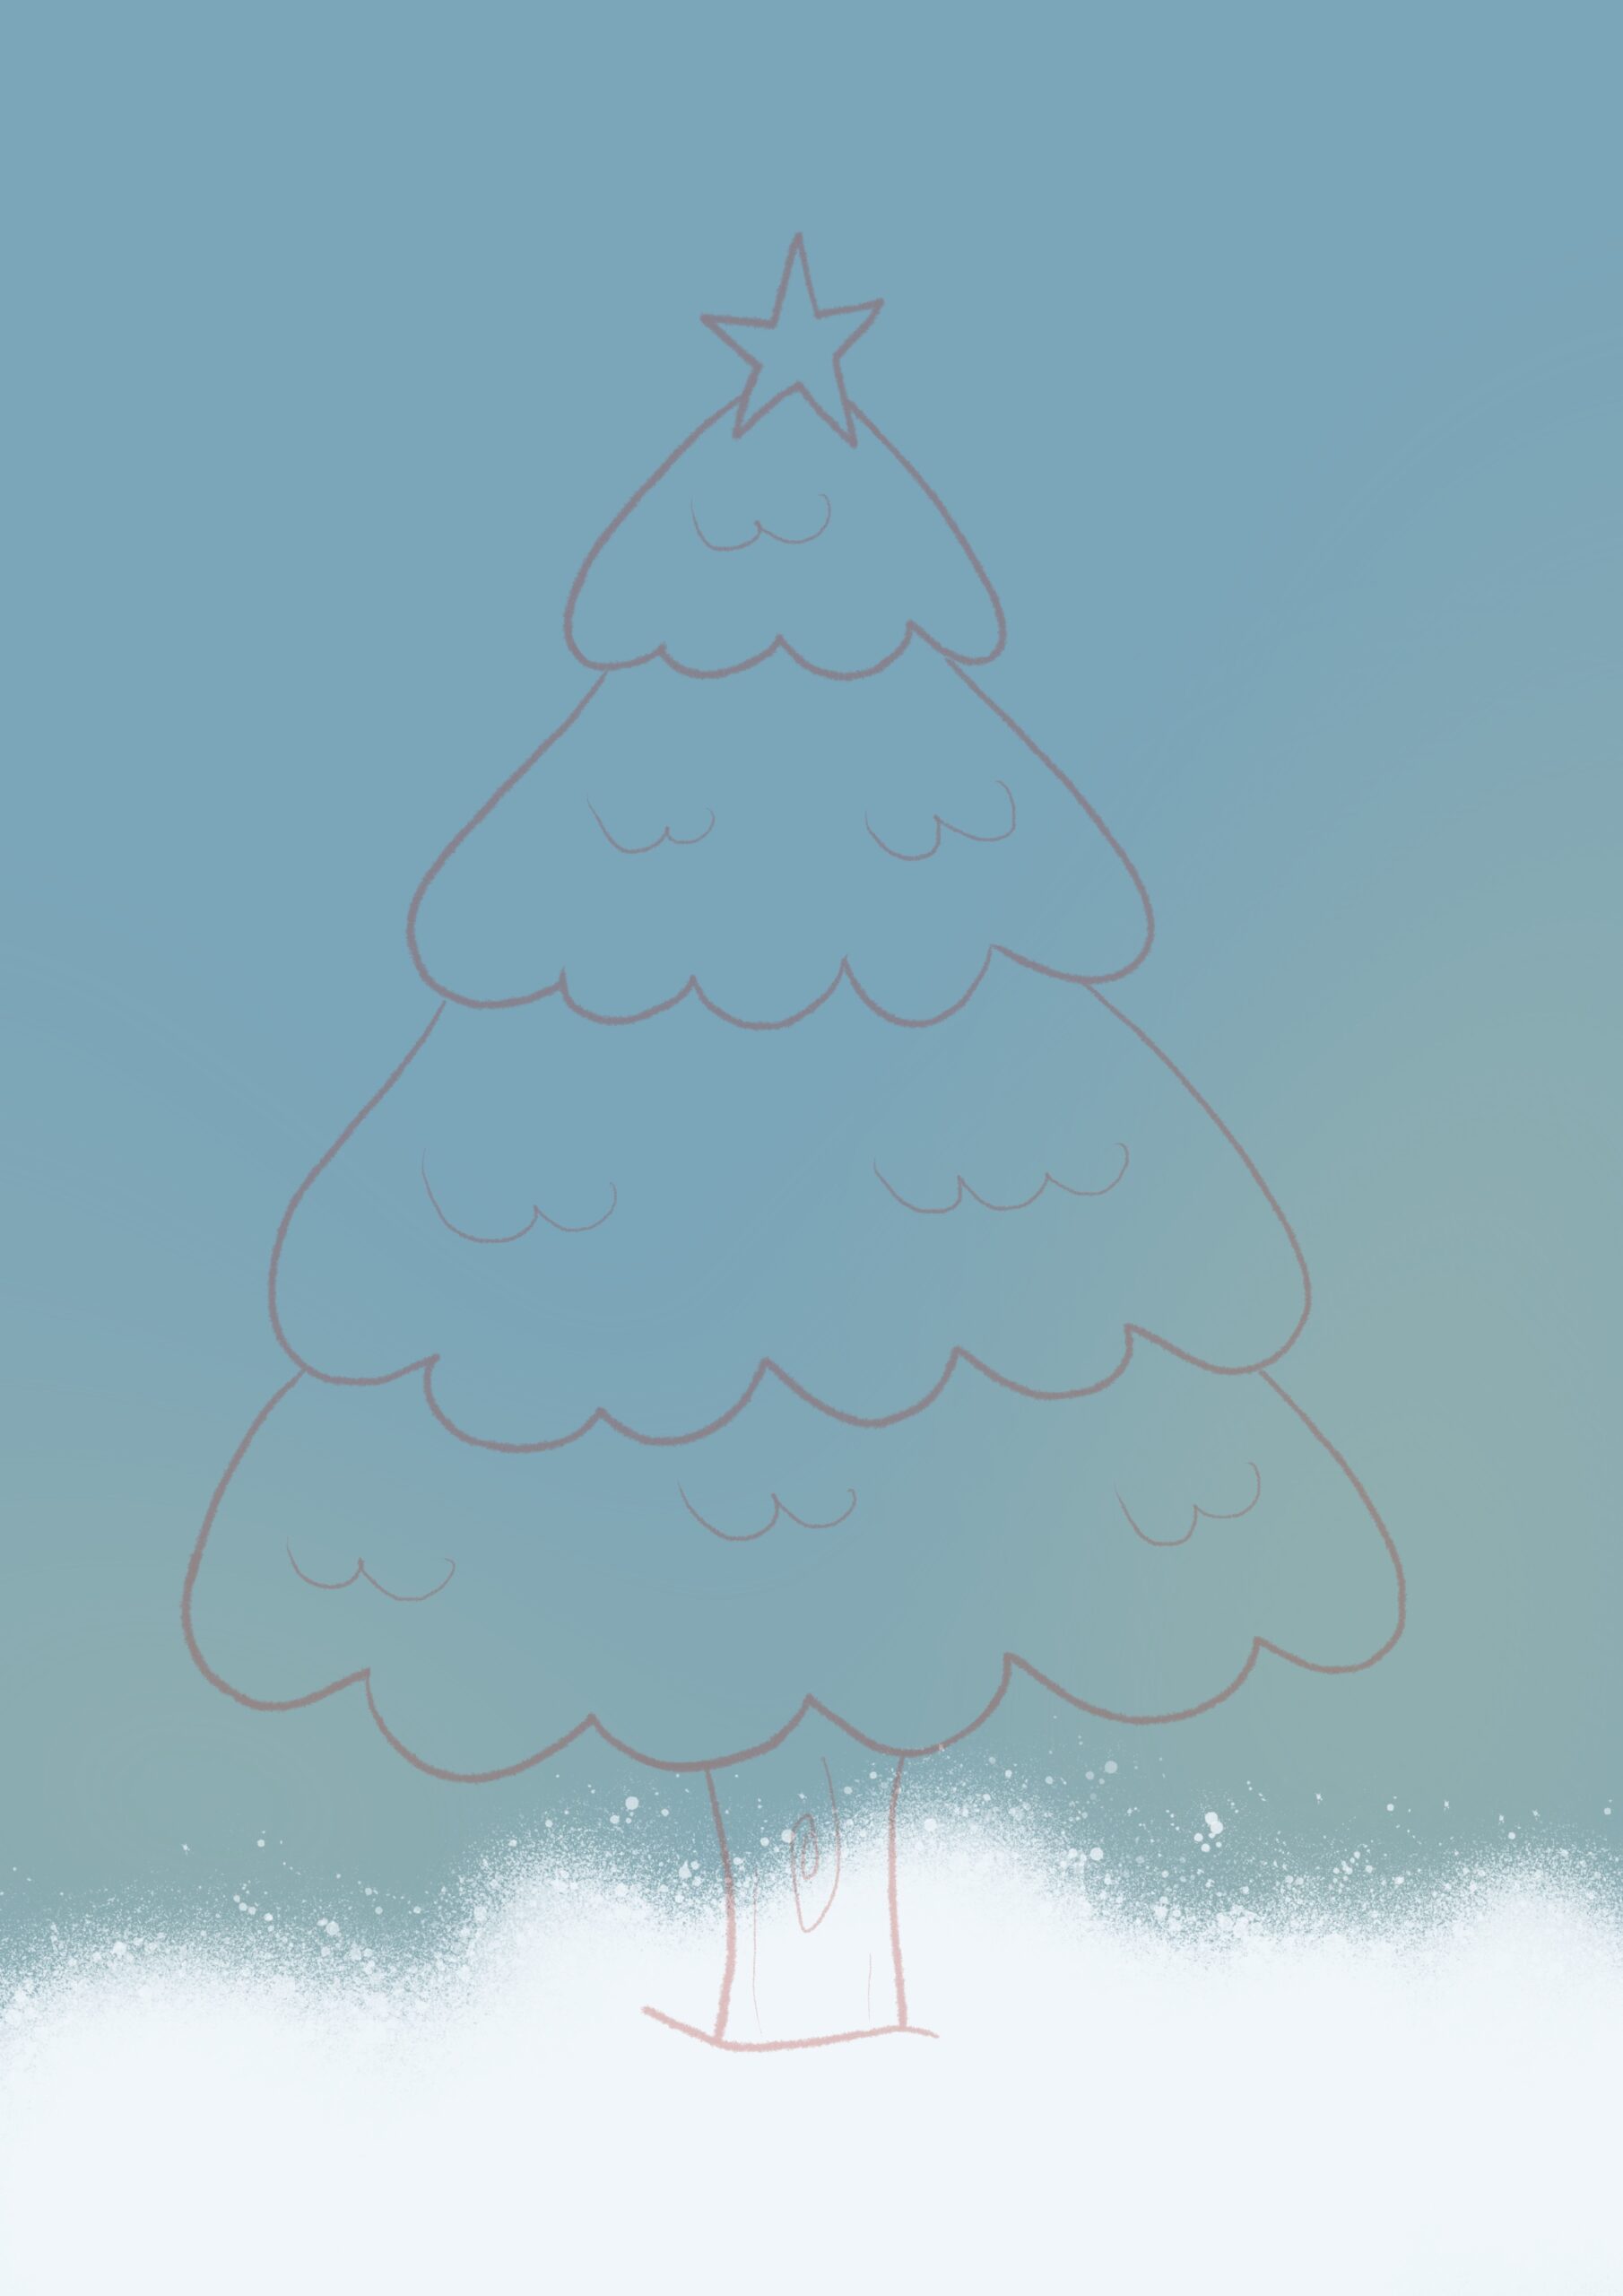
Step 3: Paint the background
Set the scene with a soft, wintry blue background. Add falling snowflakes to create that cozy, frosty atmosphere—it’s like stepping into a snow globe!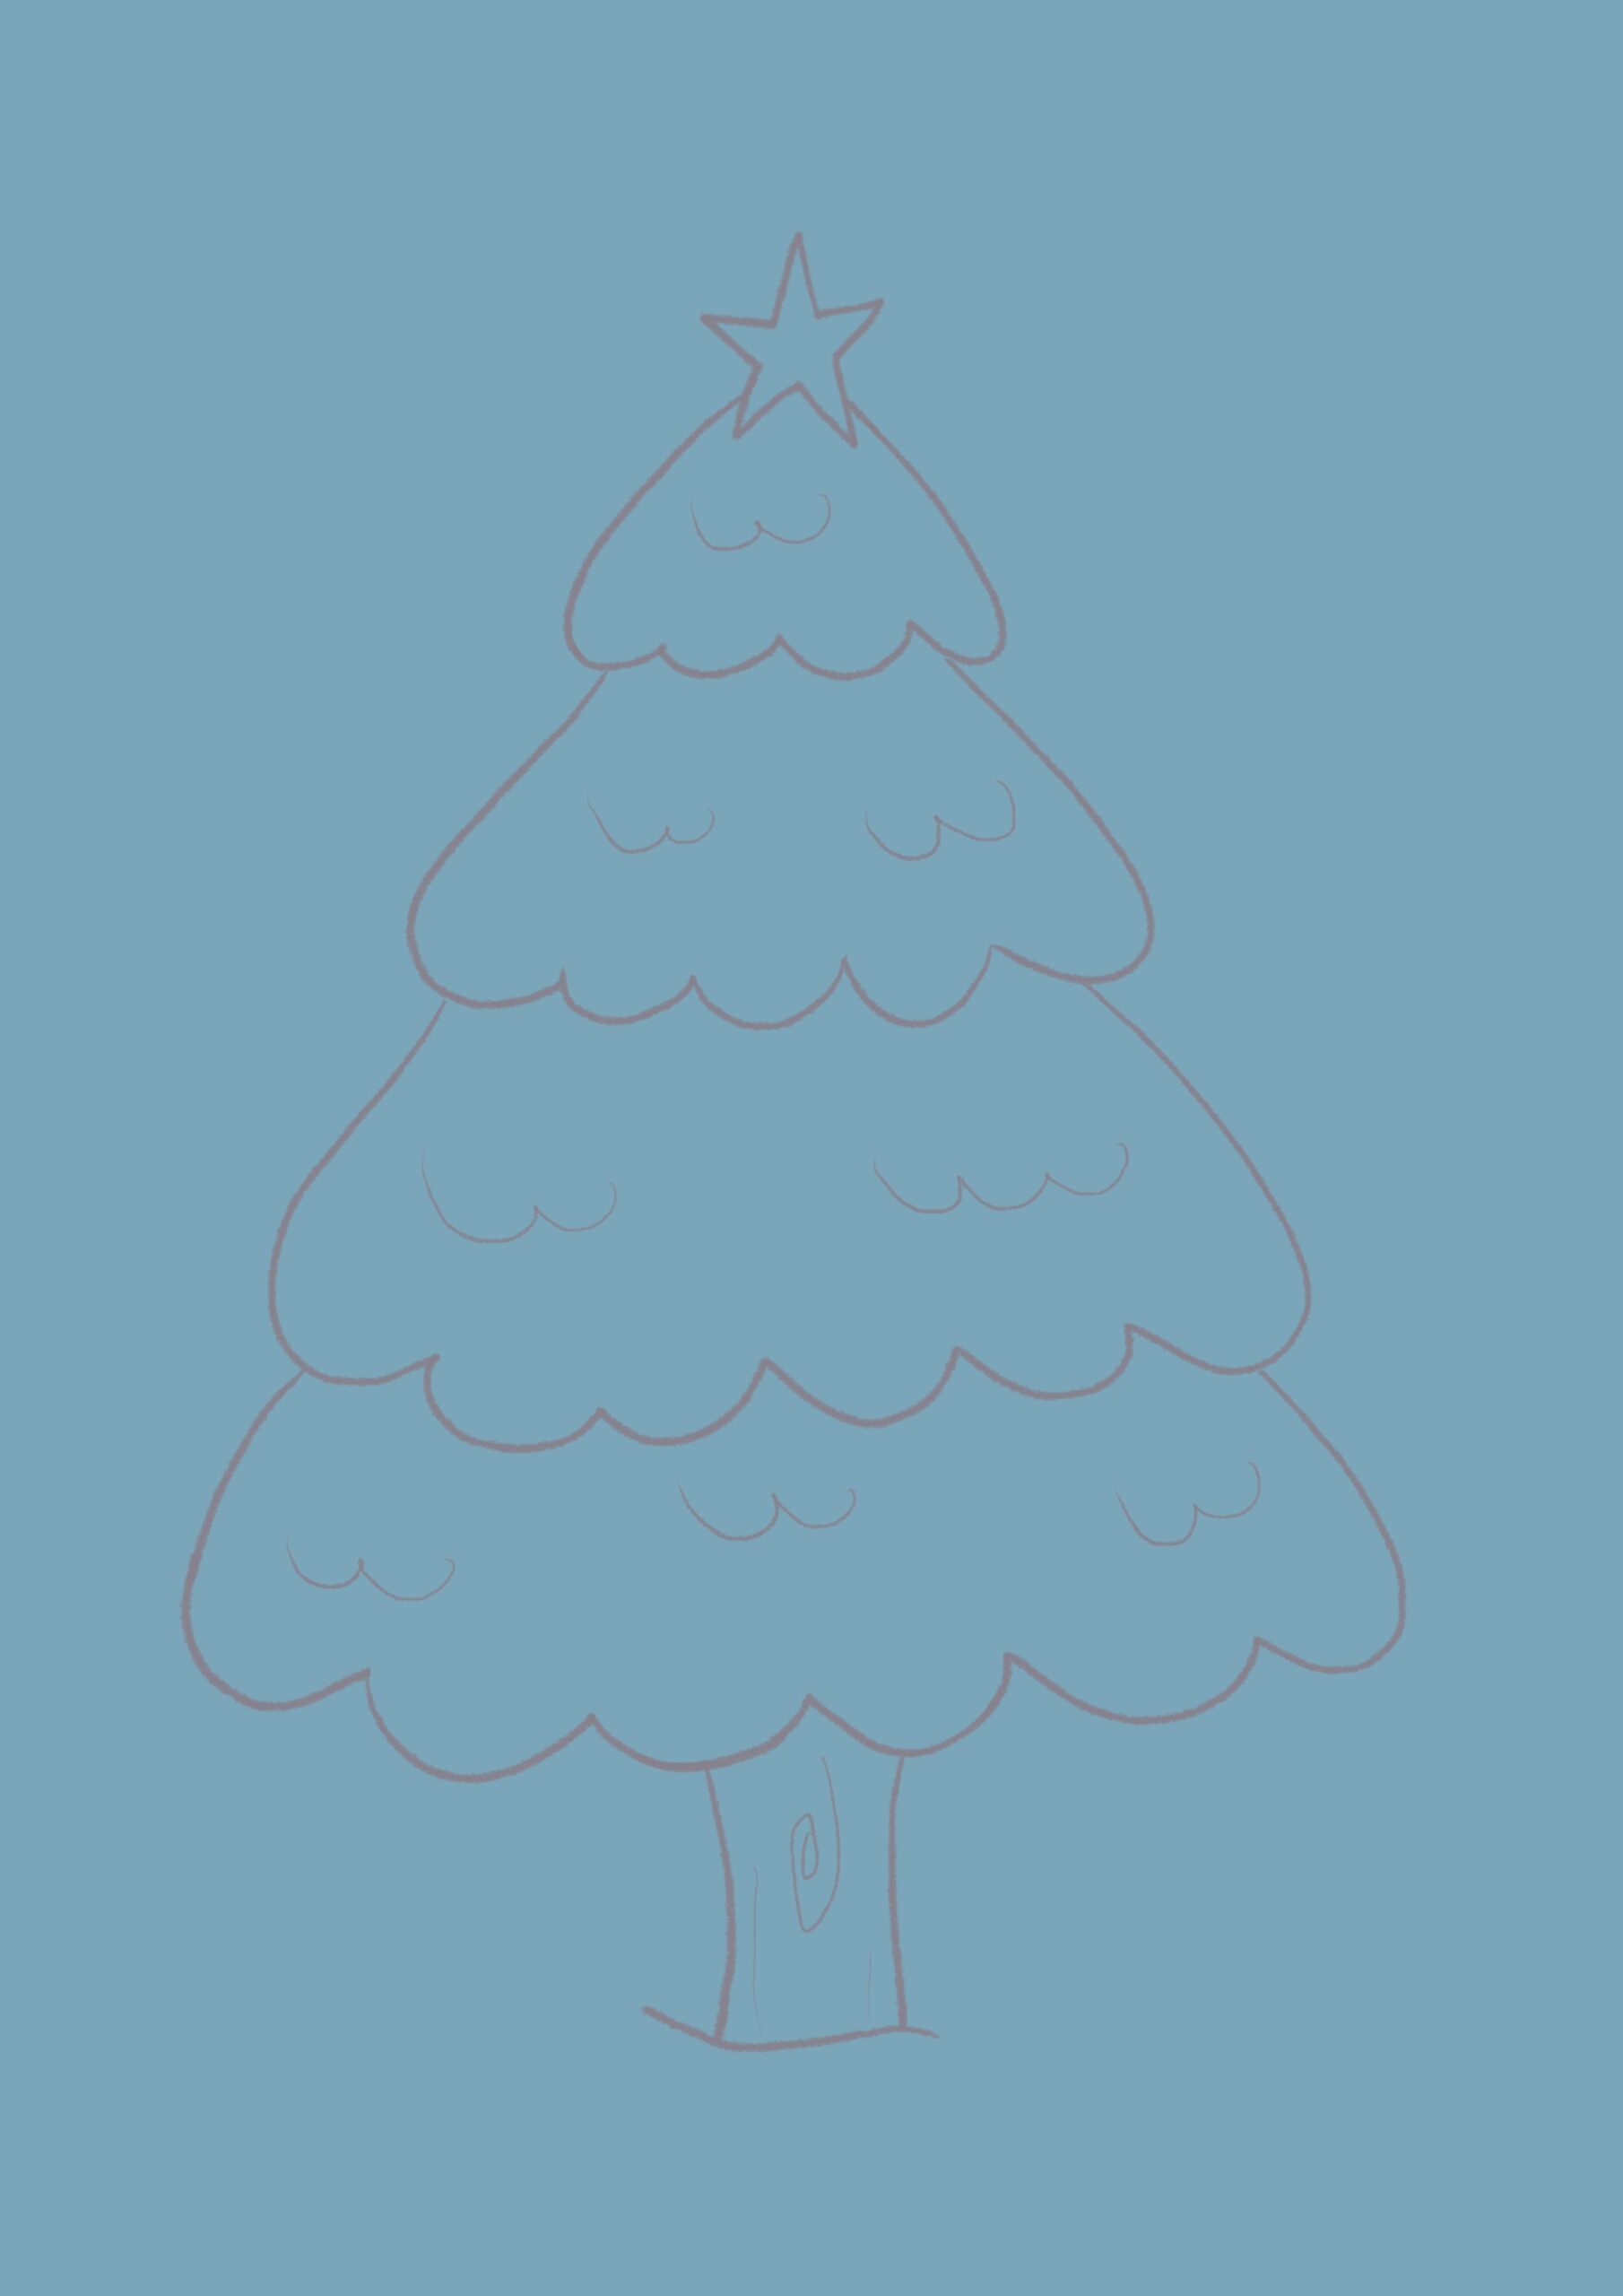
Step 4: Color the tree leaves
On separate layers, fill each tier of the tree with a rich green. This is where the tree starts to come alive! Layer by layer, it’s beginning to feel like Christmas already.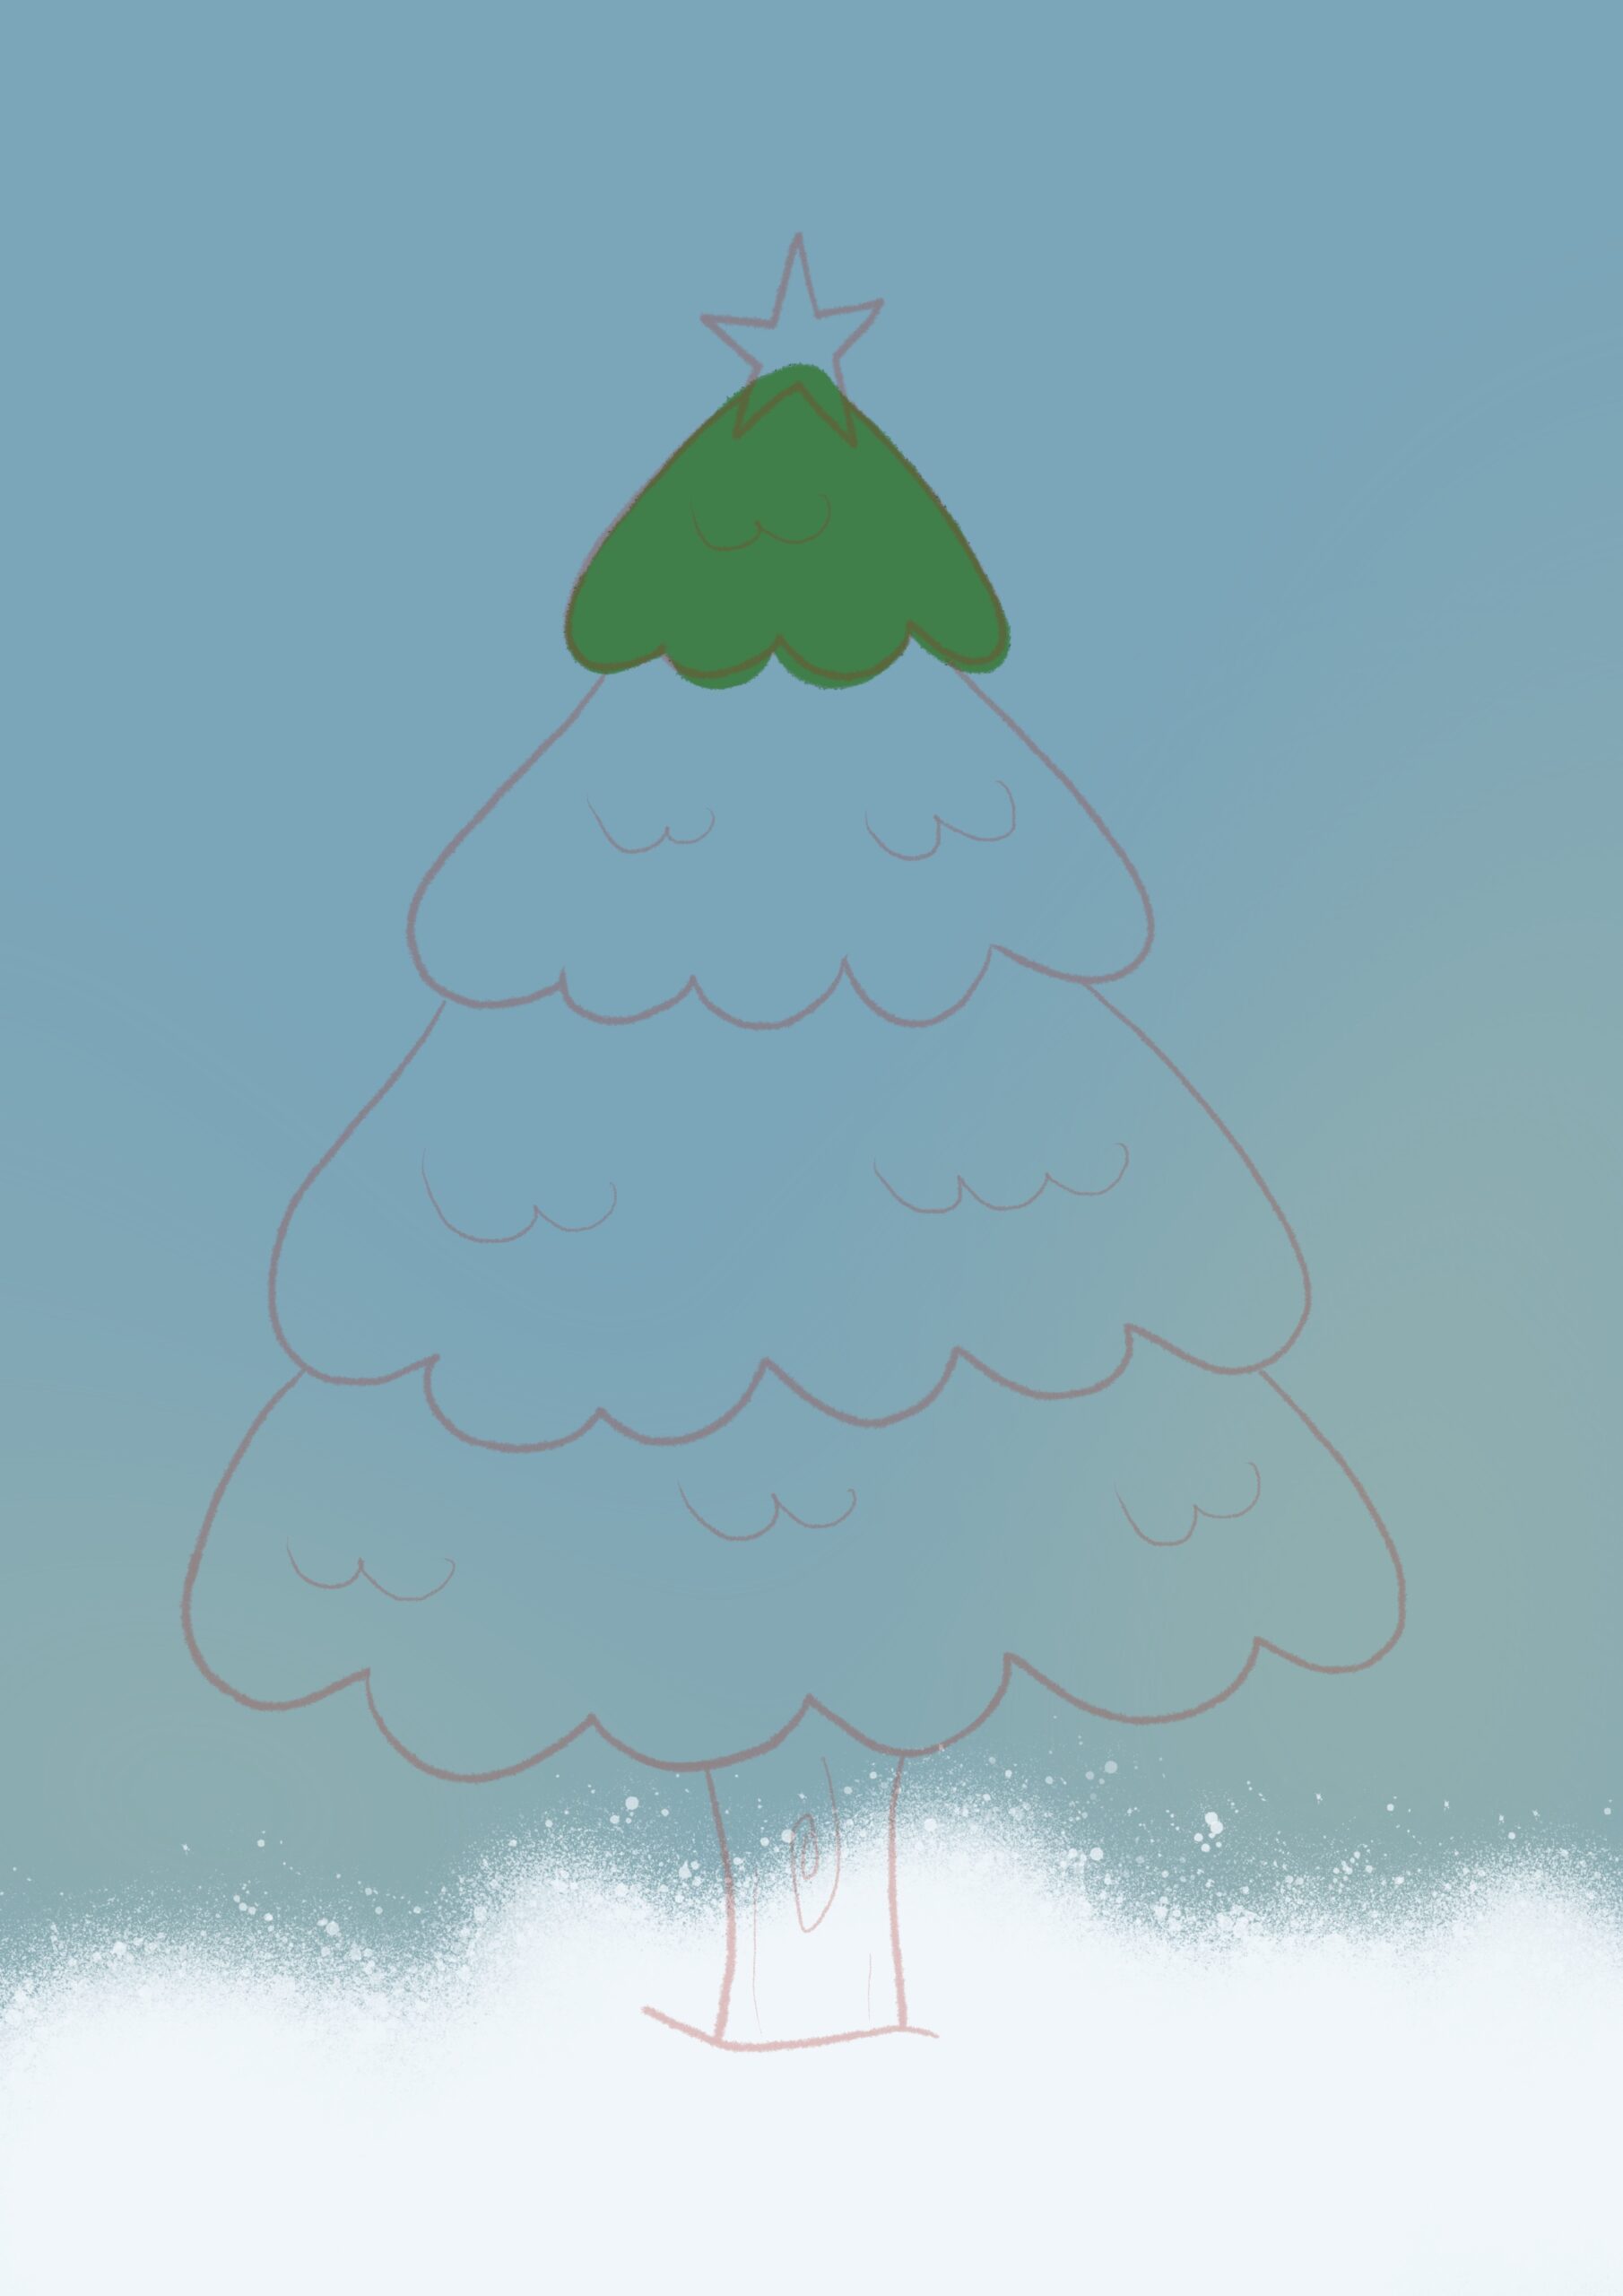
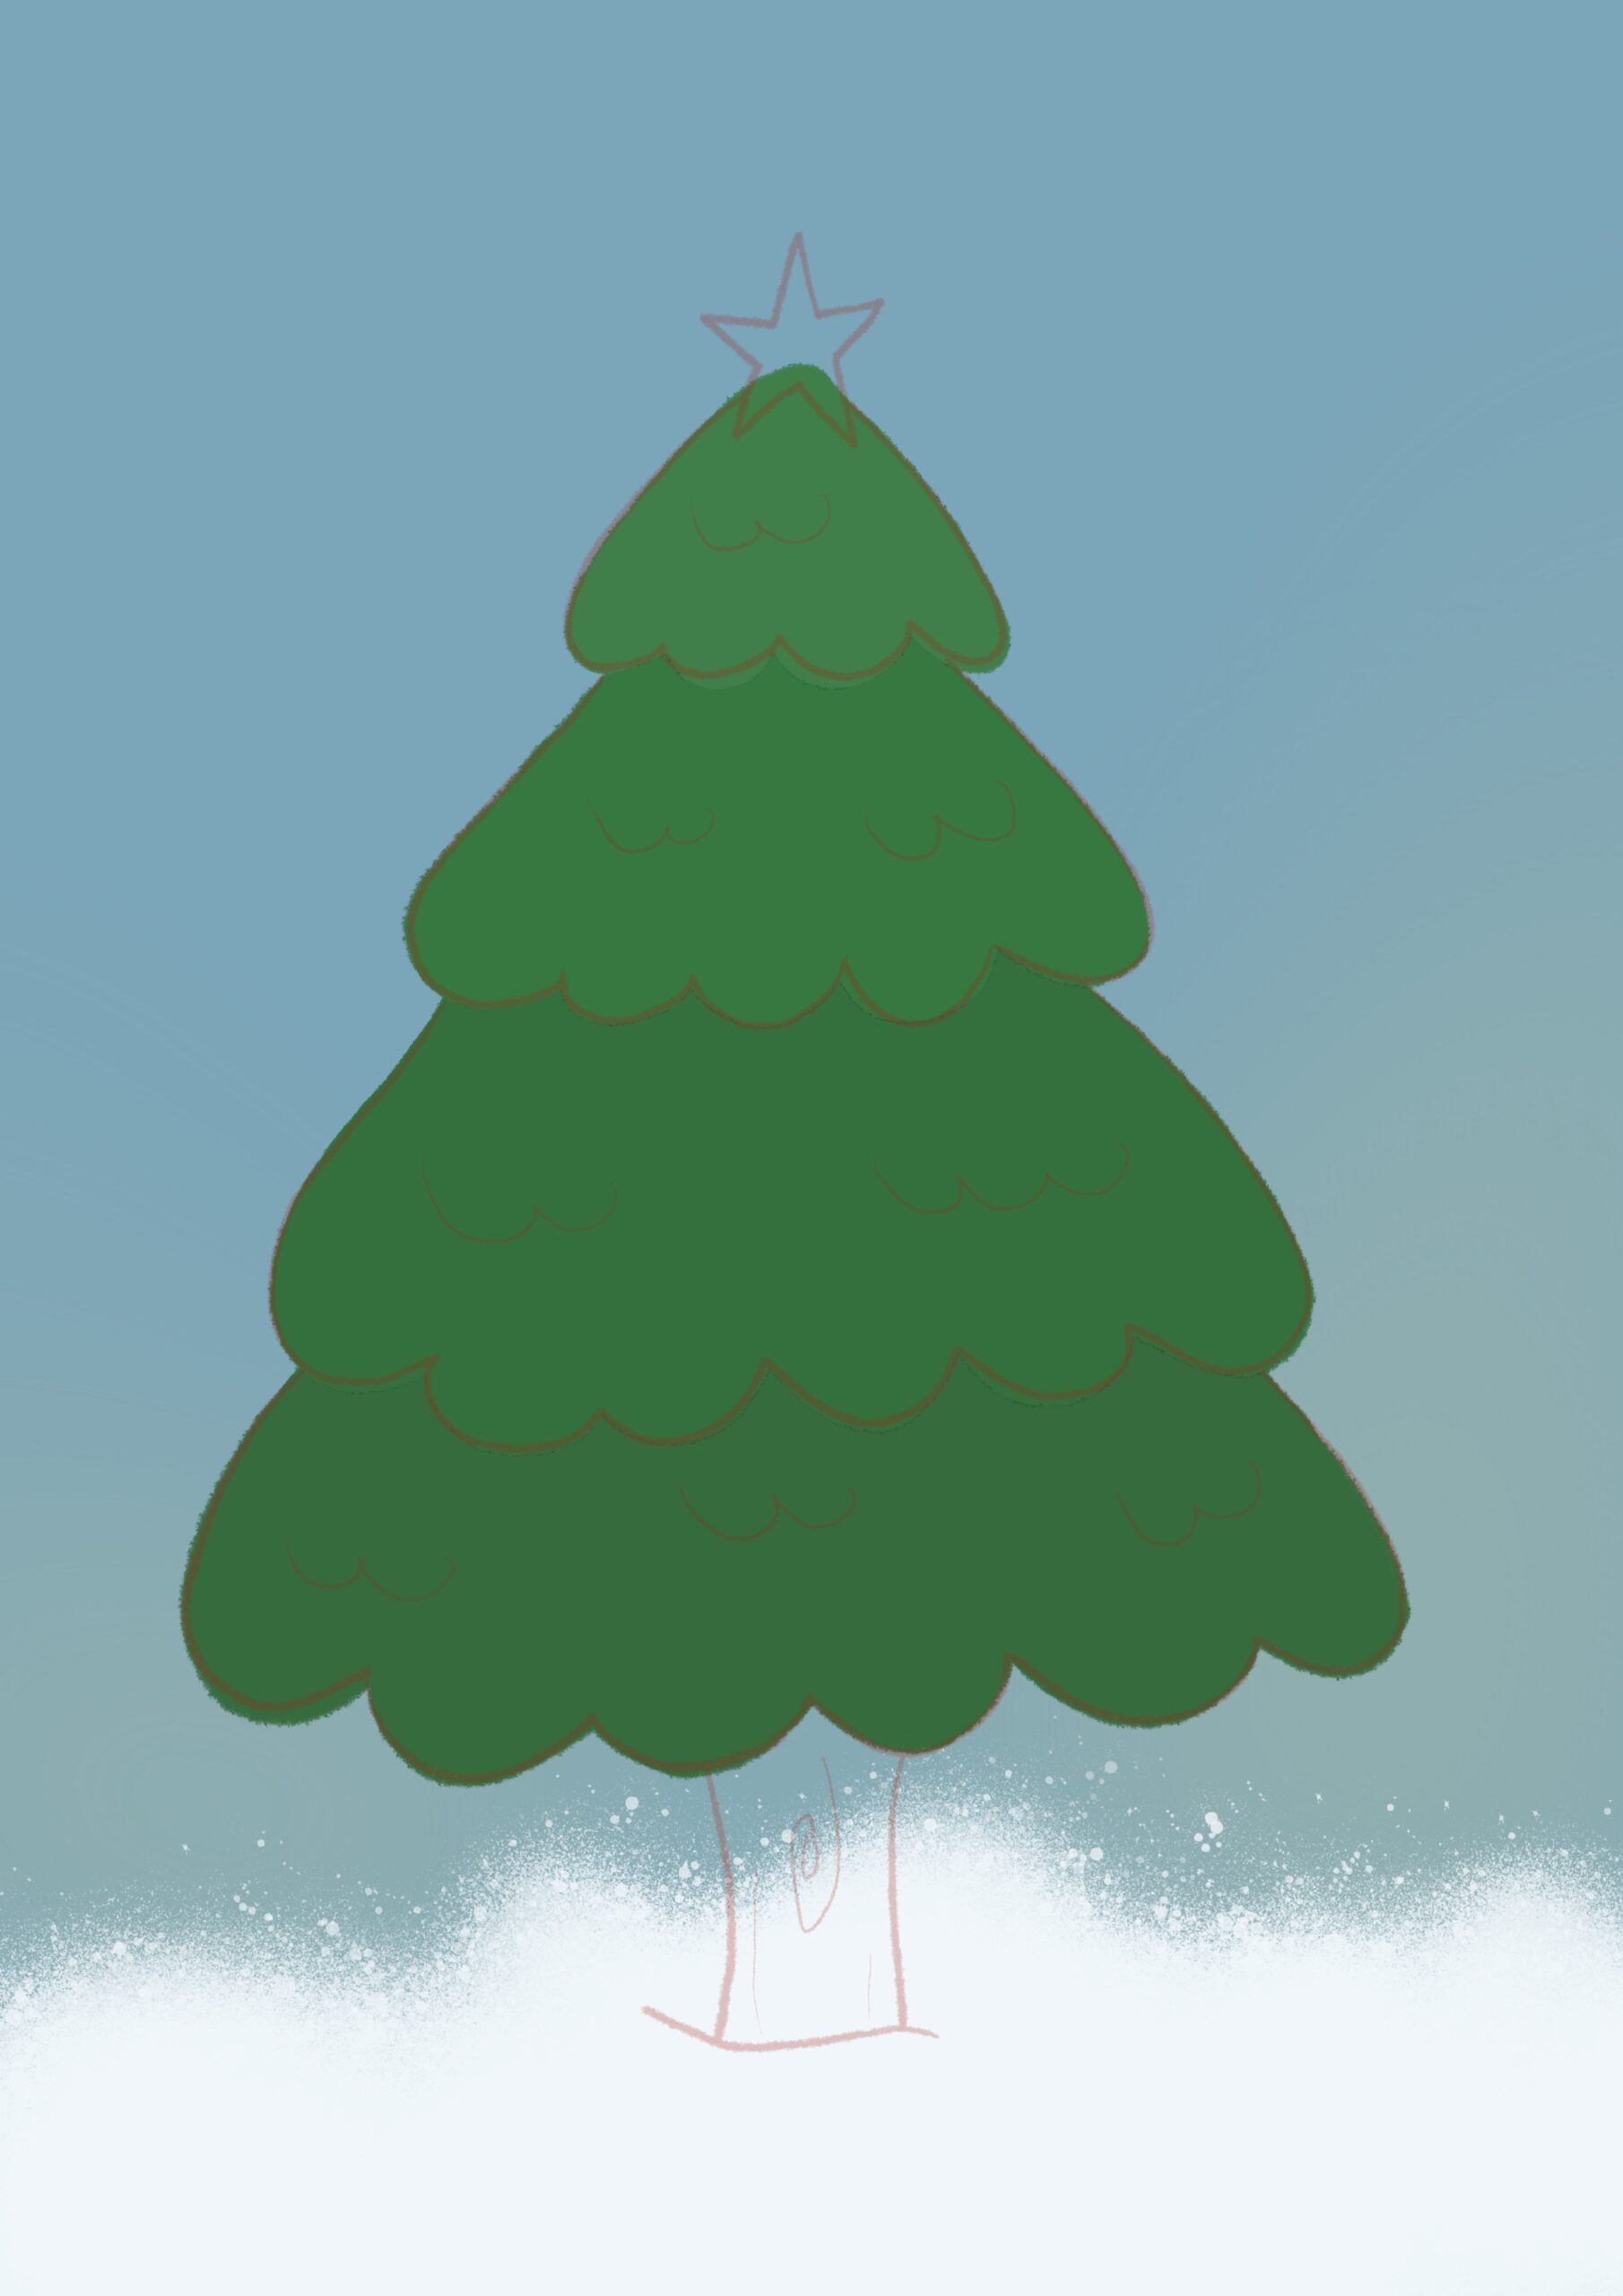
Step 5: Add shadows for depth and color the tree trunk
Use darker green shades to add soft shadows under each layer of leaves. This step creates dimension and makes your tree look lush and full—like it’s ready to light up the room! And don’t forget to color the tree trunk in a brown color!!
Step 6: Bring the tree to life!
Now it’s time to make your Christmas tree stand tall and proud! Add soft, natural shadows to each layer of the tree’s leaves to create a sense of depth and dimension. Let the tree come alive with a fuller and more realistic look.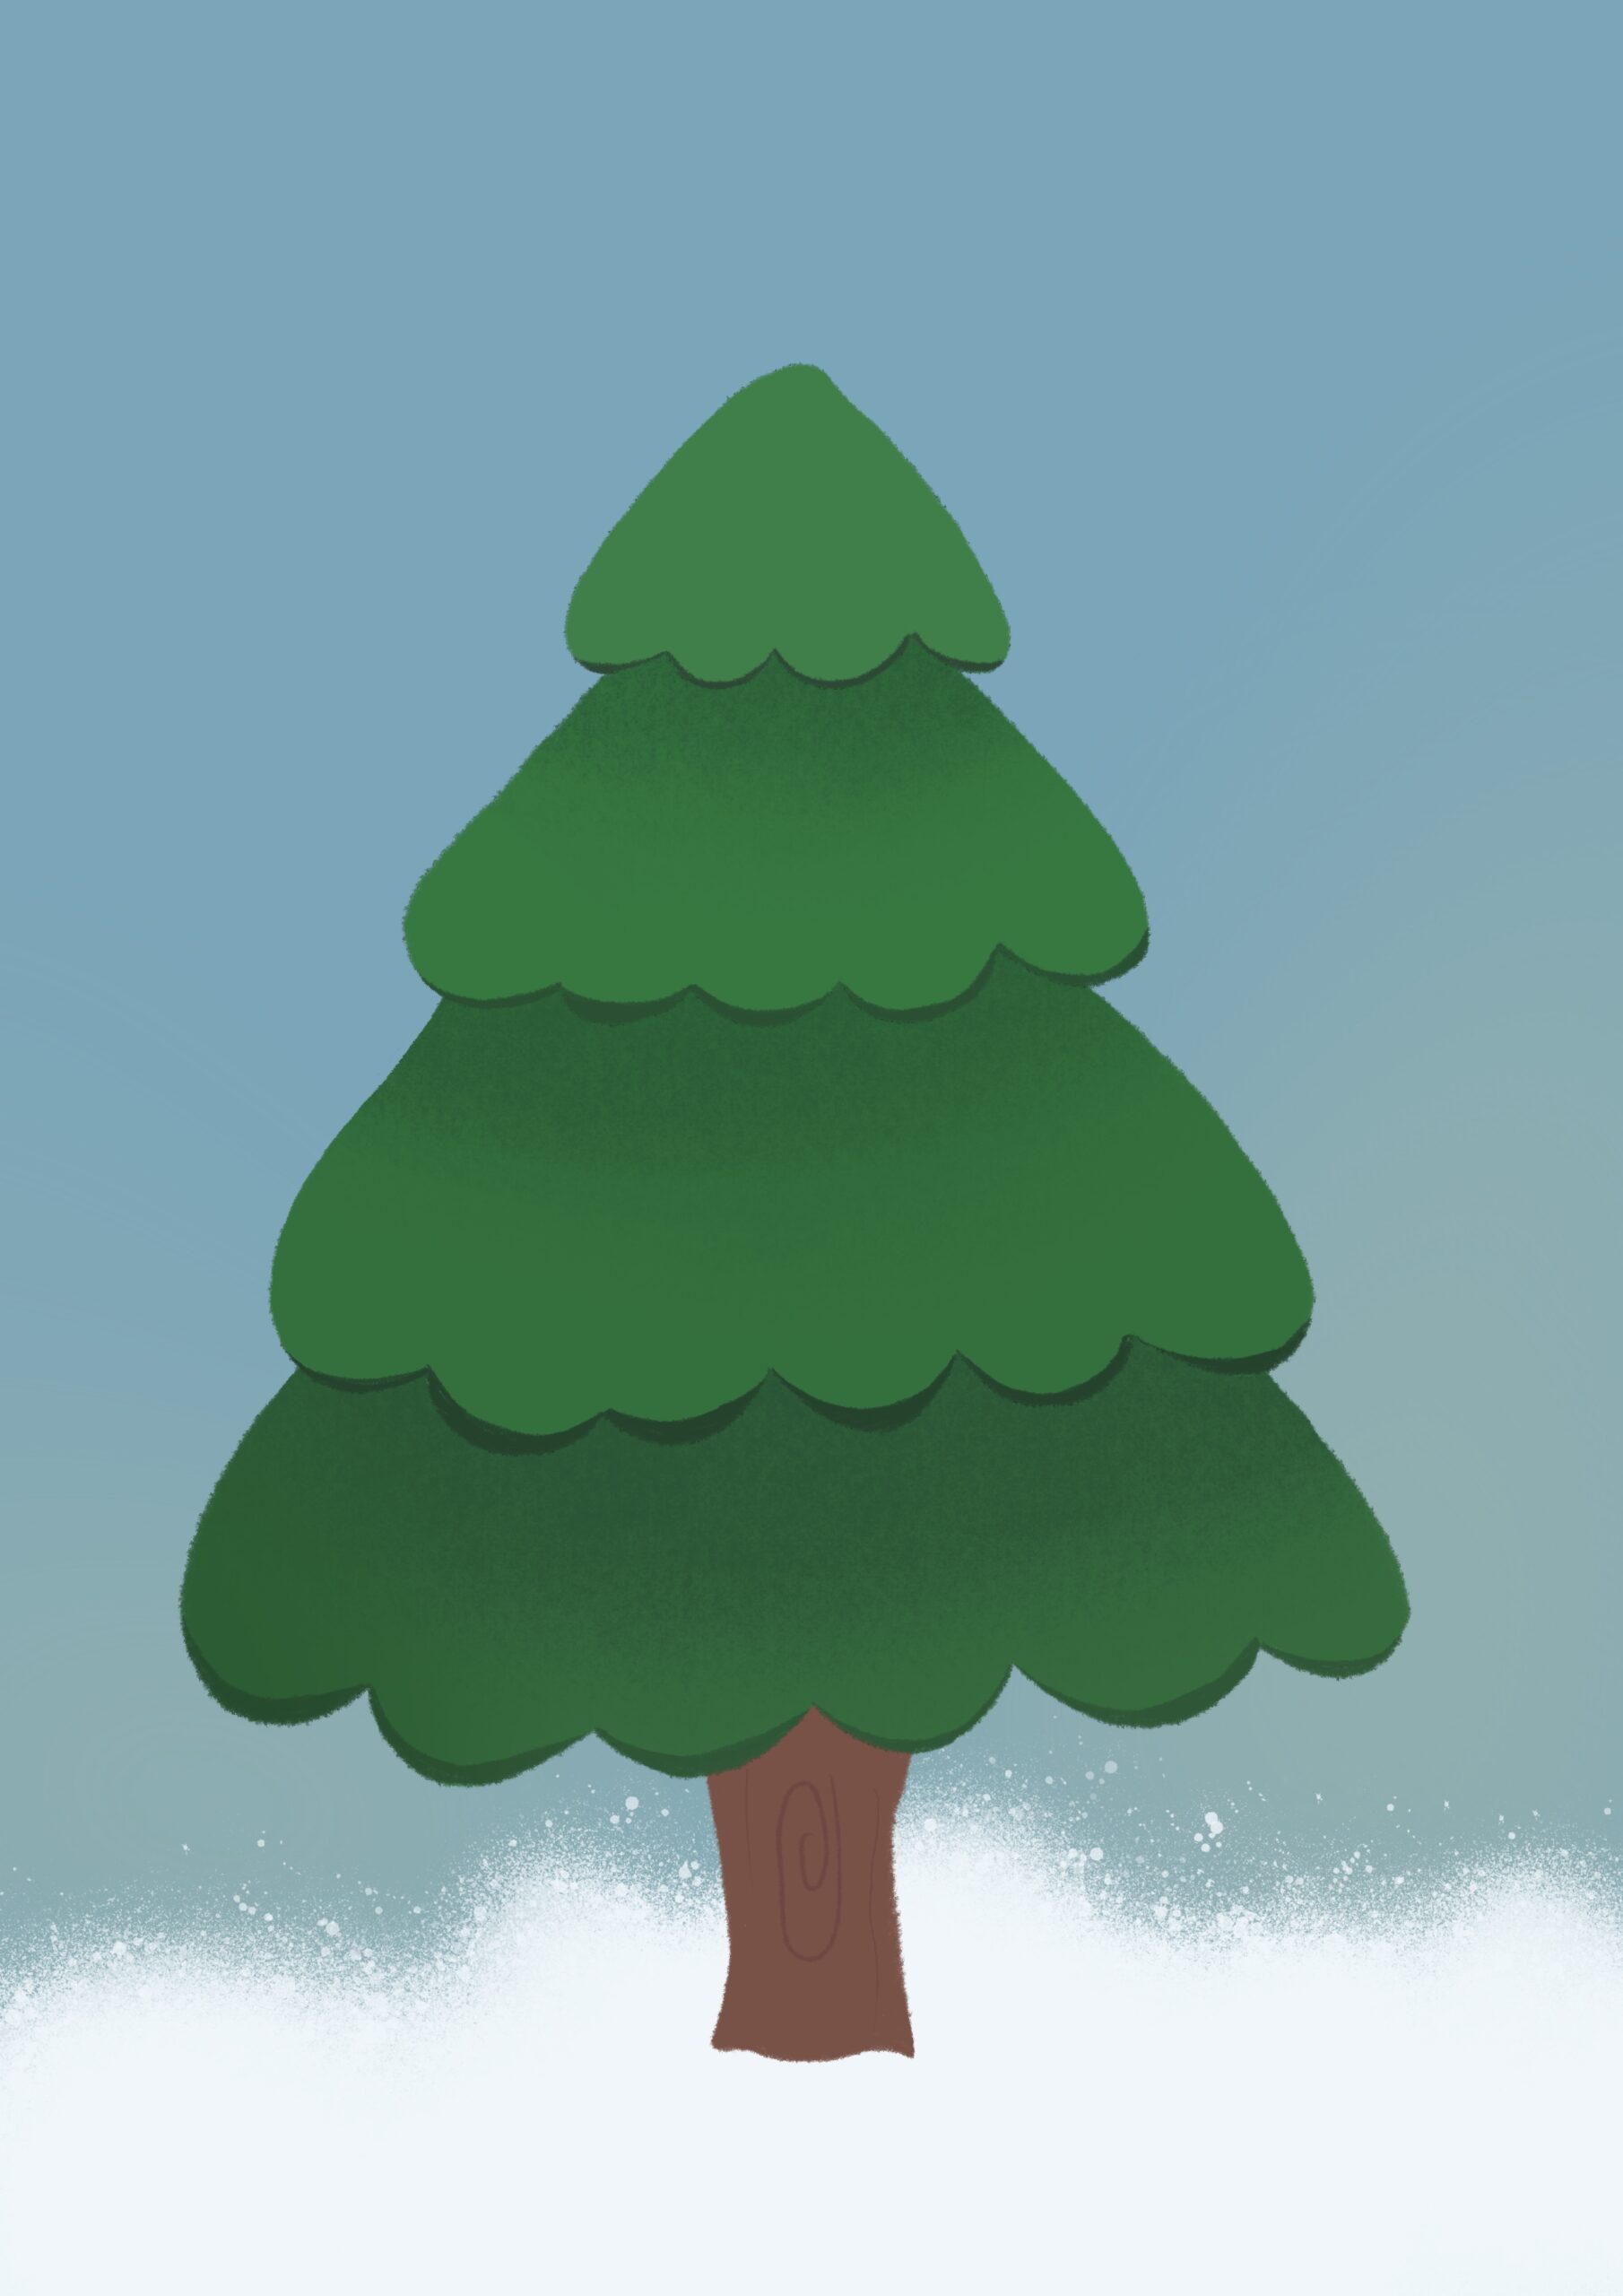
Step 7: Color the lights and star
Brighten up your tree by adding festive lights in bold colors like red, yellow, and orange. Then, top it off with a glowing golden star. The tree is starting to sparkle with holiday magic!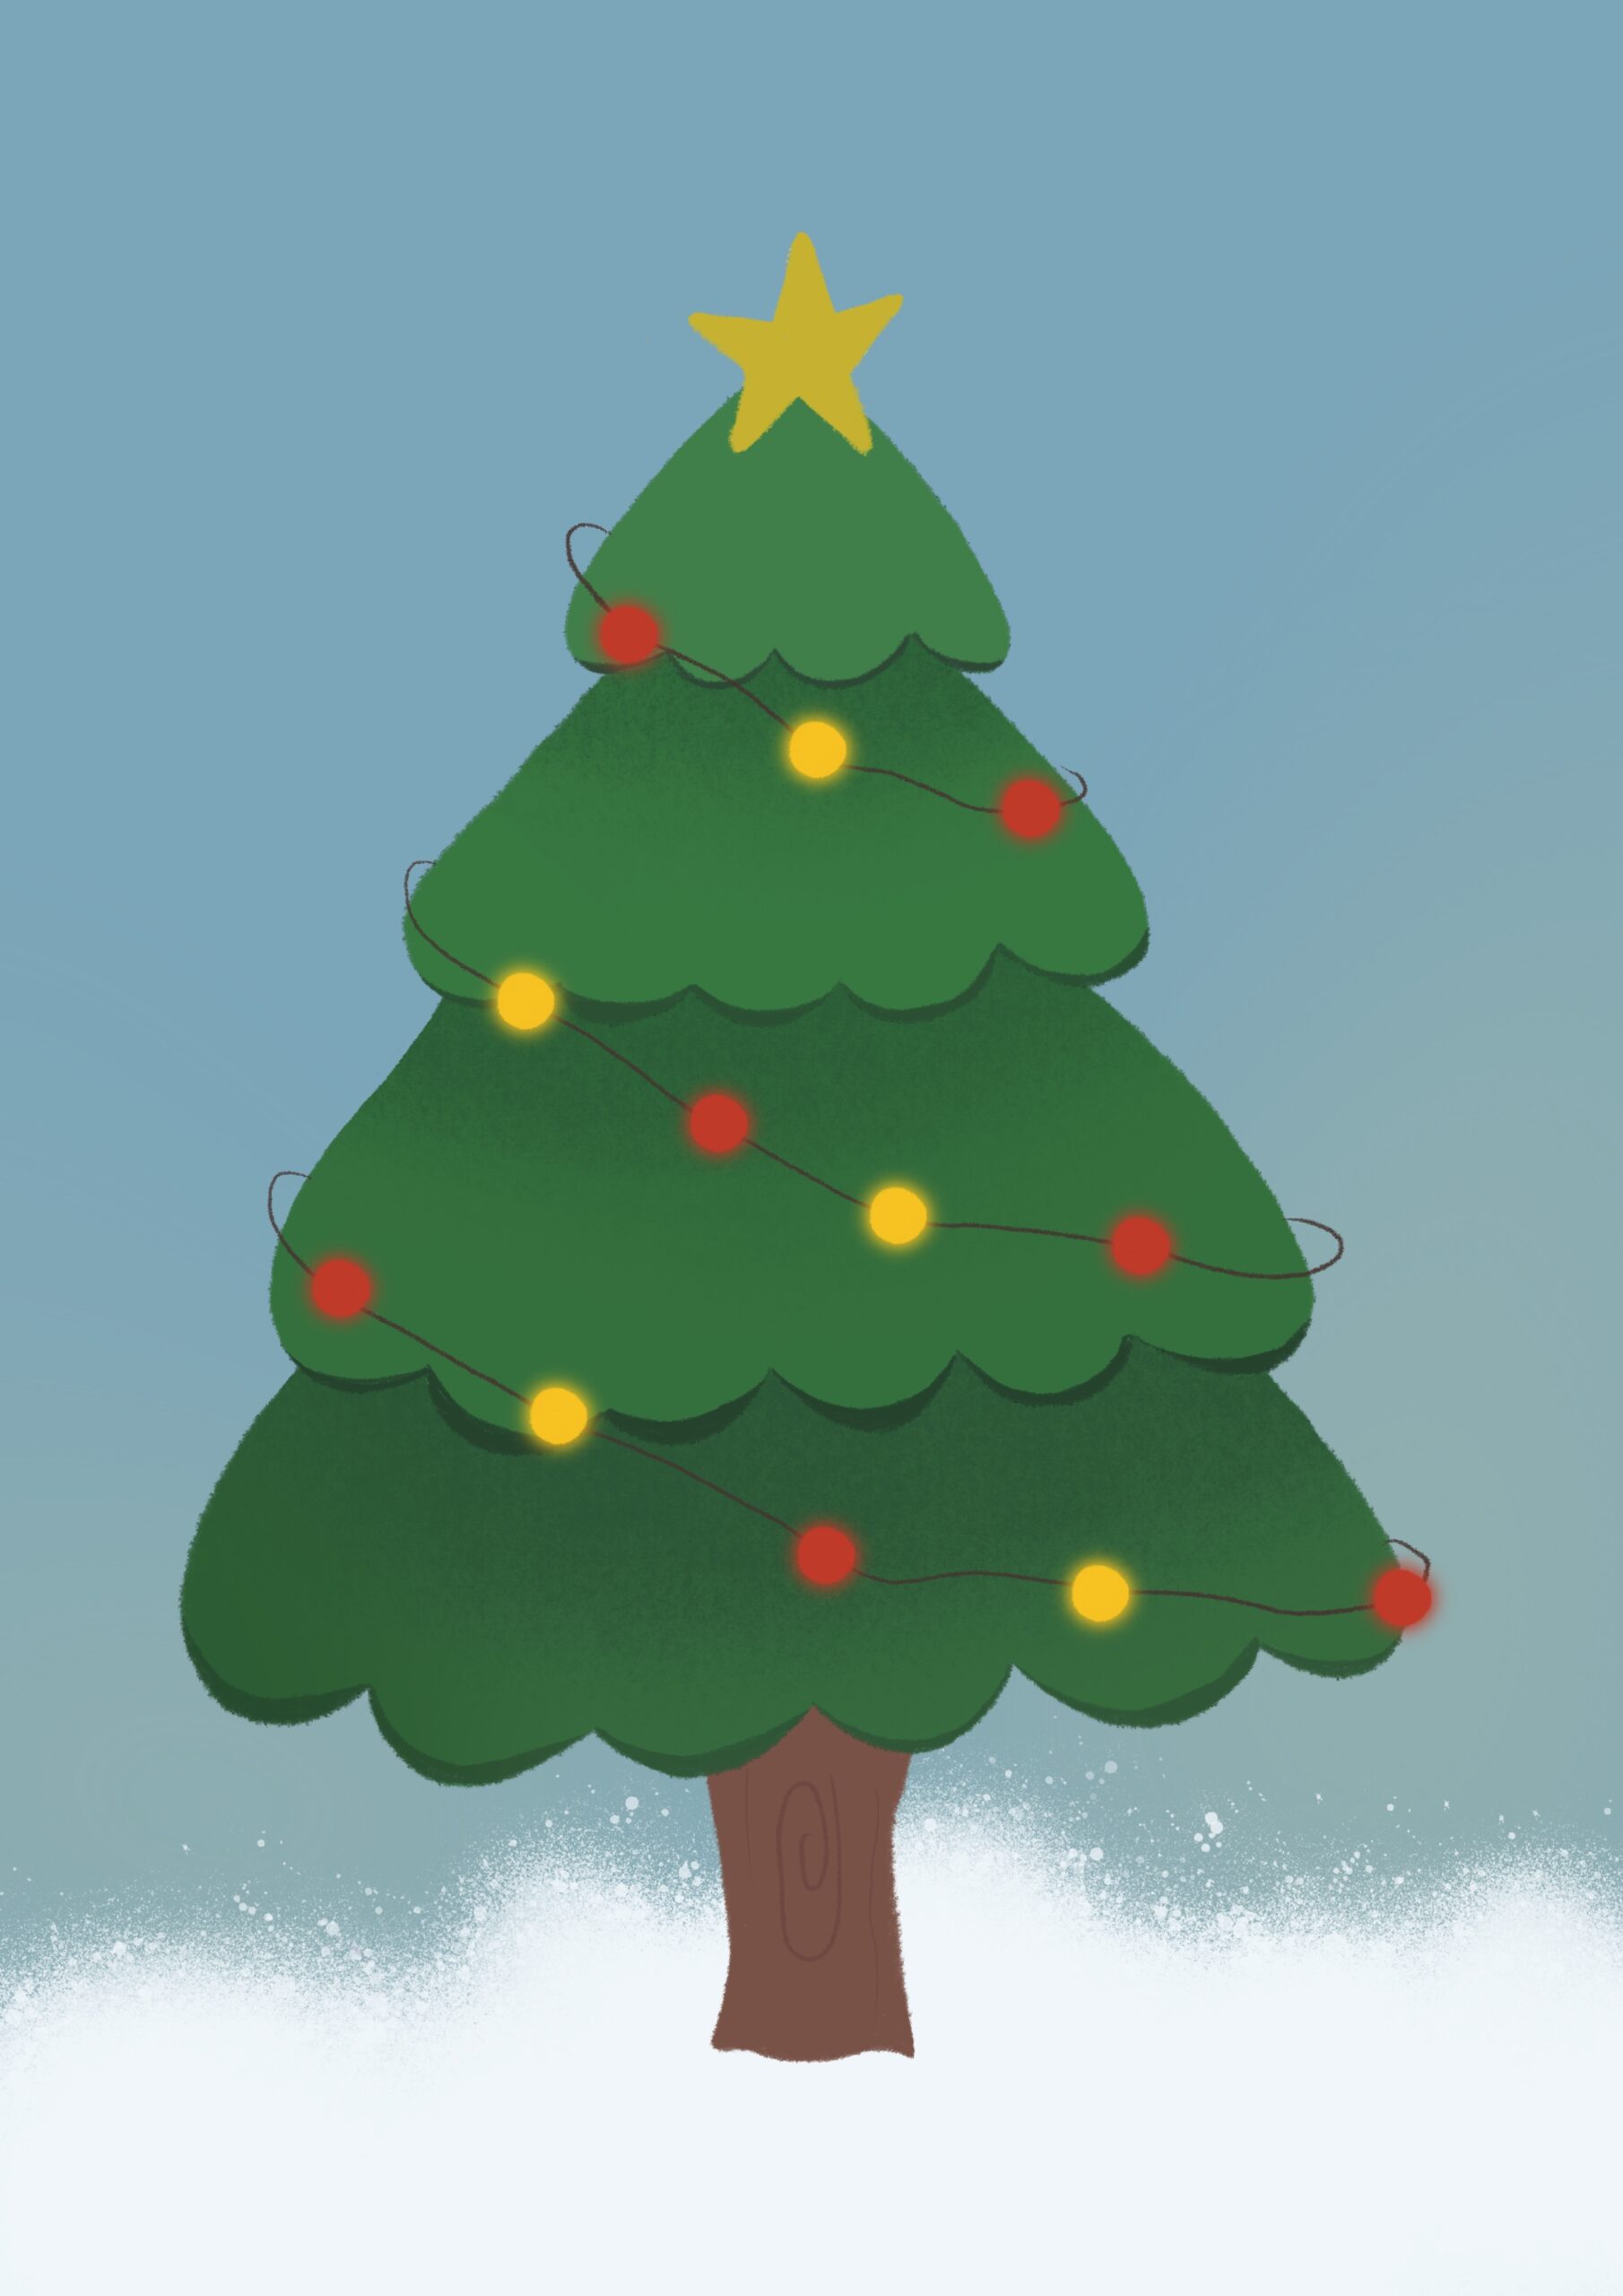
Step 8: Final Touches
Bring the winter magic to life by adding fluffy patches of snow stacked gently on the tree branches. Tehn, create a dreamy snow atmosphere by drawing delicate snowflakes falling in the background. This effect will give your illustration a cozy, frosty charm, making it feel like a scene from a perfect winter day.
Finish your masterpiece by adding a flurry of snowflakes and a soft layer of snow at the tree’s base. Let the snowflakes dance around your tree for that extra festive touch! ❄️🎄These tiny details pull everything together, making your scene feel like a serene winter wonderland.
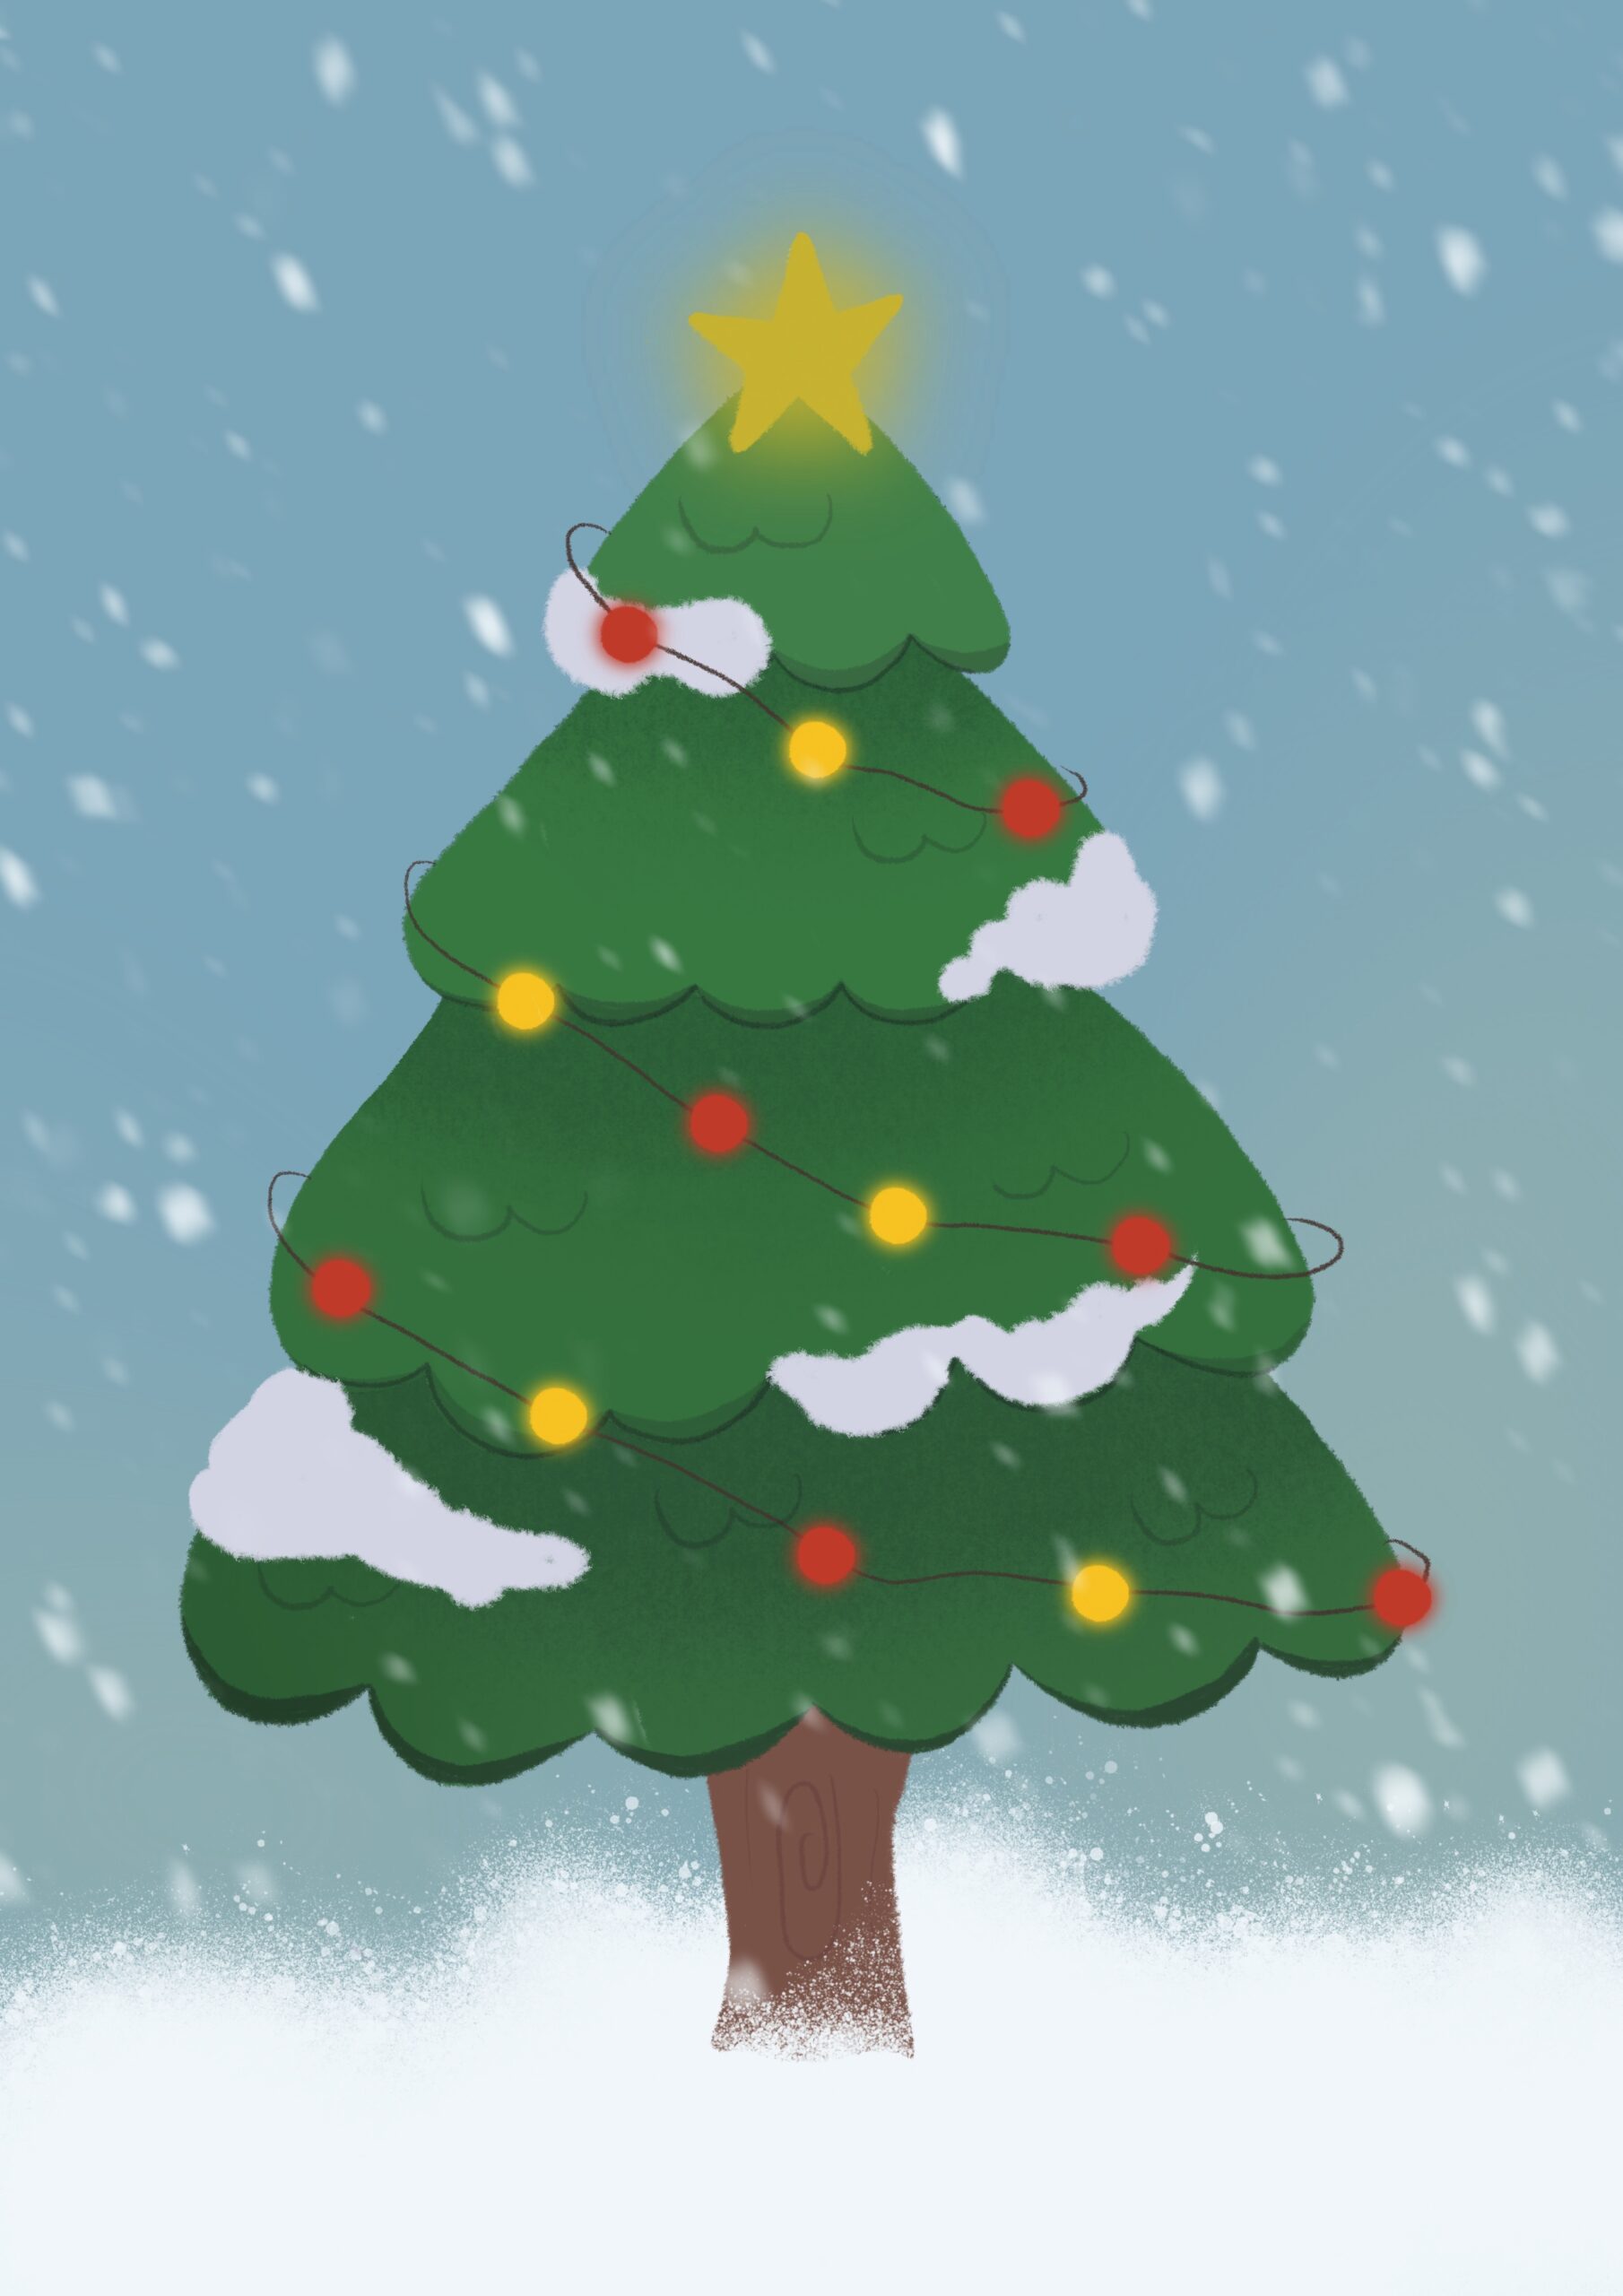
Congratulations! You’ve just created a Christmas tree that’s bursting with holiday cheer and frosty charm! 🎄✨ Whether you’re hanging it on your wall or sharing it with friends, your masterpiece is sure to bring a smile to everyone who sees it. Add your own twist—maybe a garland or a pile of presents beneath it—and let your creativity shine brighter than the star on top. Happy drawing and happy holidays! 🎅❄️

