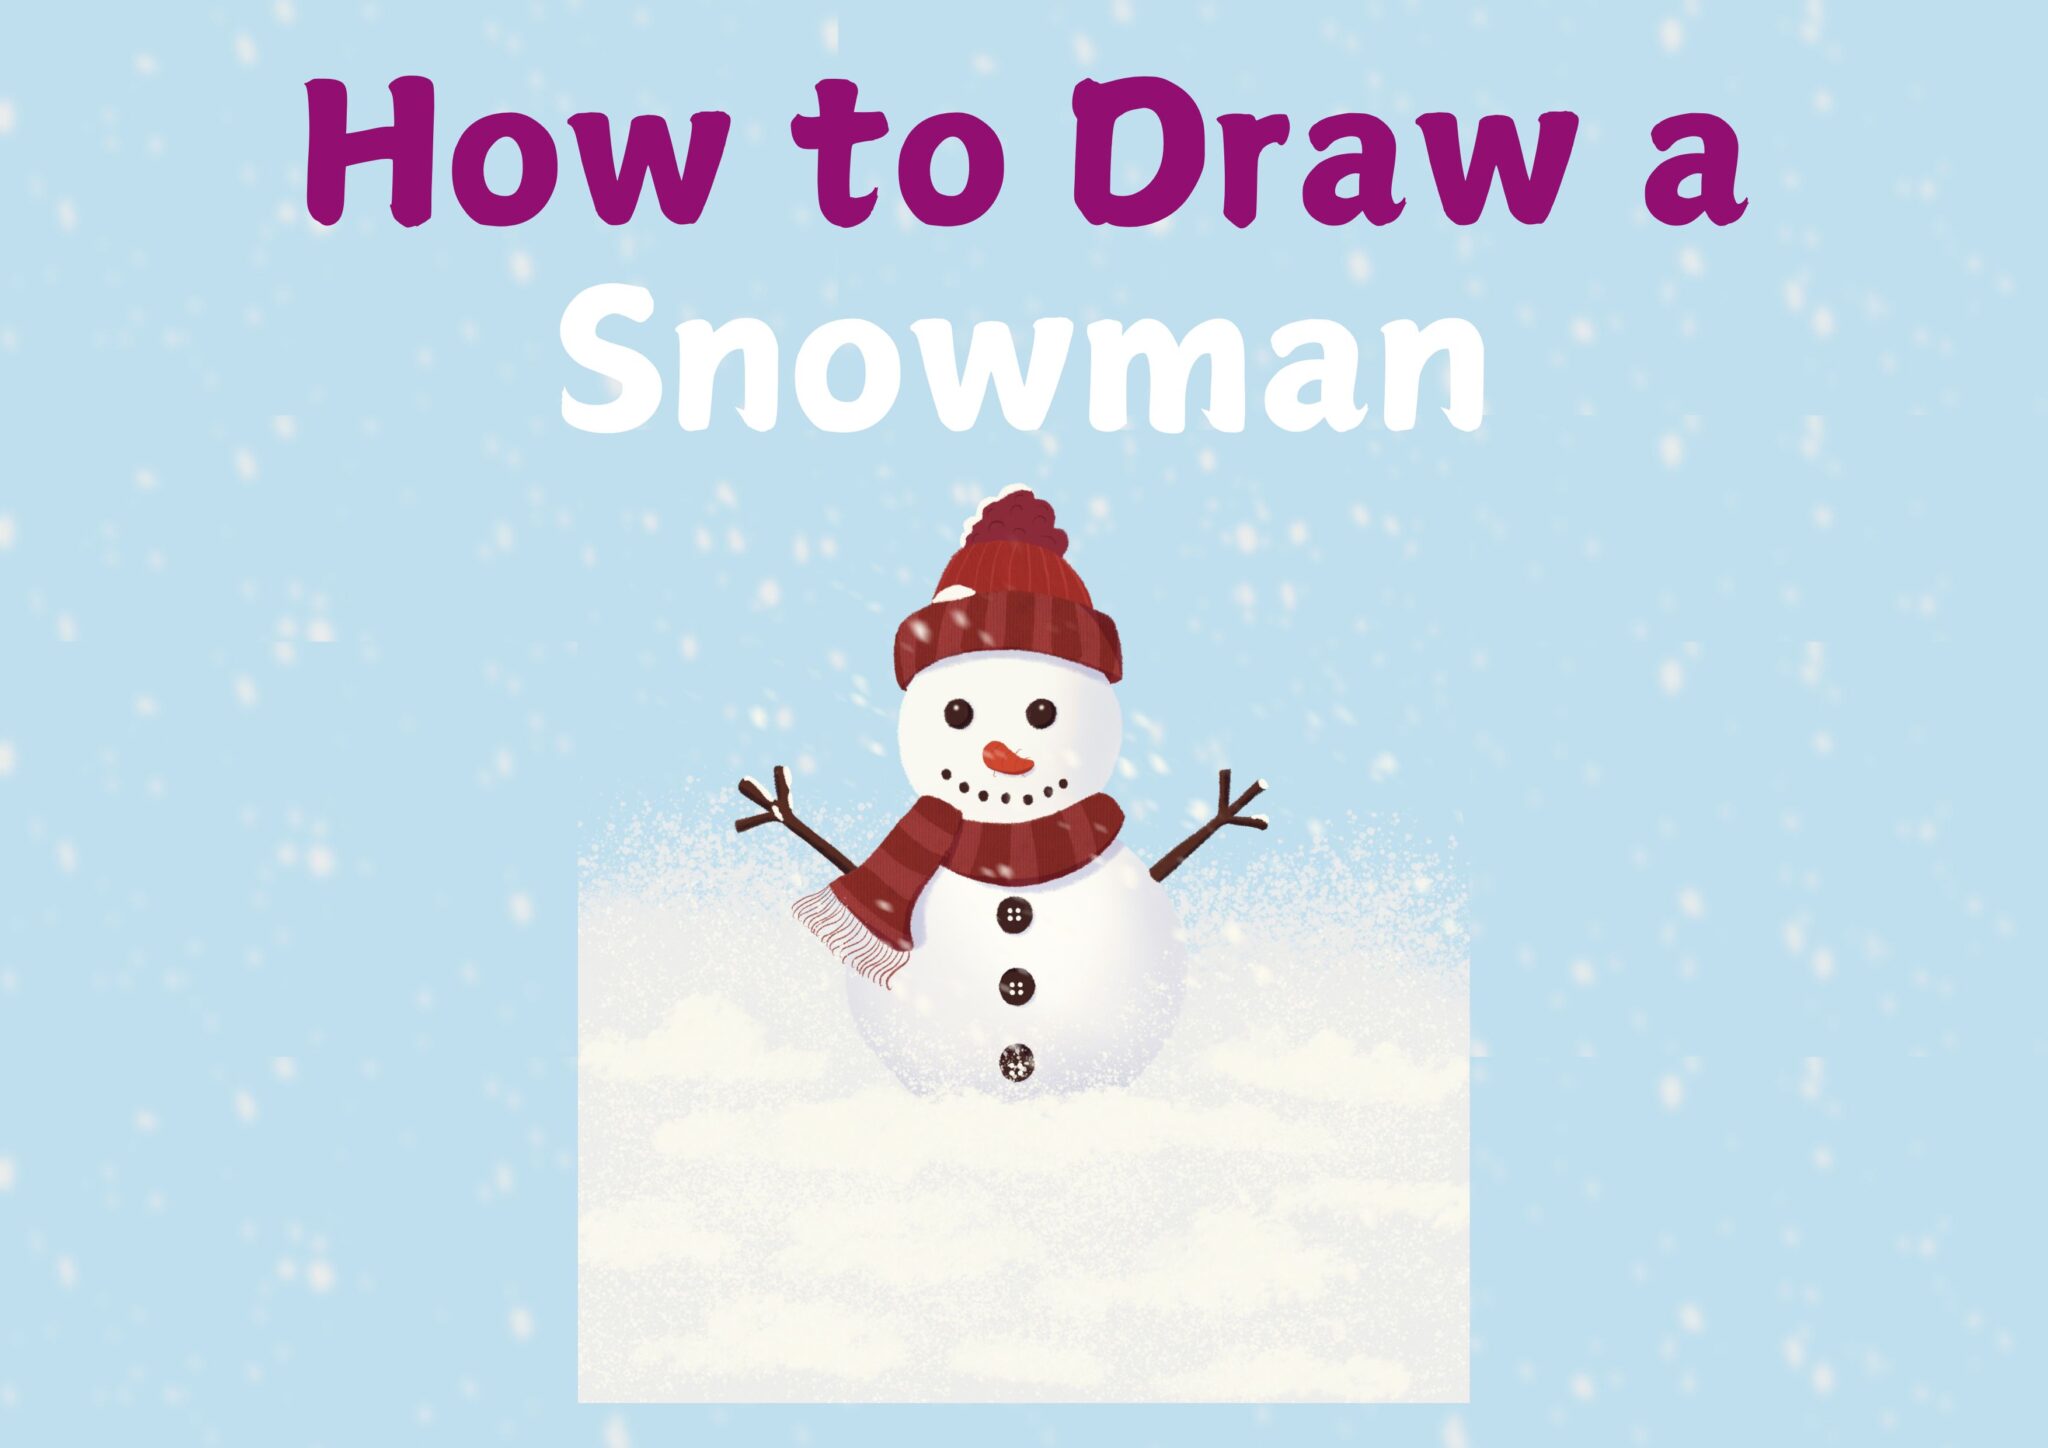
Get ready to bring a cheerful snowman to life with this fun and easy-to-follow step-by-step tutorial! Whether you’re a beginner or an experienced artist, this guide will walk you through each stage of creating a cute snowman, from sketching the basic shapes to adding the final snowy touches. With simple techniques and a bit of creativity, you’ll have a delightful snowman illustration ready to brighten up your winter season. Let’s get started!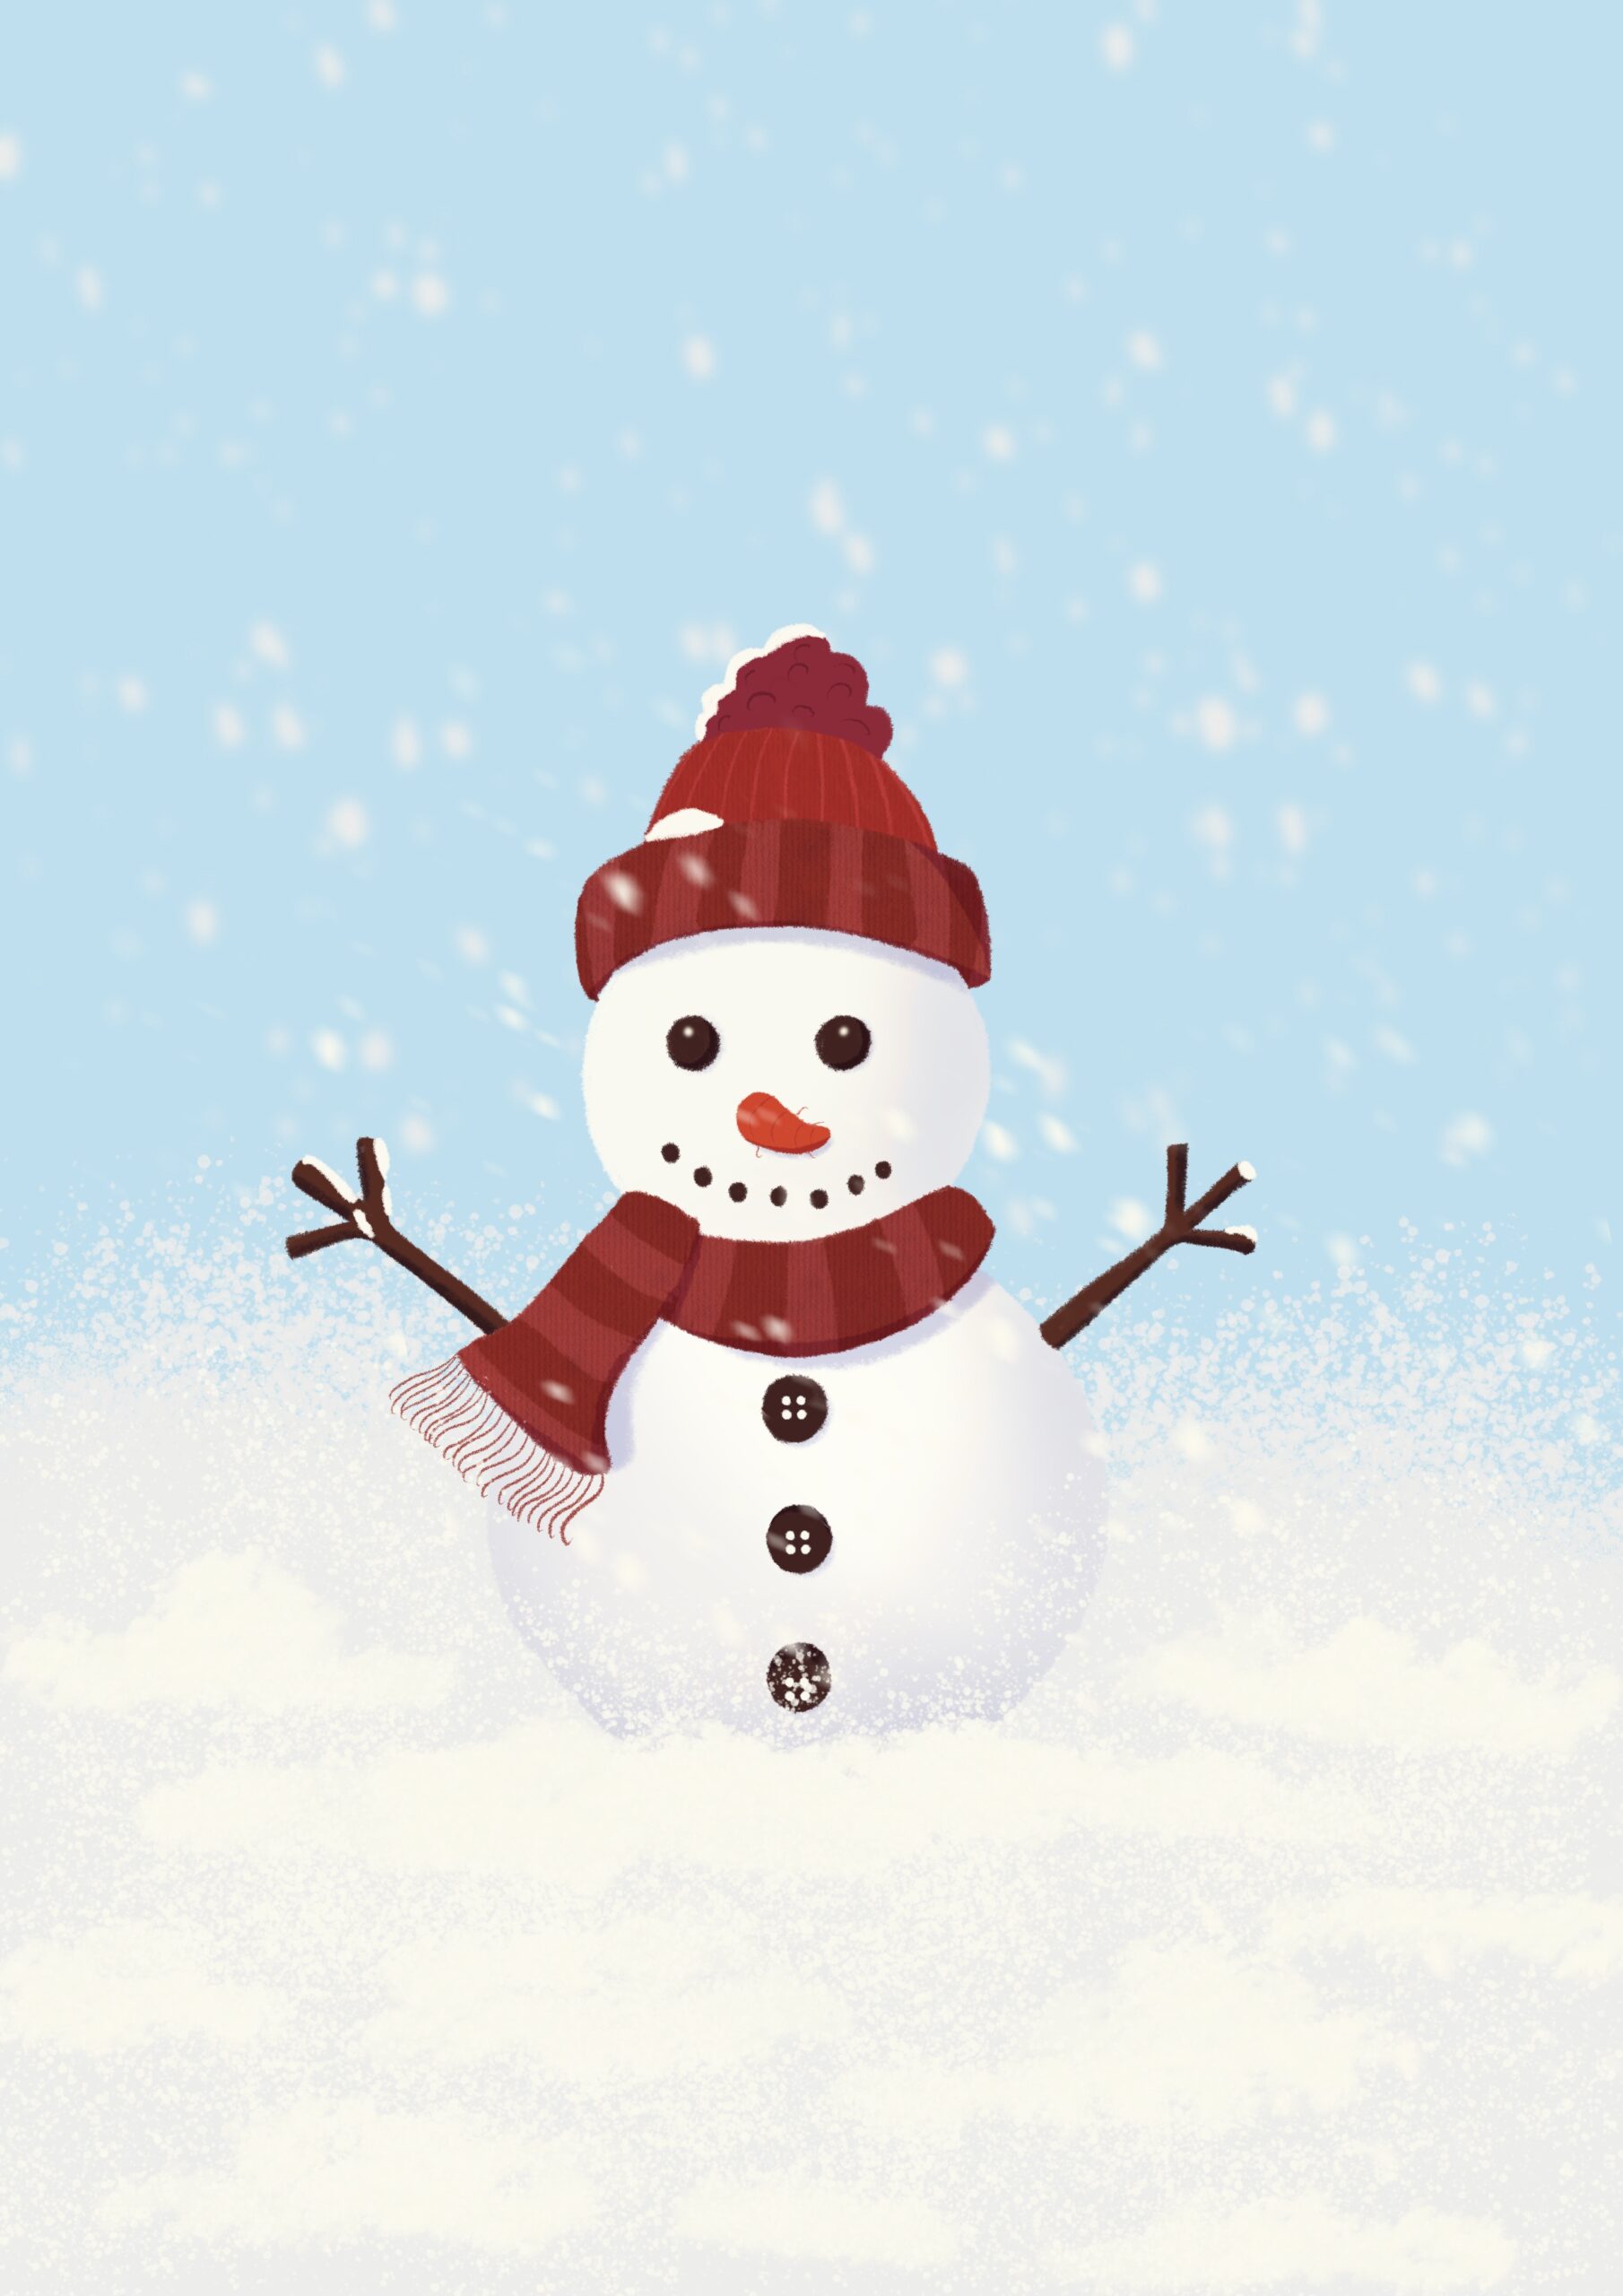
- Step 1: Draw the Line Art of the Snowman
Start by sketching the basic shapes: two stacked circles for the snowman’s body, and outline the accessories like the scarf and hat. Draw the stick arms, eyes, and other details lightly.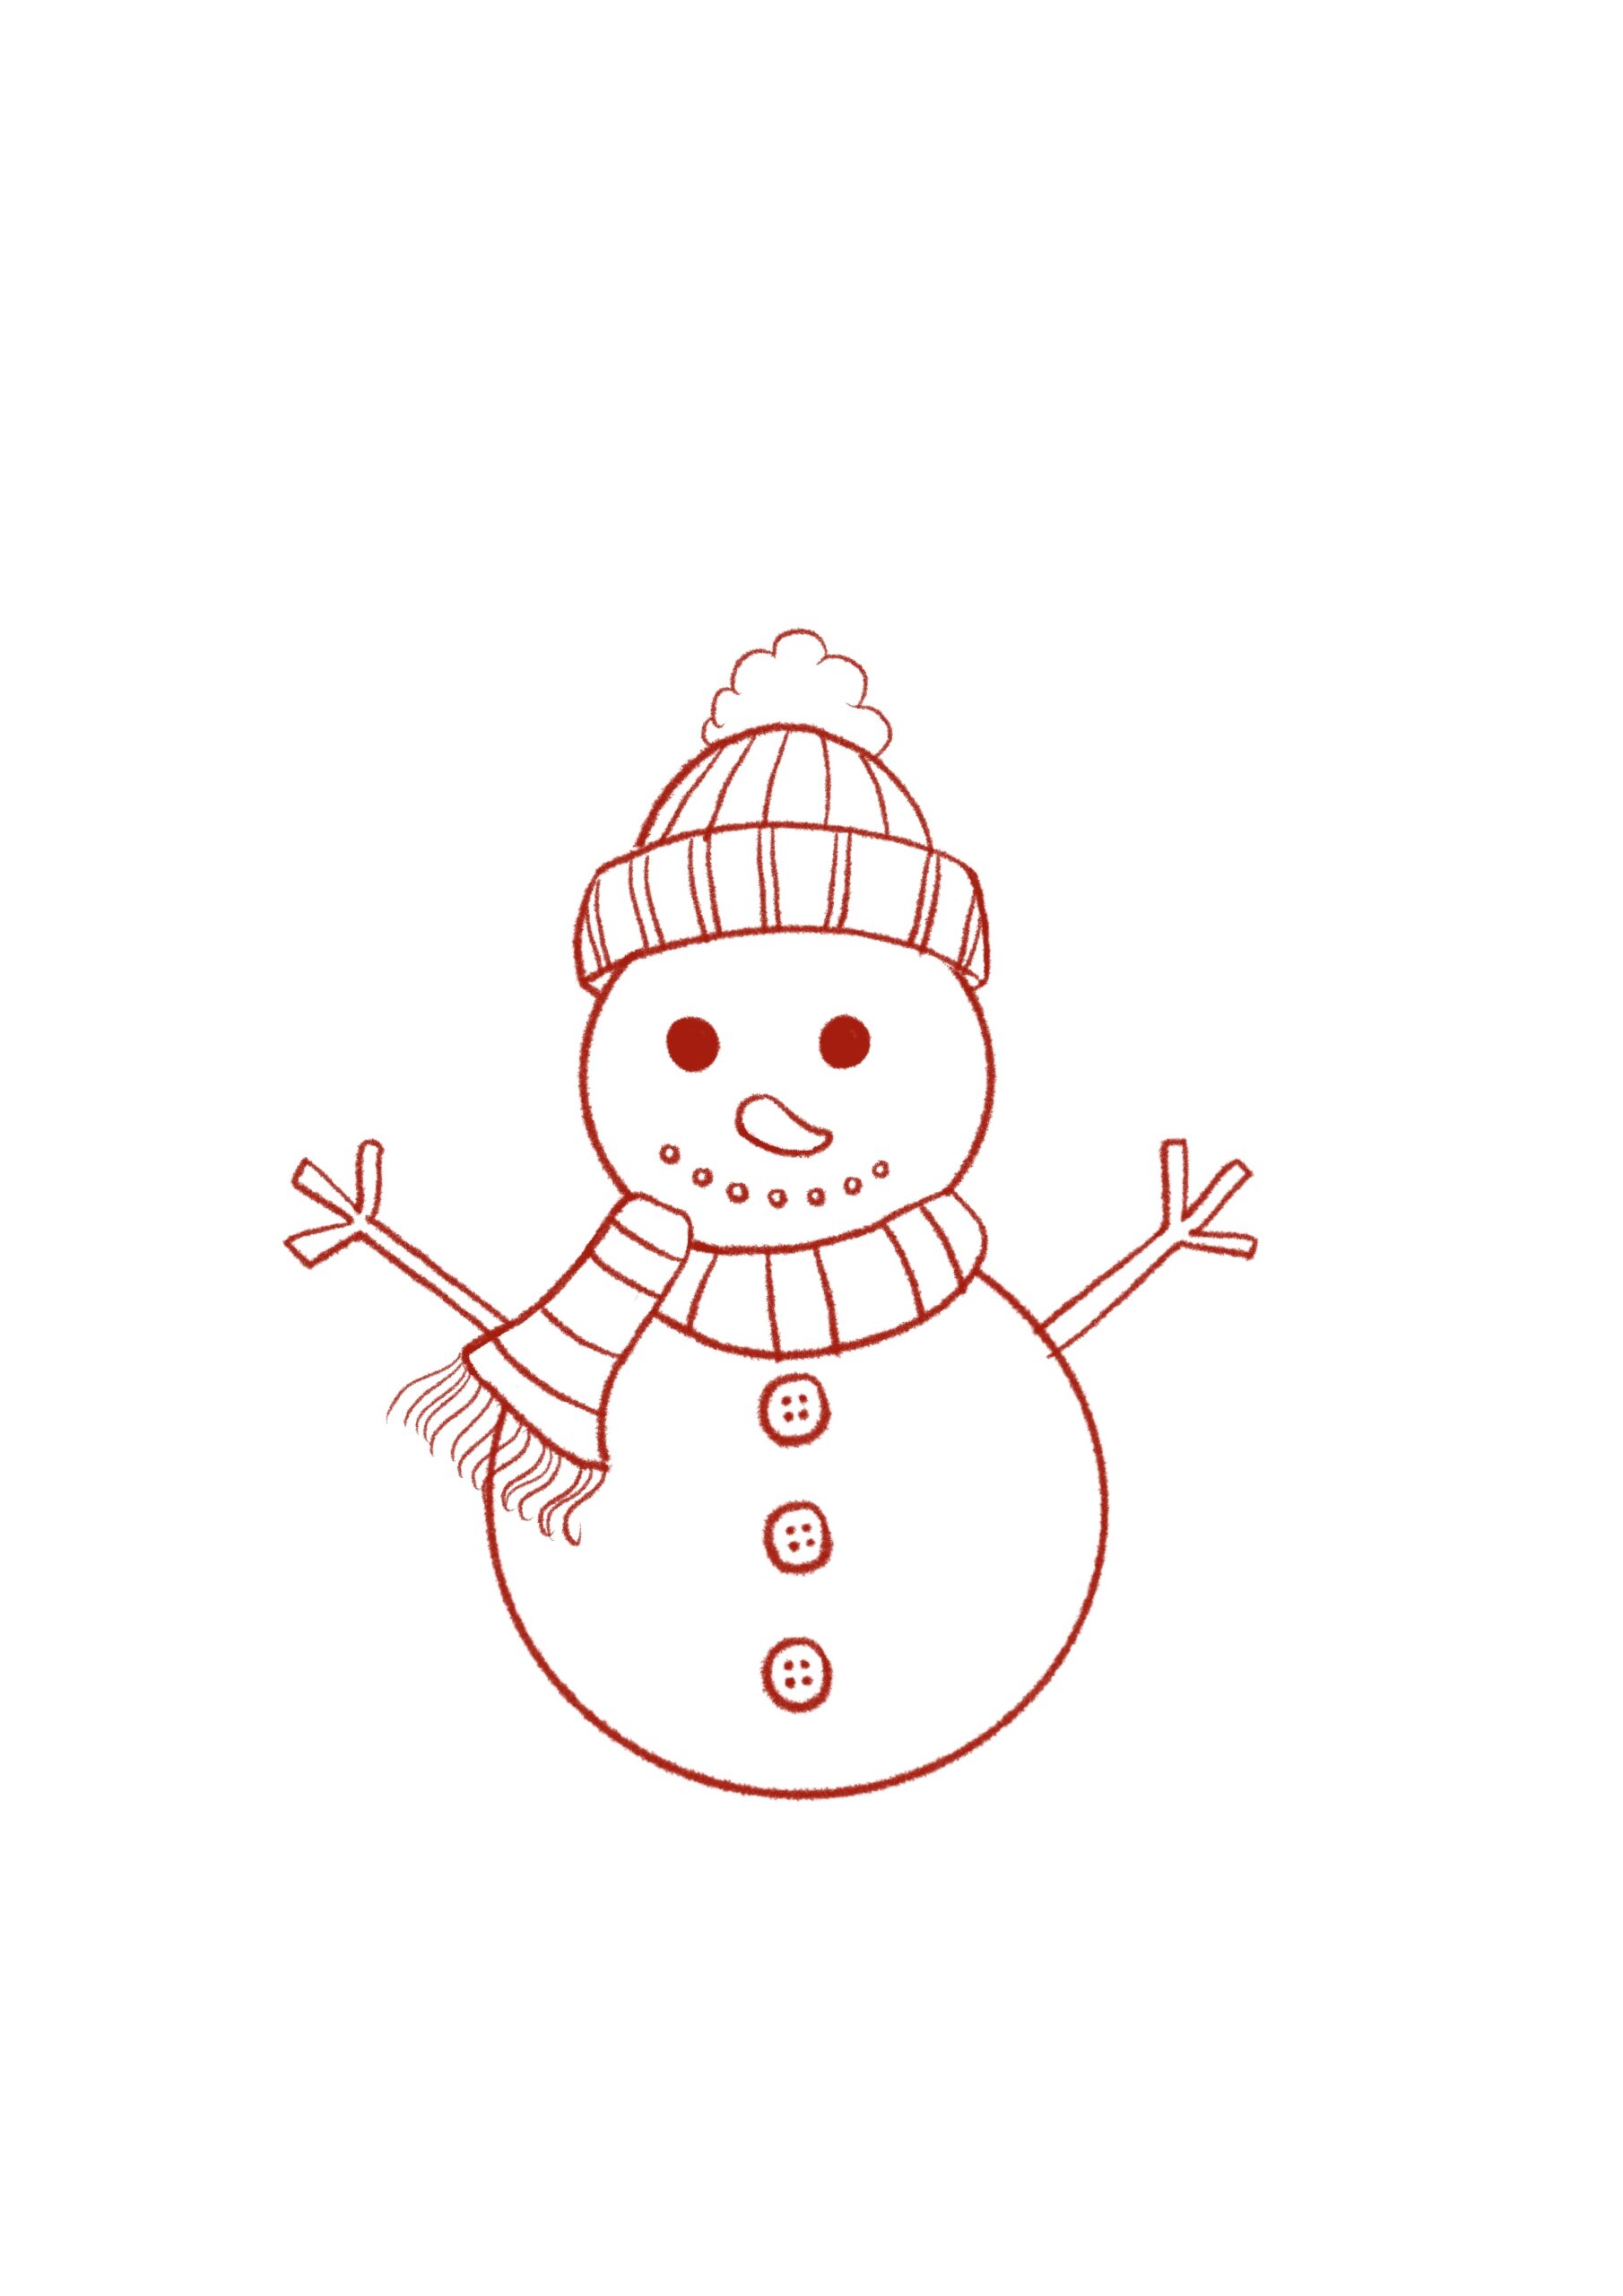
- Step 2: Lower the Opacity of the Line Art
Reduce the opacity of your line art layer so that it’s less prominent and doesn’t distract from the coloring process. This makes it easier to add color without interfering with the outlines.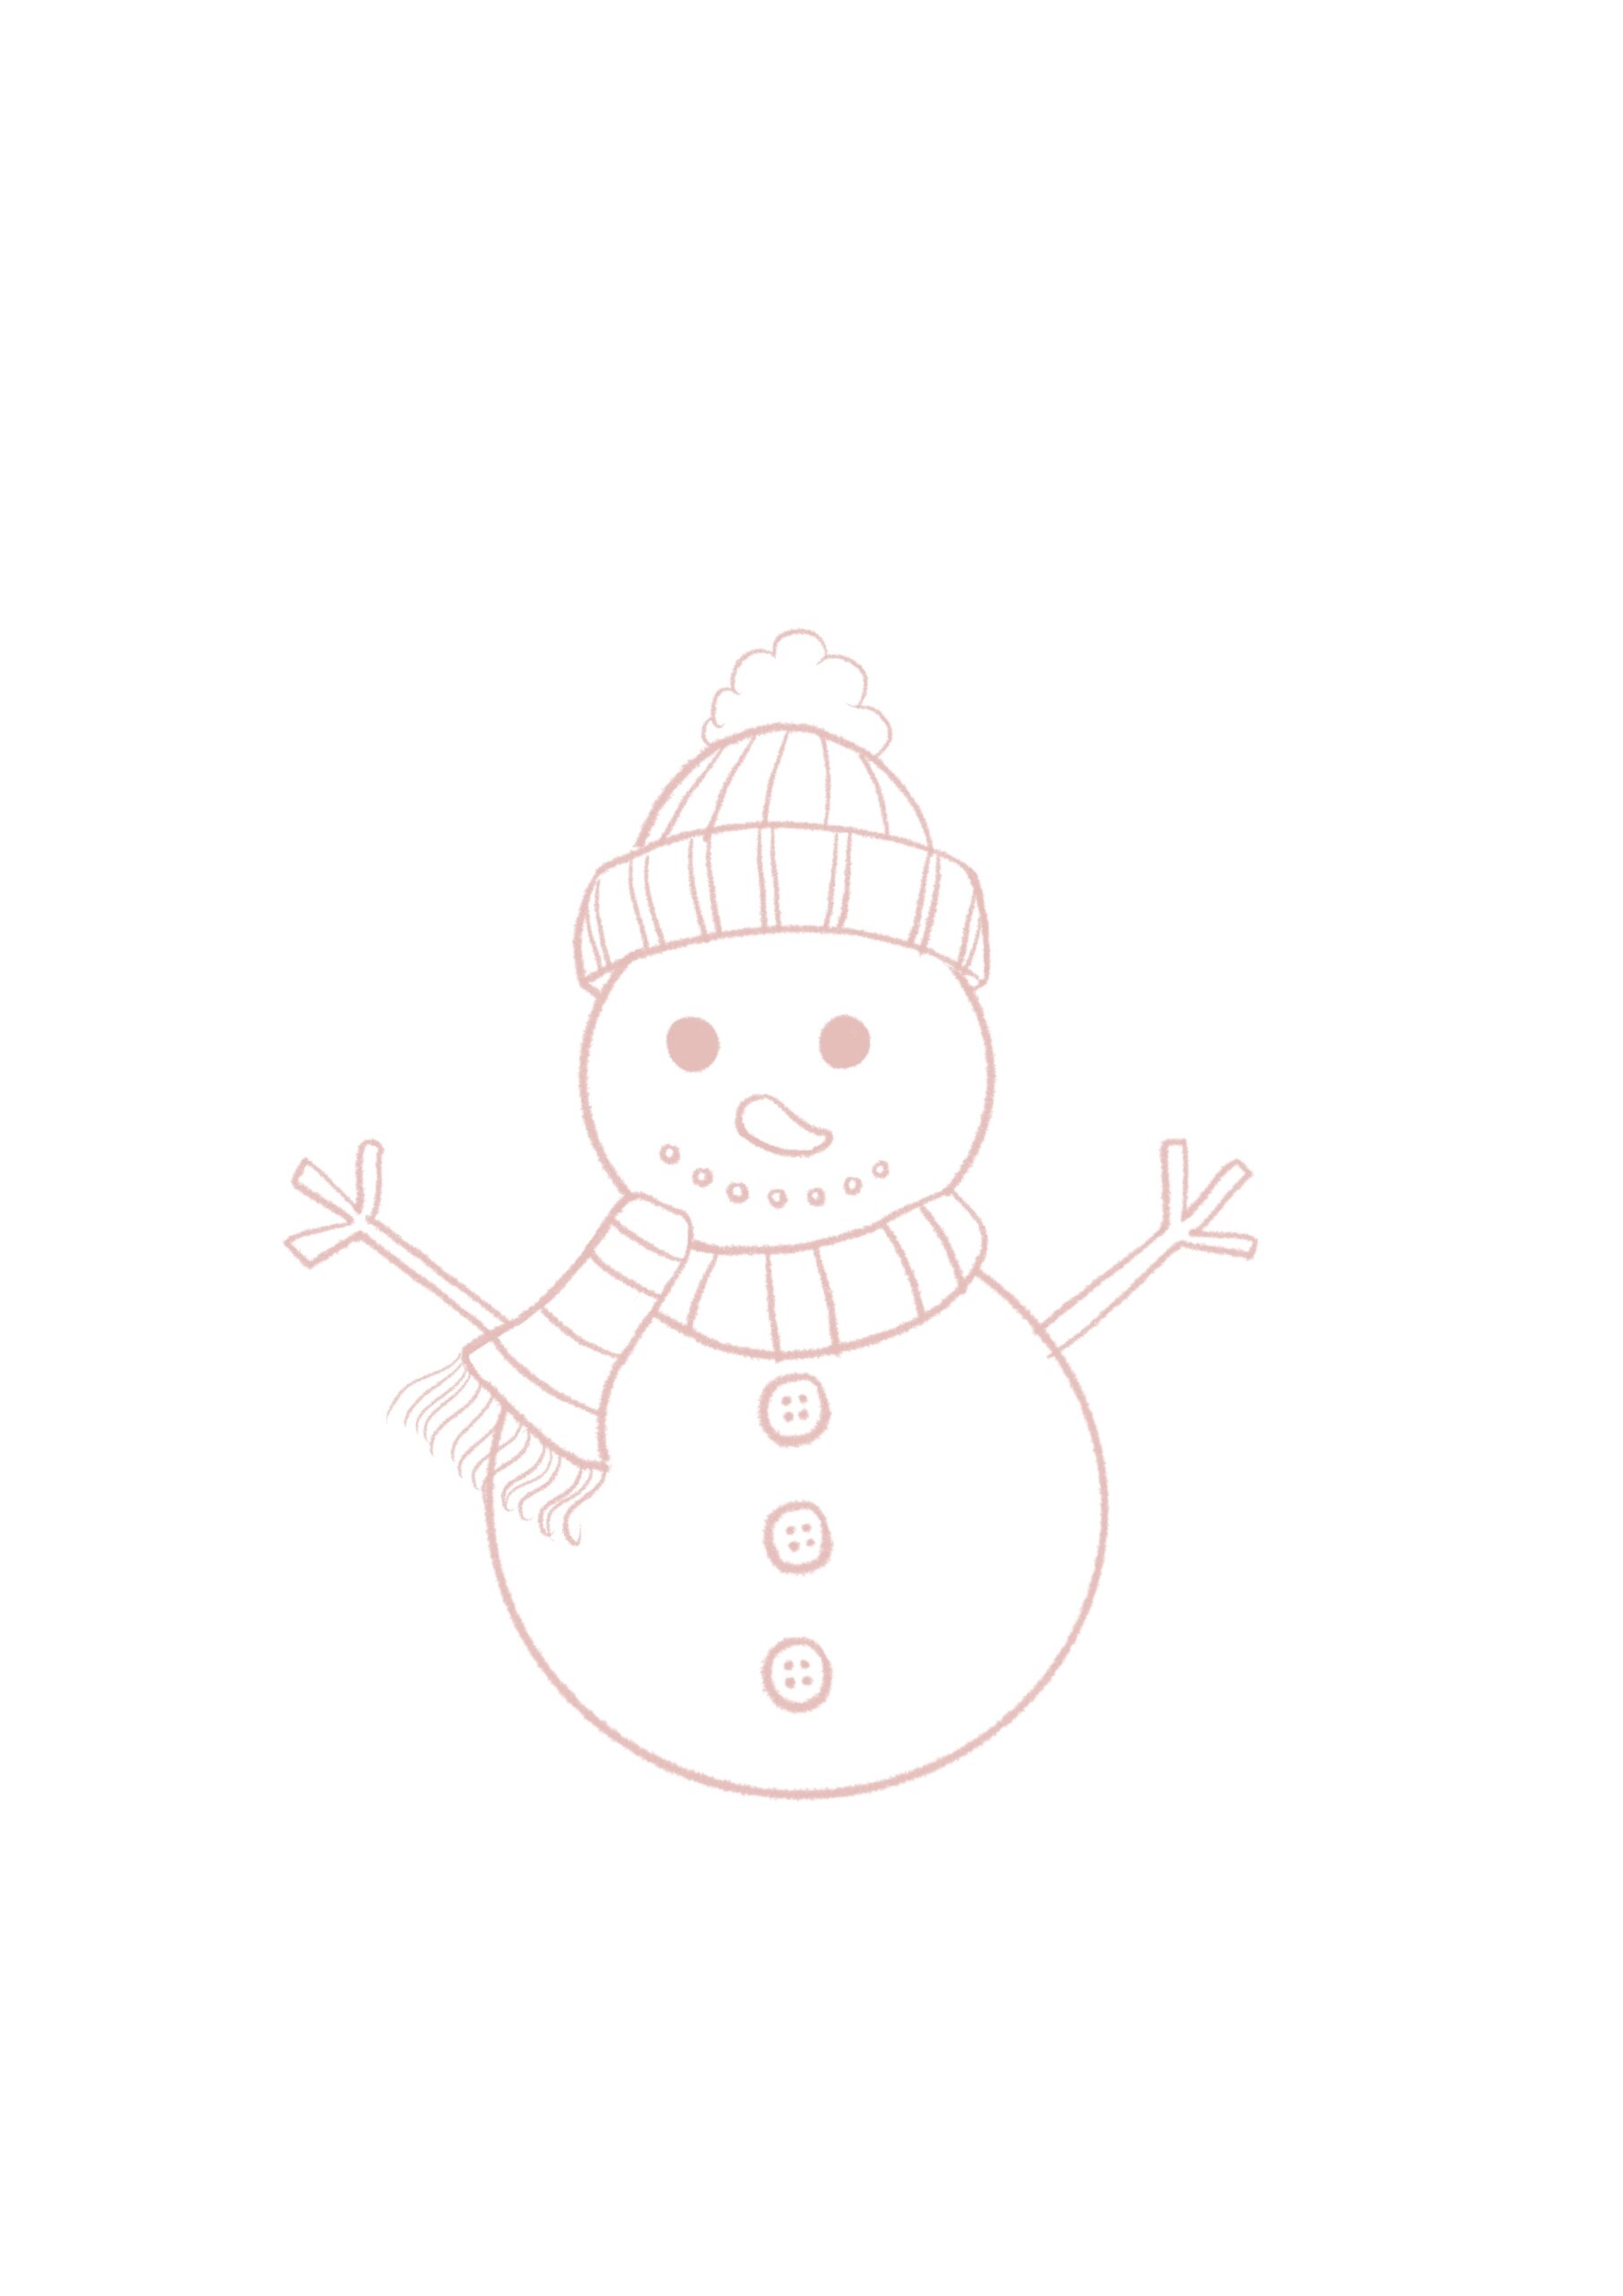
- Step 3: Color the Background
Now, create a layer below the snowman. Fill in the background with a light blue color to represent the winter sky and add some snowww!! This will set the scene for the snowman.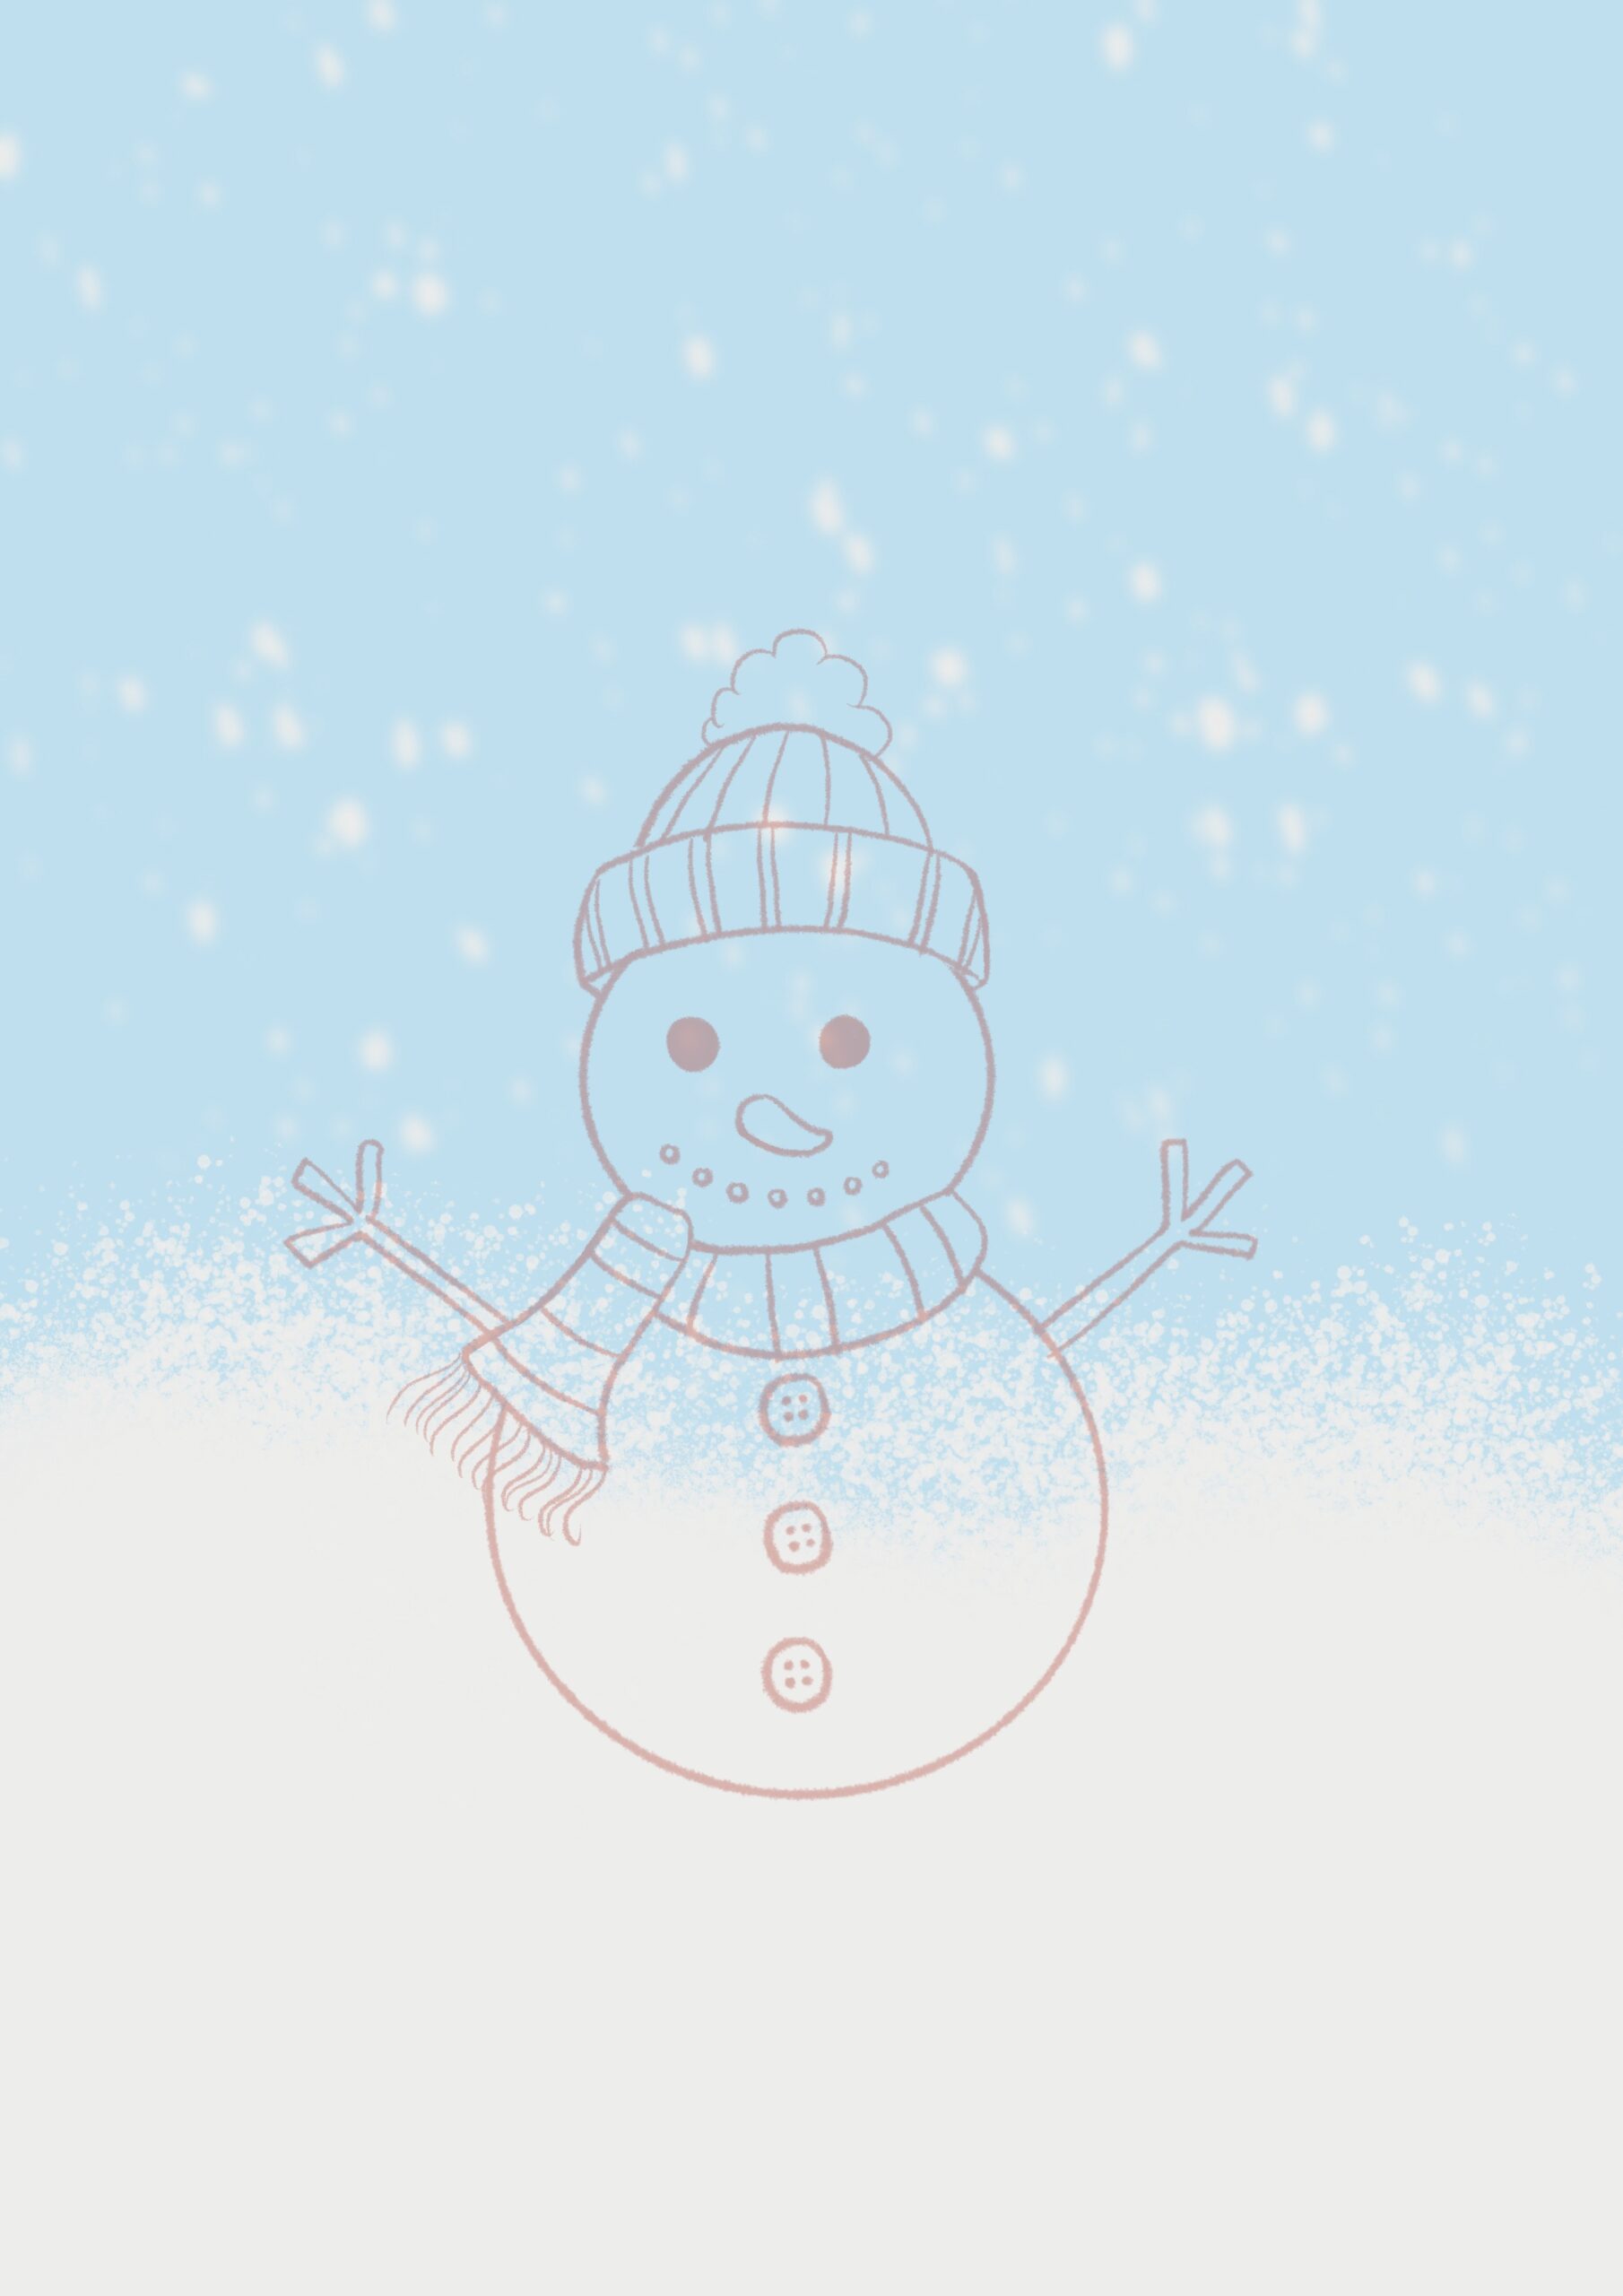
- Step 4: Color the Two Circles of the Snowman
Color the snowman’s body with a soft white shade. Make sure to leave some space for shading and highlights later.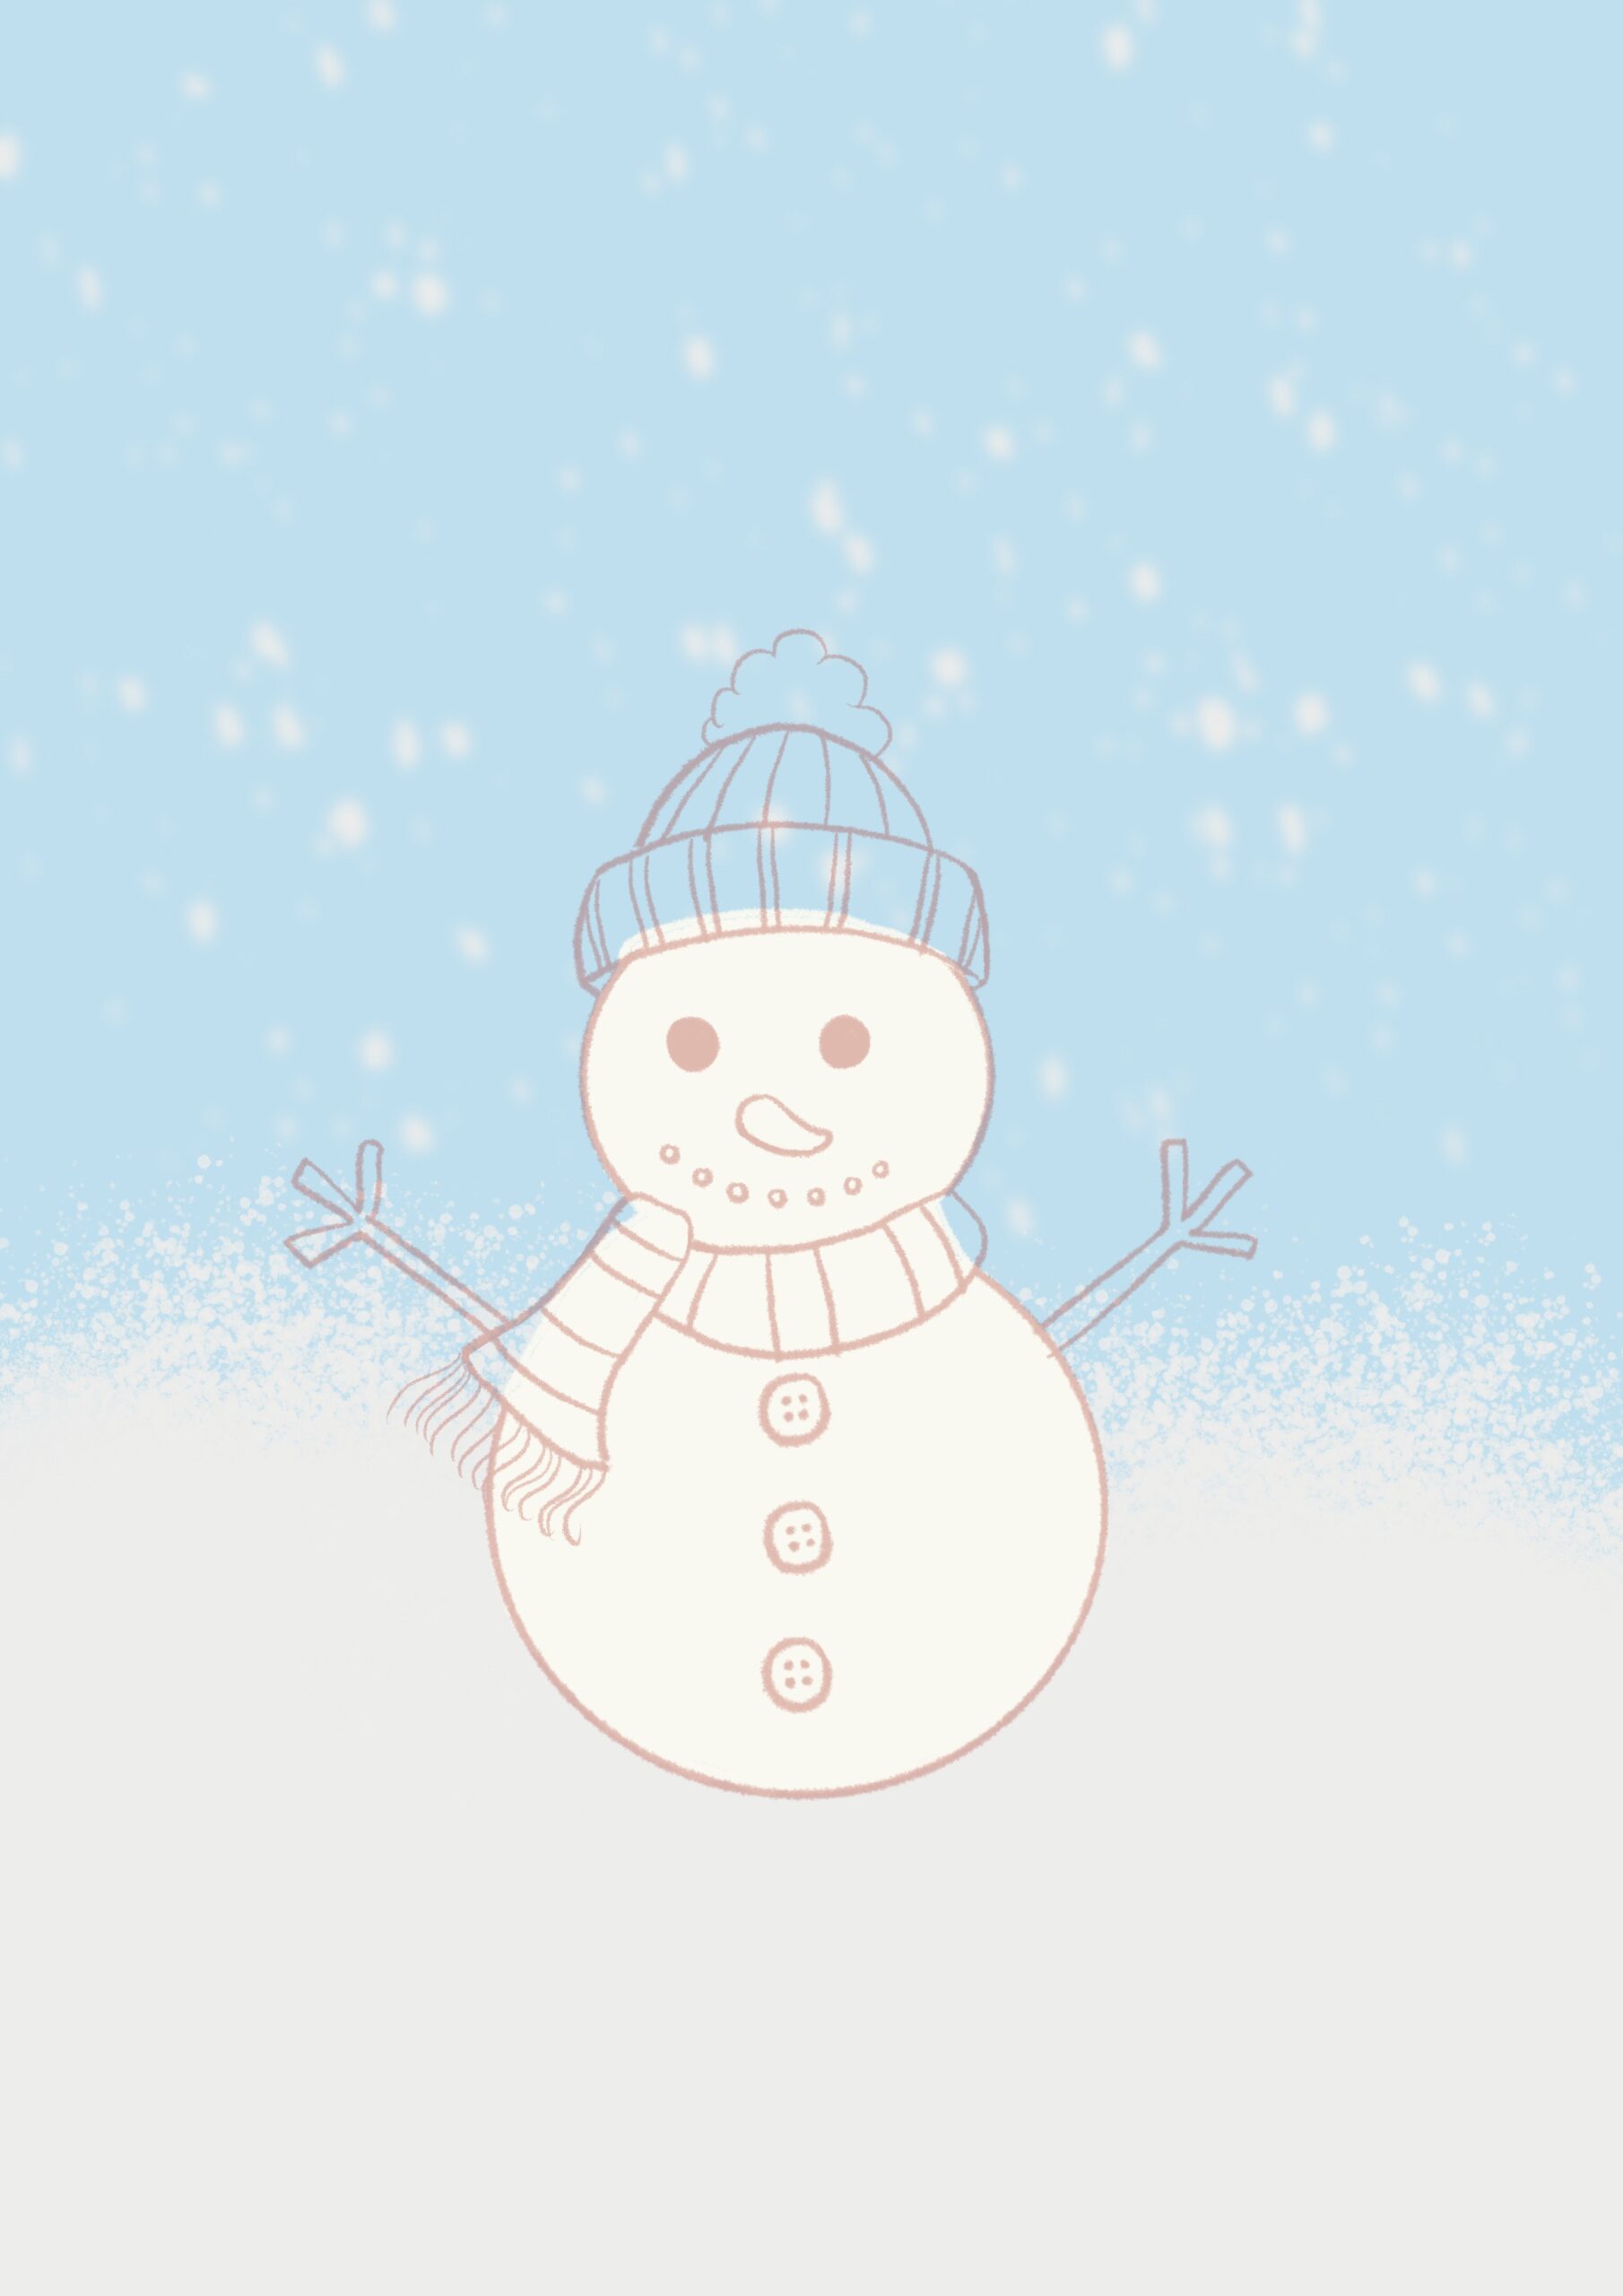
- Step 5: Add Shadows to the Body for Depth
Add shadows on the snowman’s body to create depth and make the figure look more three-dimensional. Use a bluish tone for this step and set the mode, multiply, and reduce the opacity of the layer.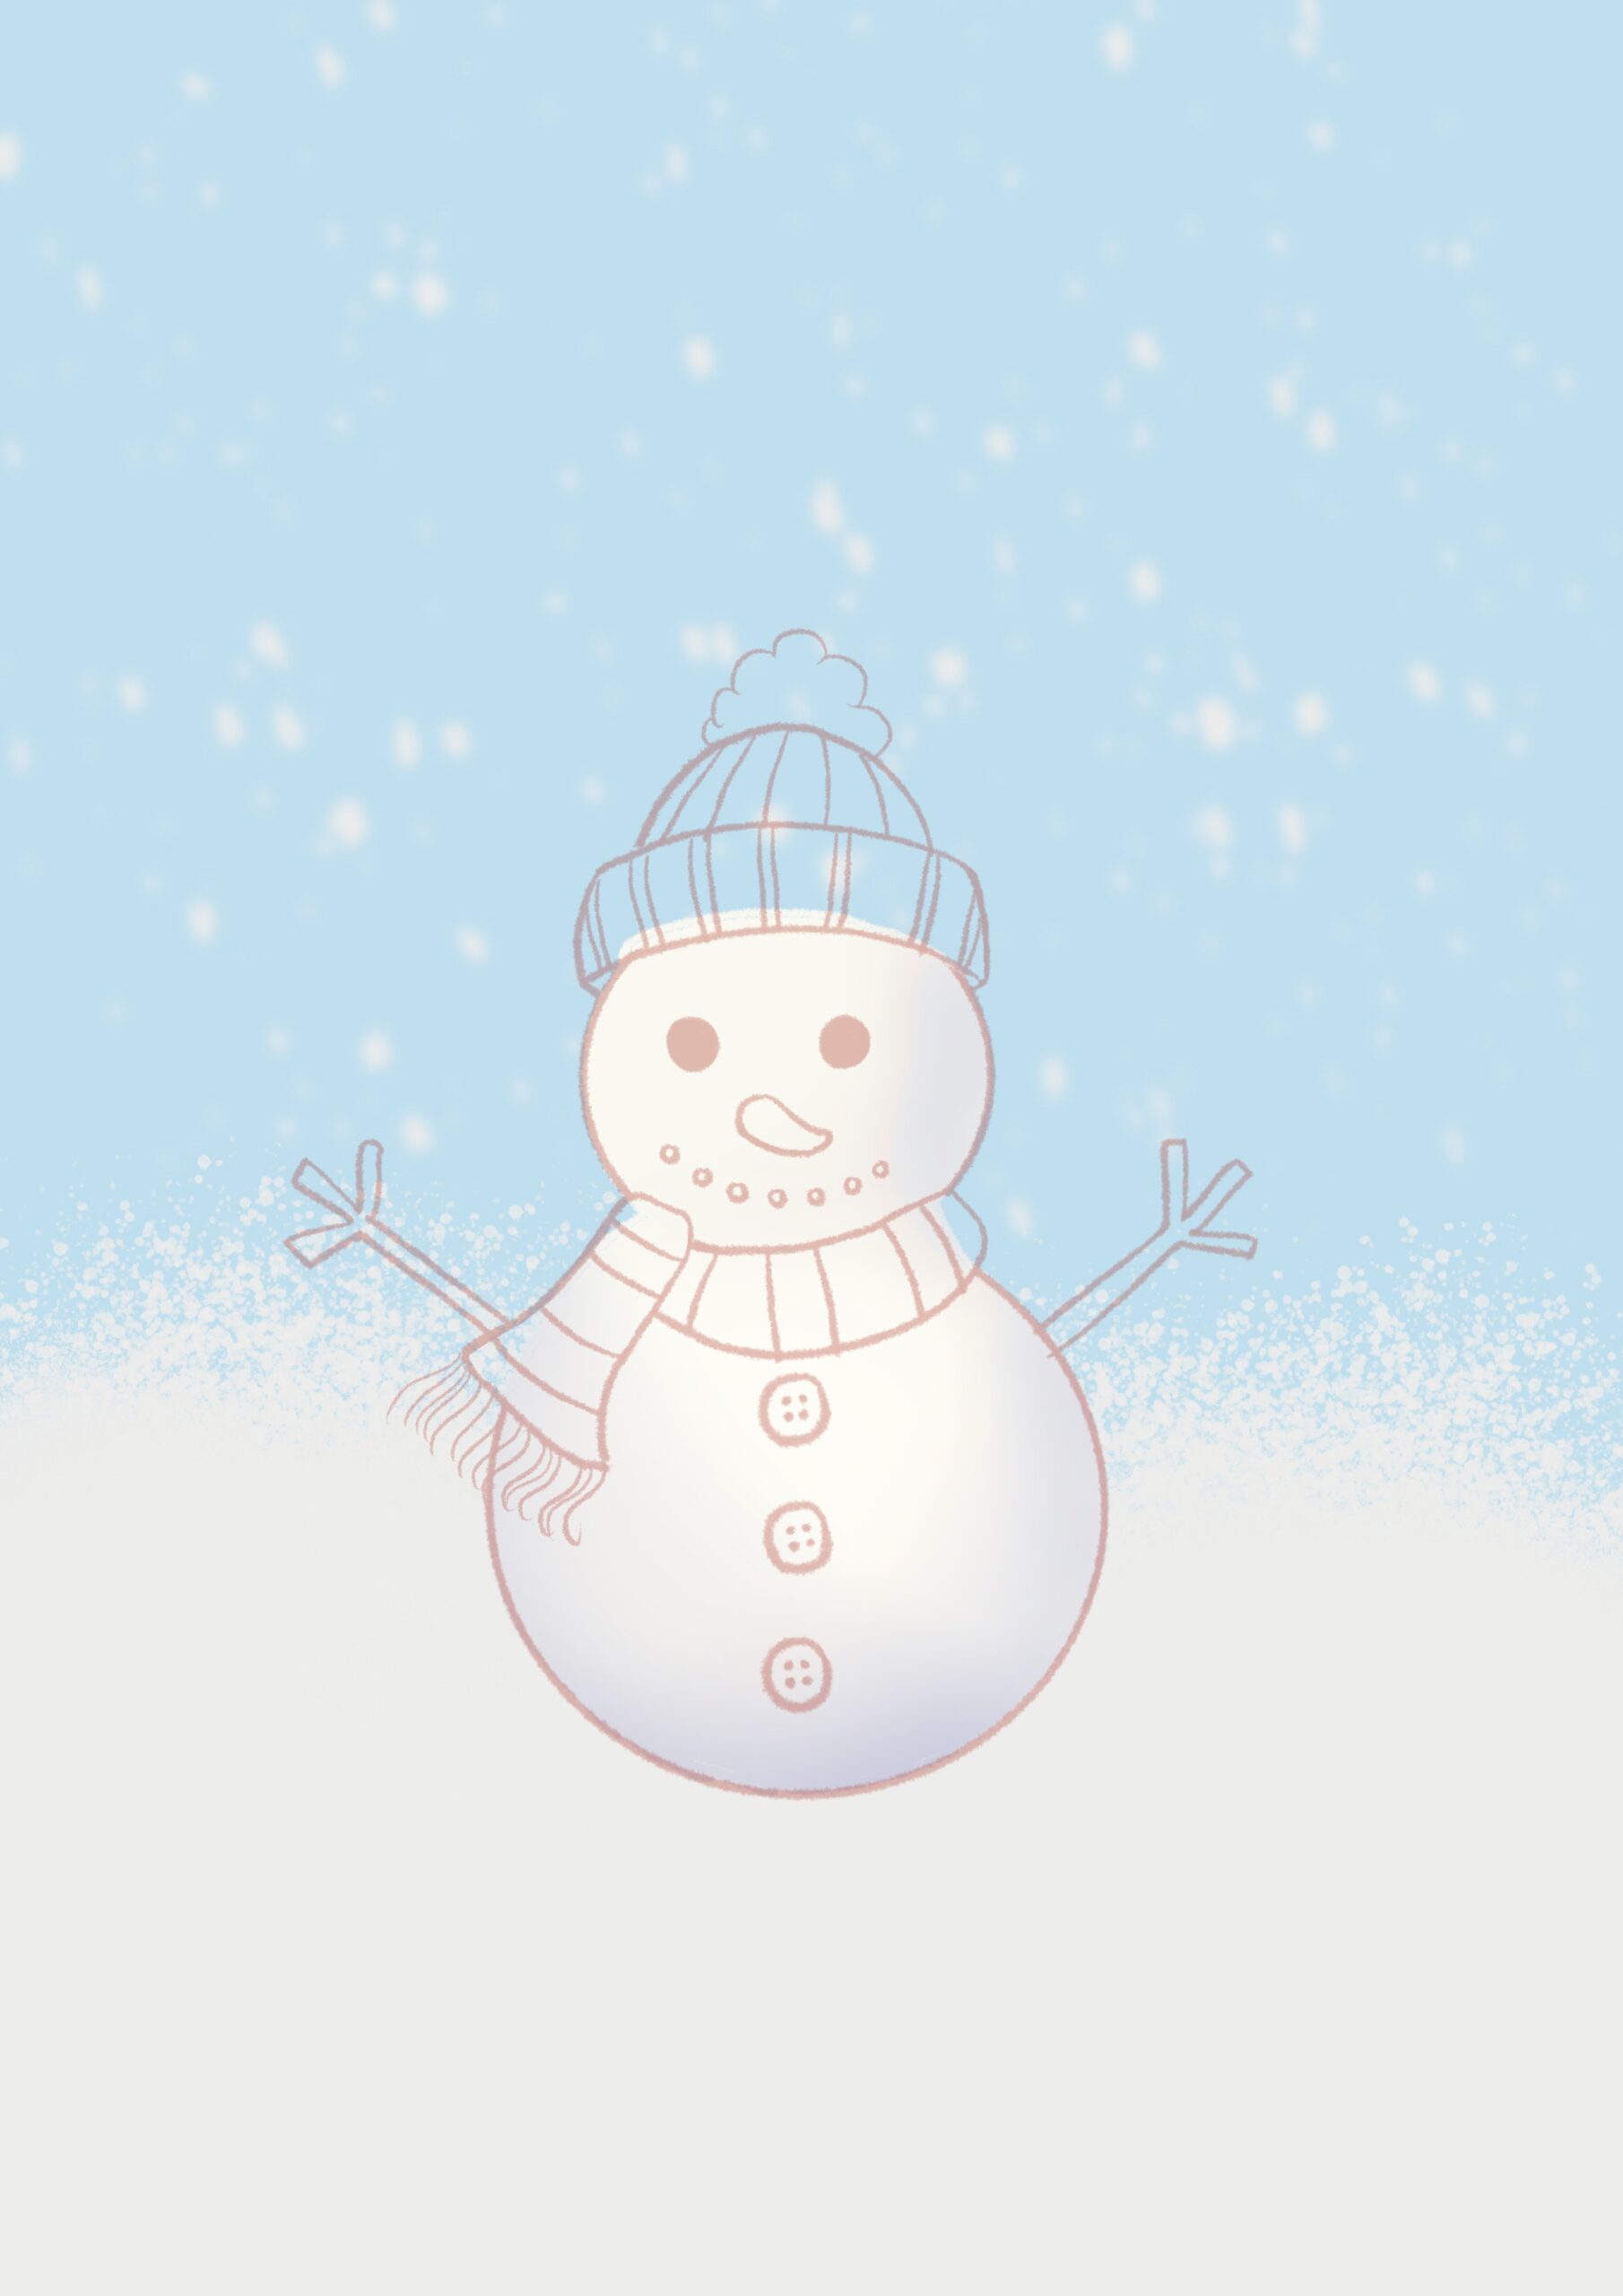
- Step 6: Color the Scarf and Hat
Now, color the scarf and hat with a warm red color. You can add some texture to the scarf to make it look cozy and detailed.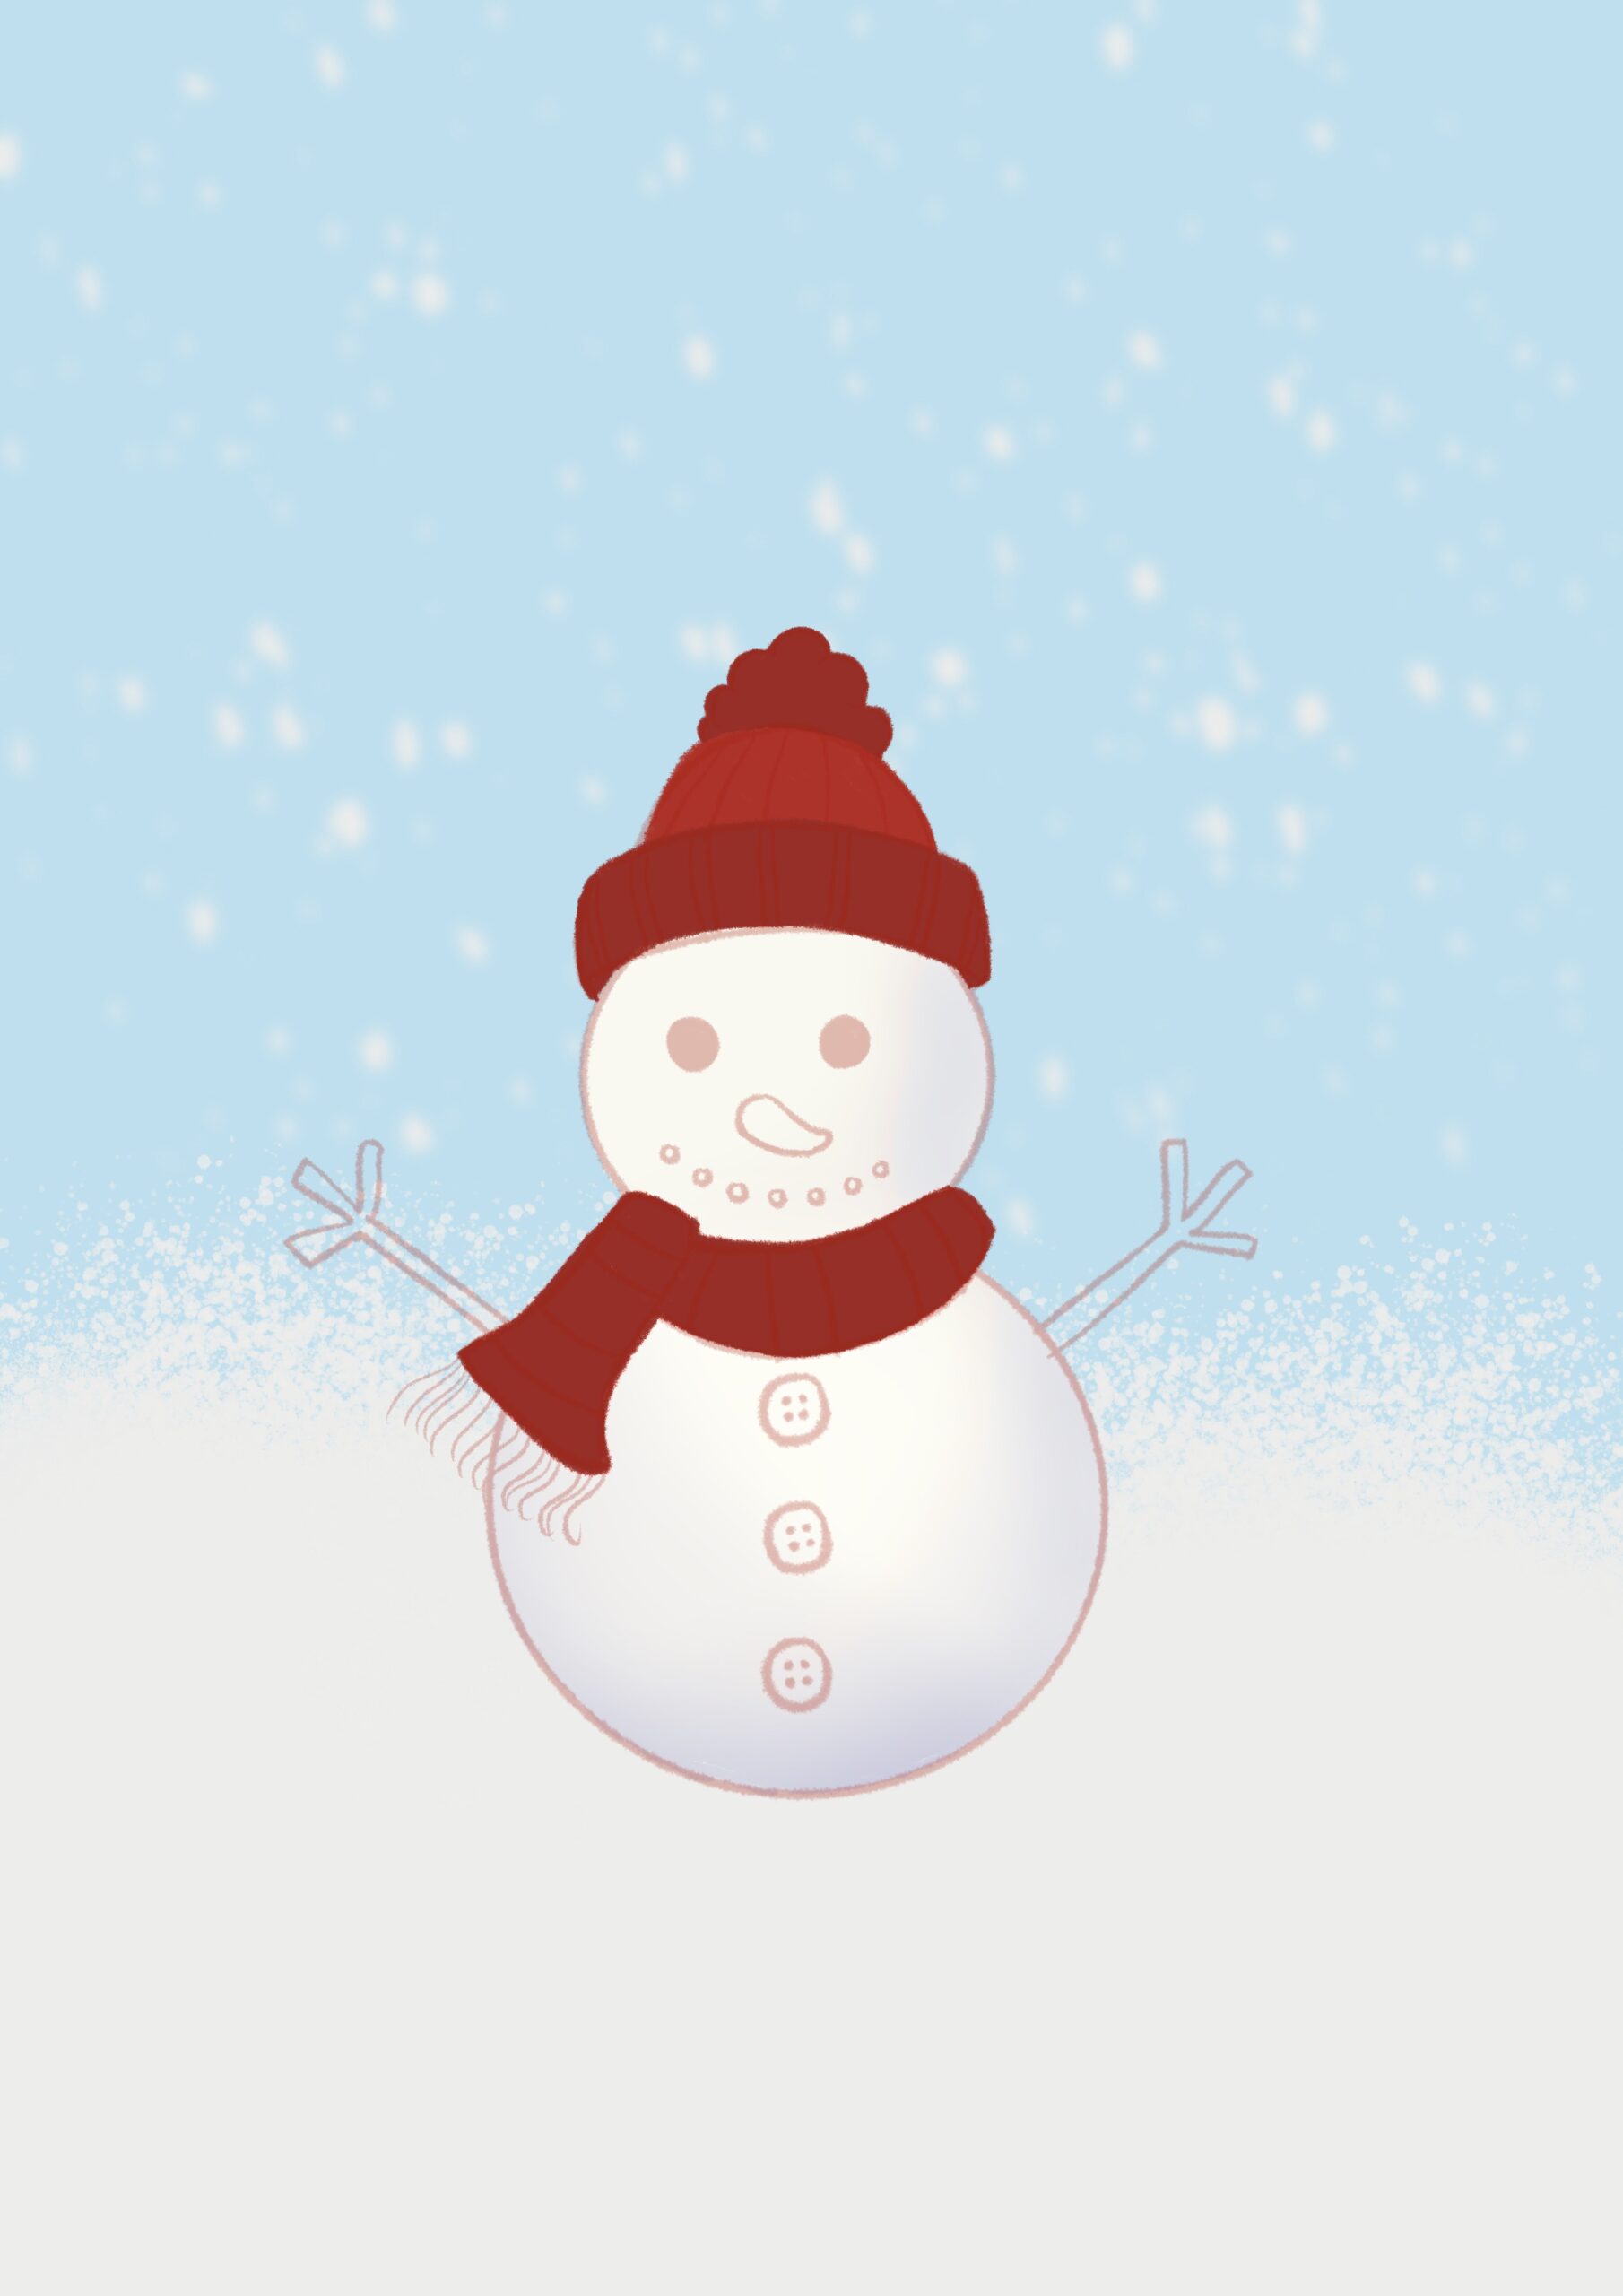
- Step 7: Color the Eyes, Nose , Hands , Mouth, and Belly Buttons
Color the eyes in black, the carrot nose in orange, and the stick arms in brown. Then, color the buttons and belly buttons with black to make them stand out.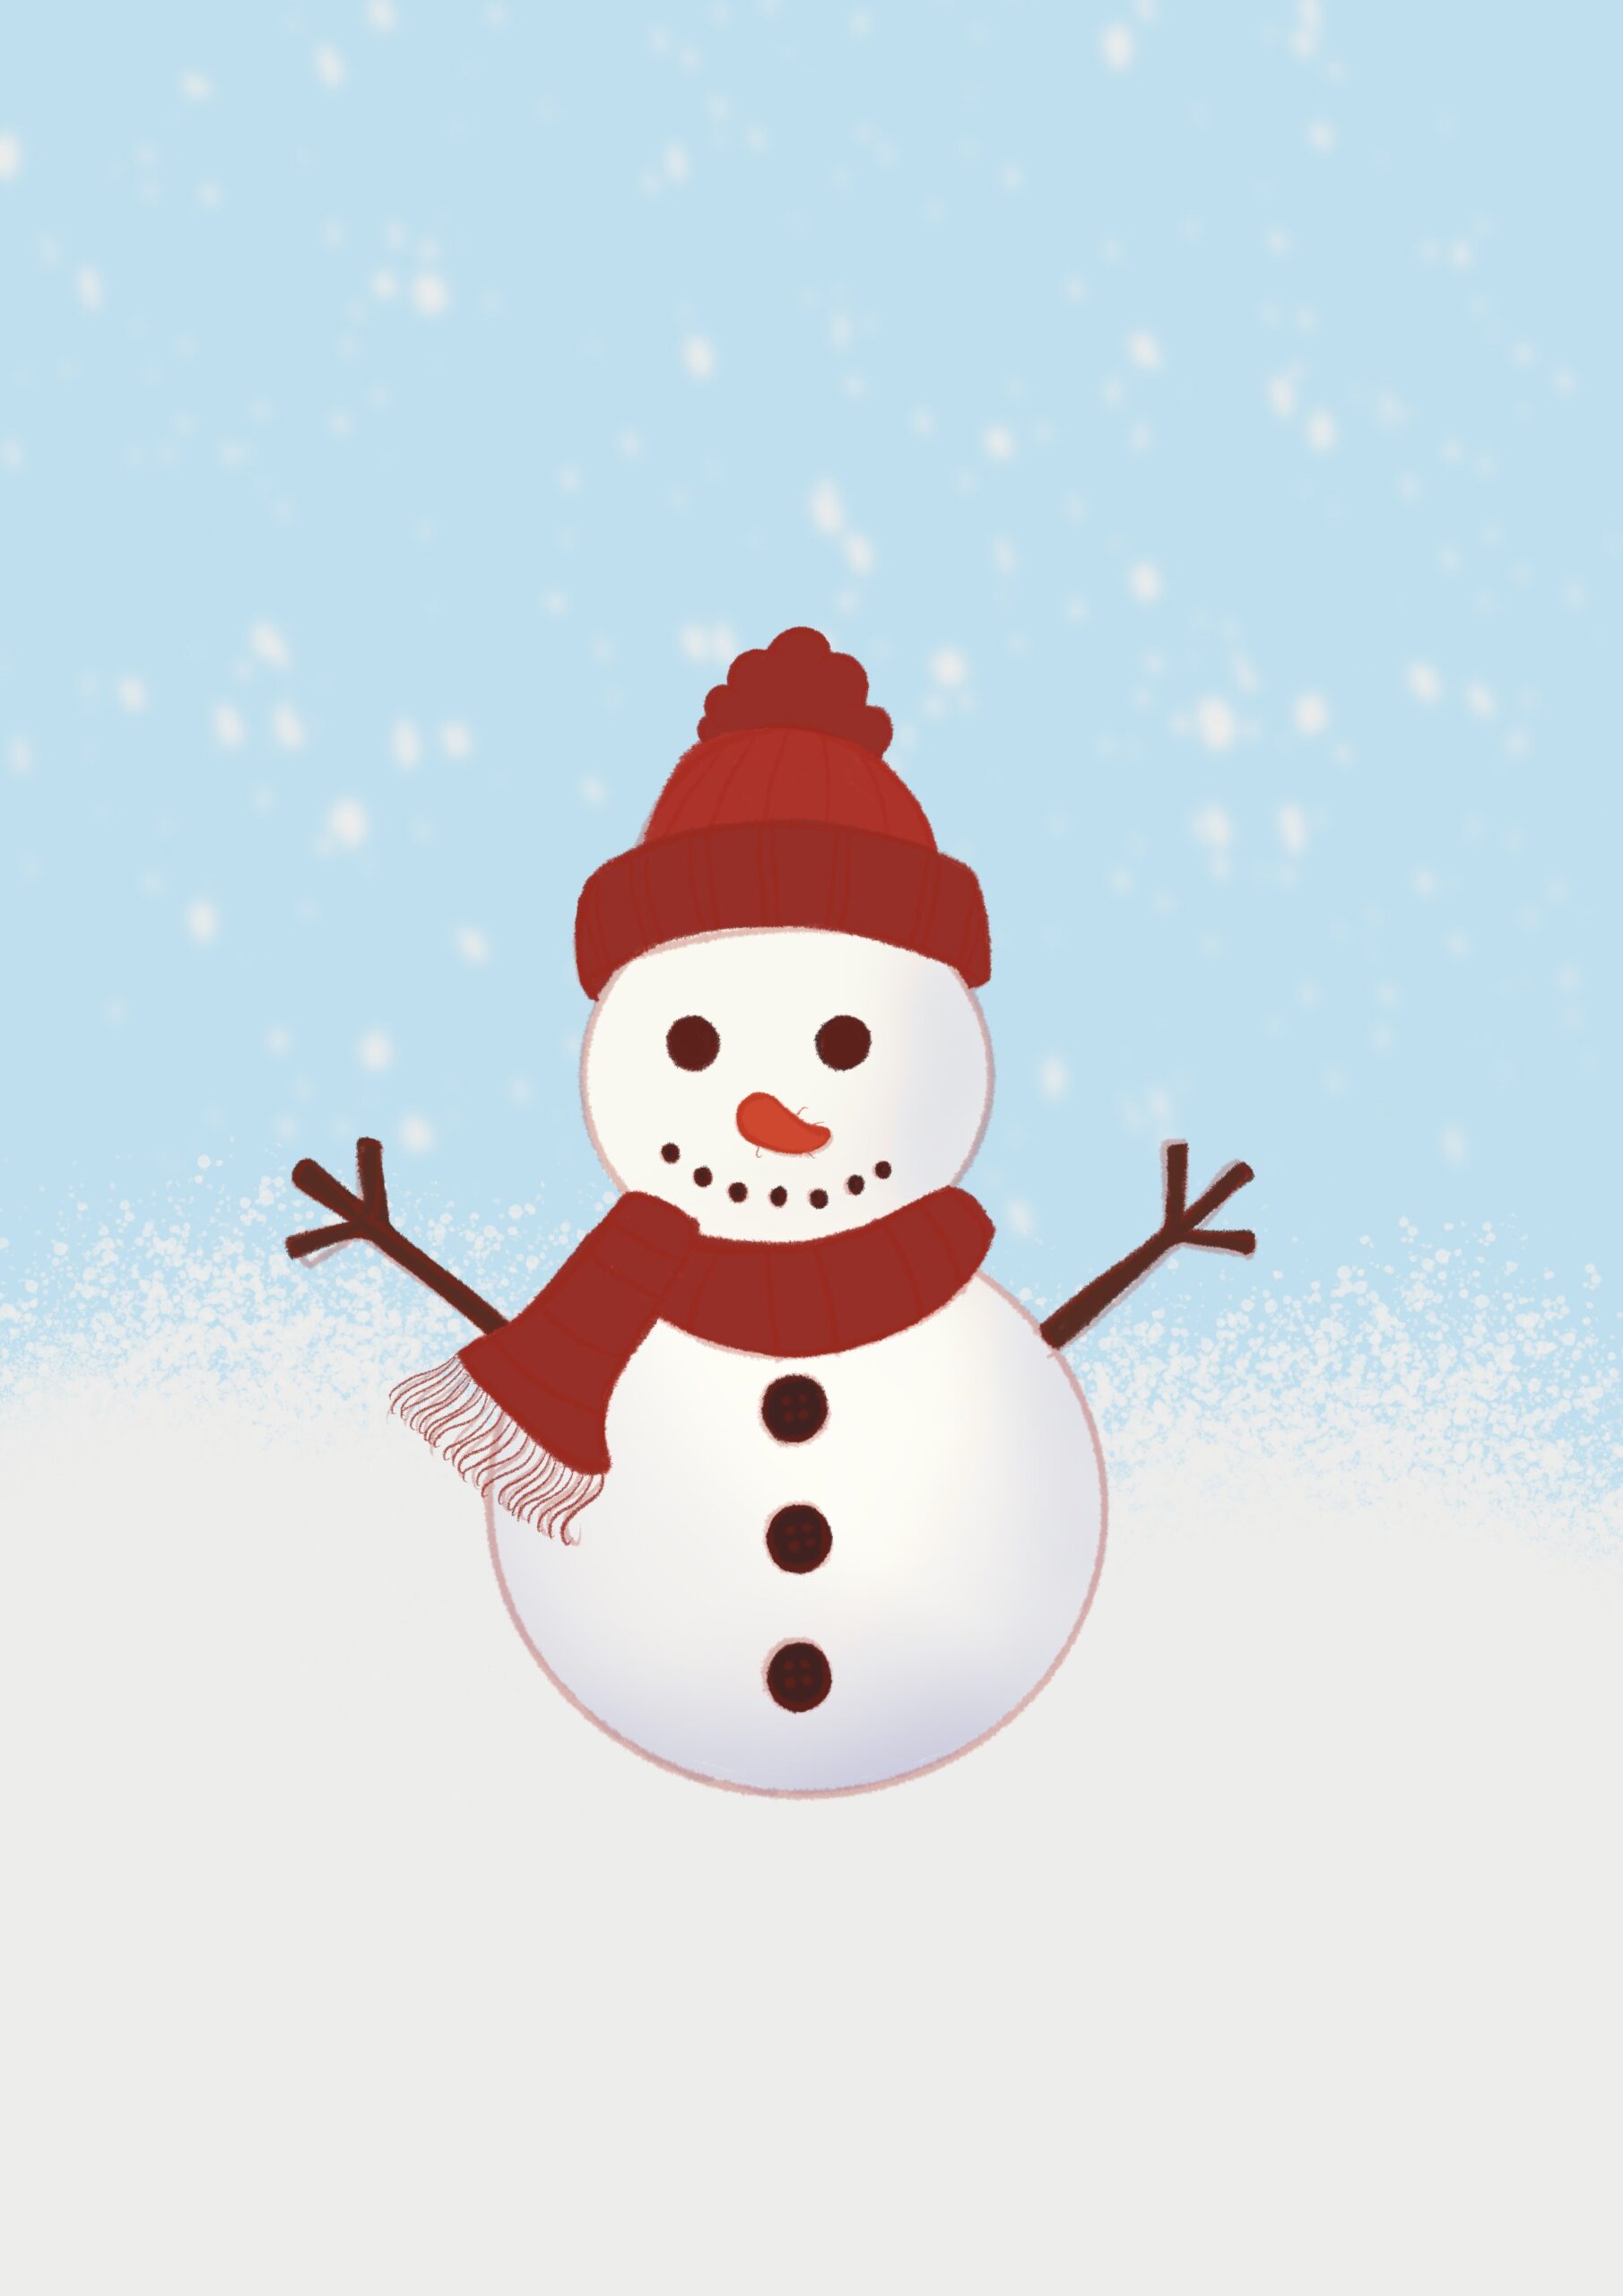
- Step 8: Add Shadows to the Accessories
Add some subtle shadows to the hat, scarf, and buttons to enhance the depth of these accessories.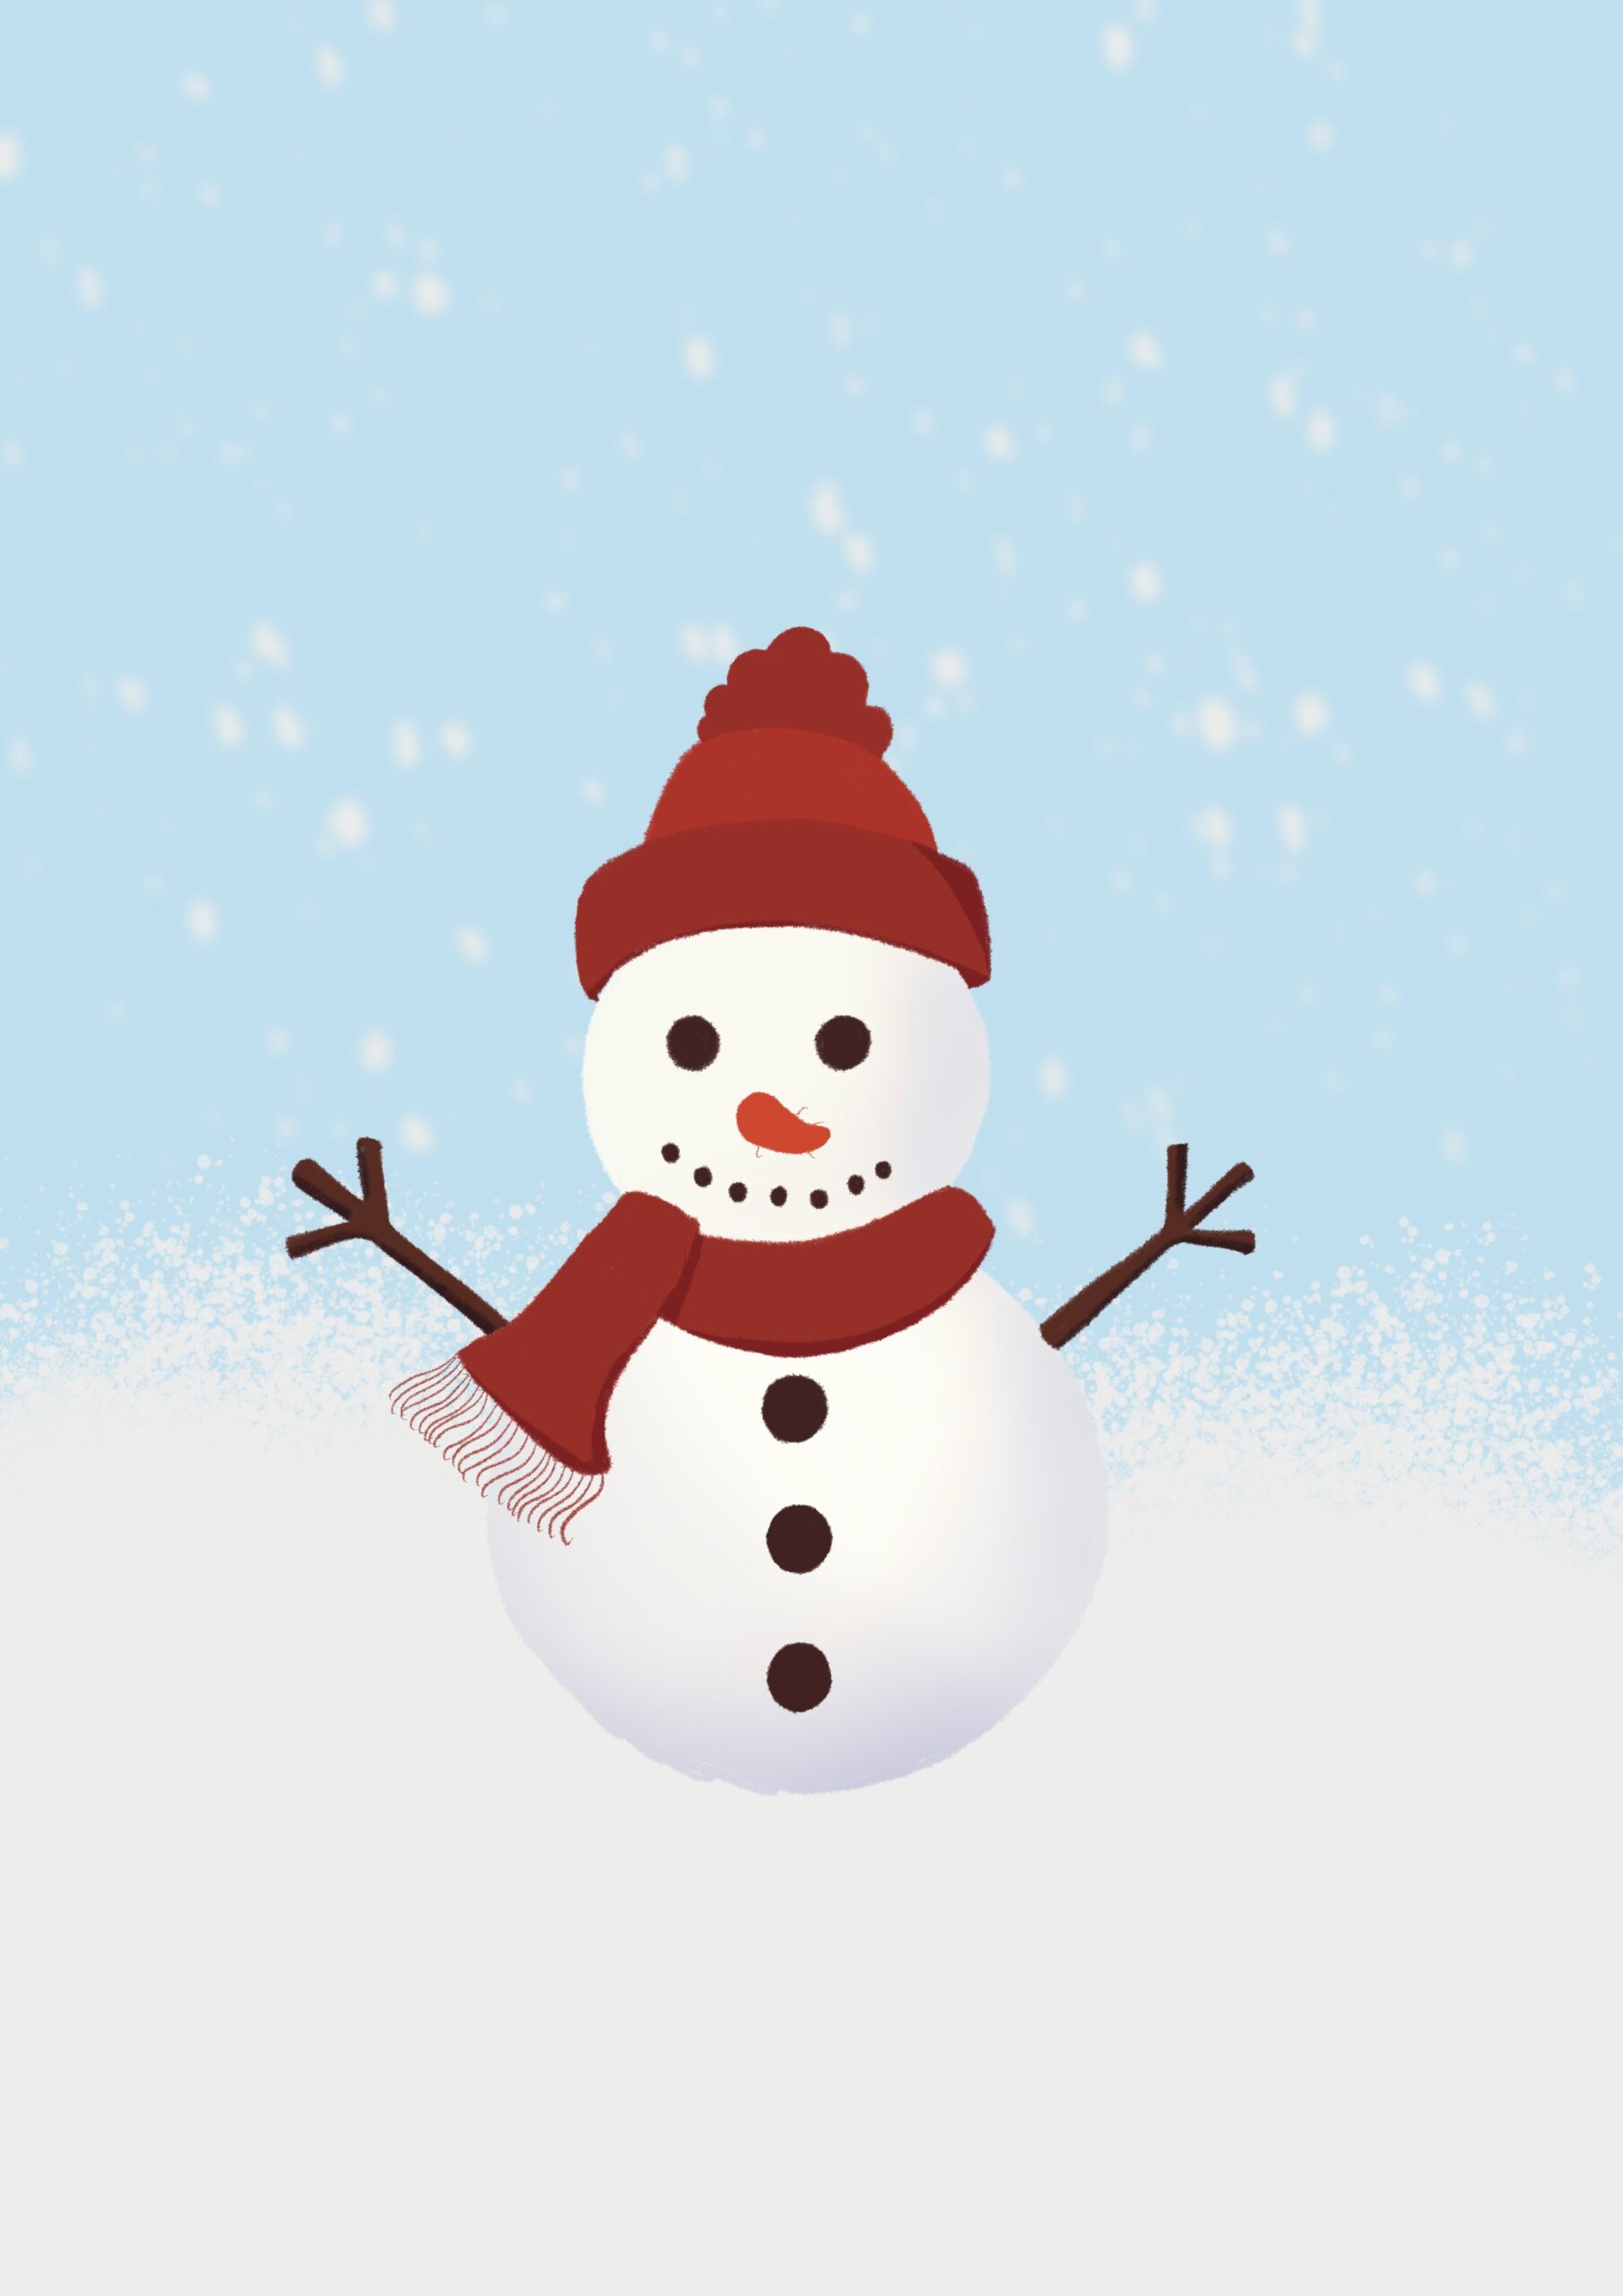
- Step 9: Add Details on the Accessories
Add some texture or patterns to the scarf, like stripes or a knitted look, to give it more character and realism.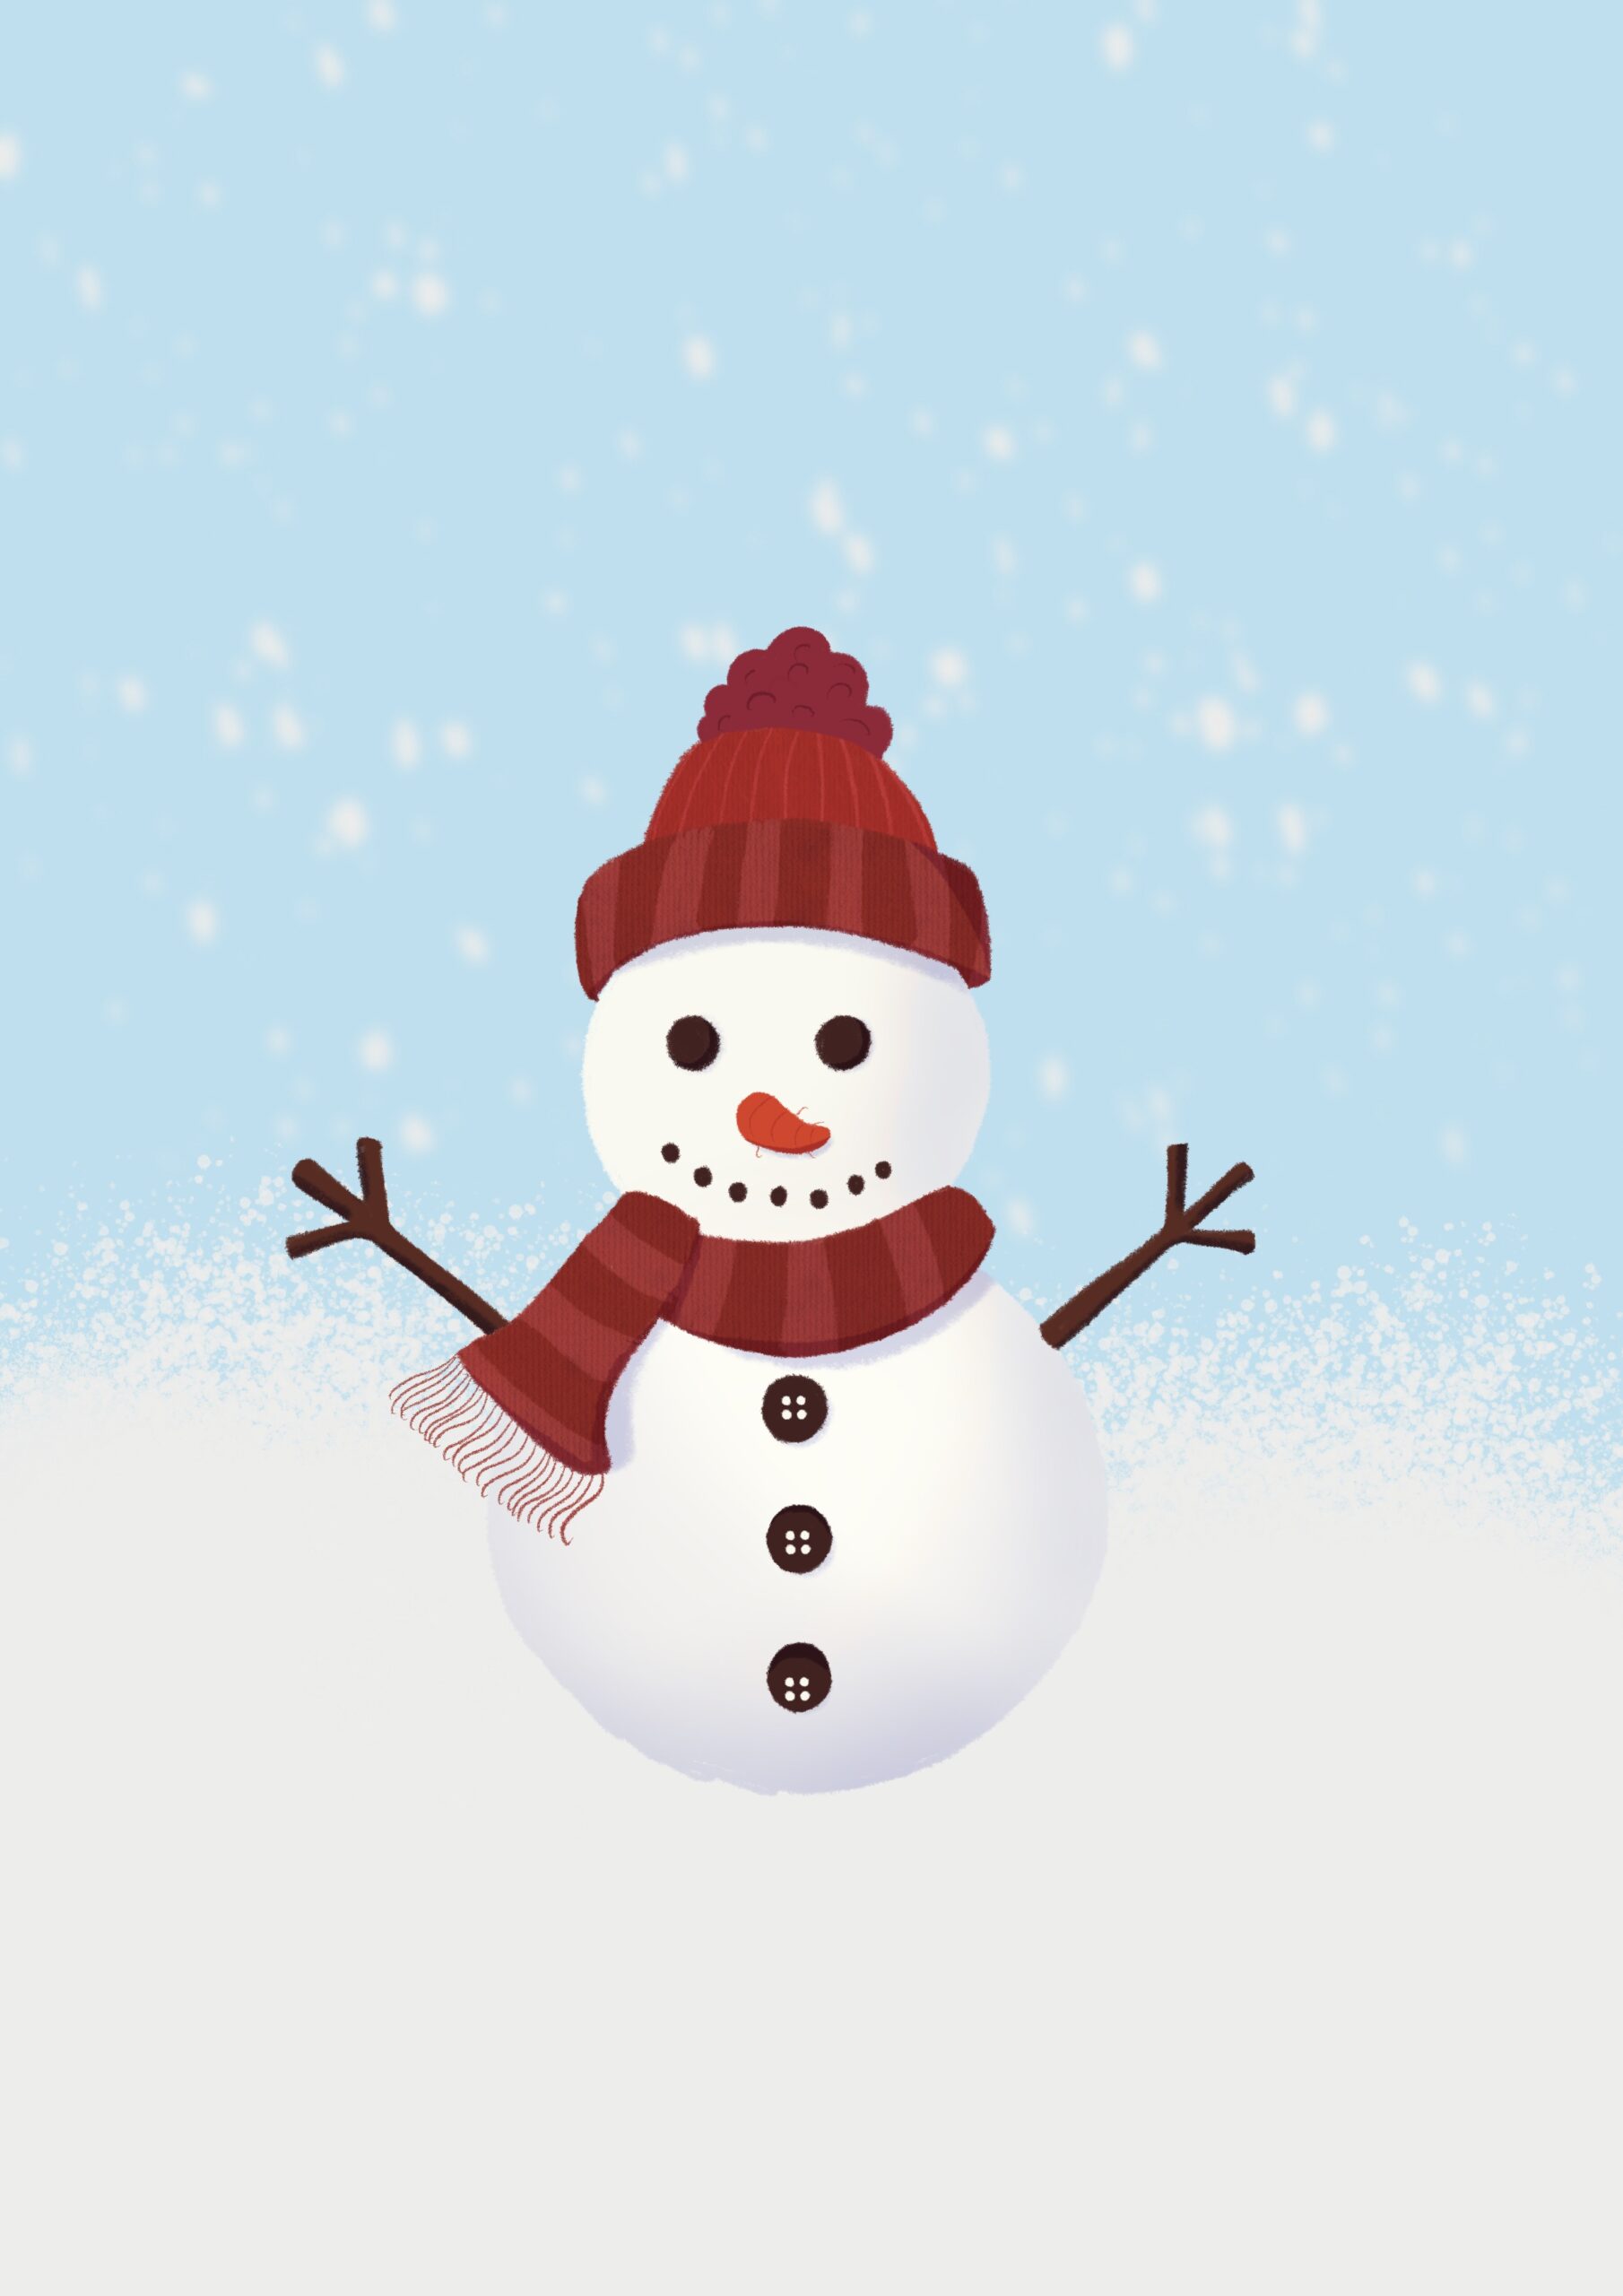
- Step 10: Add Final Touches
For the final touches, add snow on top of the snowman’s head and some foreground snow around the snowman to complete the winter scene.
And there you have it—a jolly little snowman ready to melt hearts, even in the coldest winter! I hope you enjoyed creating this frosty friend as much as I did. Feel free to customize your snowman with different accessories, colors, or even a unique background to make it truly yours. Remember, every snowman is special—just like your creativity. Keep drawing, keep smiling, and let your art light up the world this winter! ☃️✨

