

Ever wondered how to cartoonize real people into a fun, stylized illustration? In this post, I’m walking you through my exact process of turning a real person into a cartoon-style digital portrait using Procreate.
Whether you’re a beginner or just looking to refine your cartoon portrait drawing skills, this step-by-step guide will help you capture real personalities while giving them your own artistic twist.
📸 Step 1: Choose a Reference Photo
I usually start with a reference photo I found on Pinterest. I’m drawn to bold features—big glasses, fun accessories, or expressive faces. These make the final cartoon character illustration much more dynamic.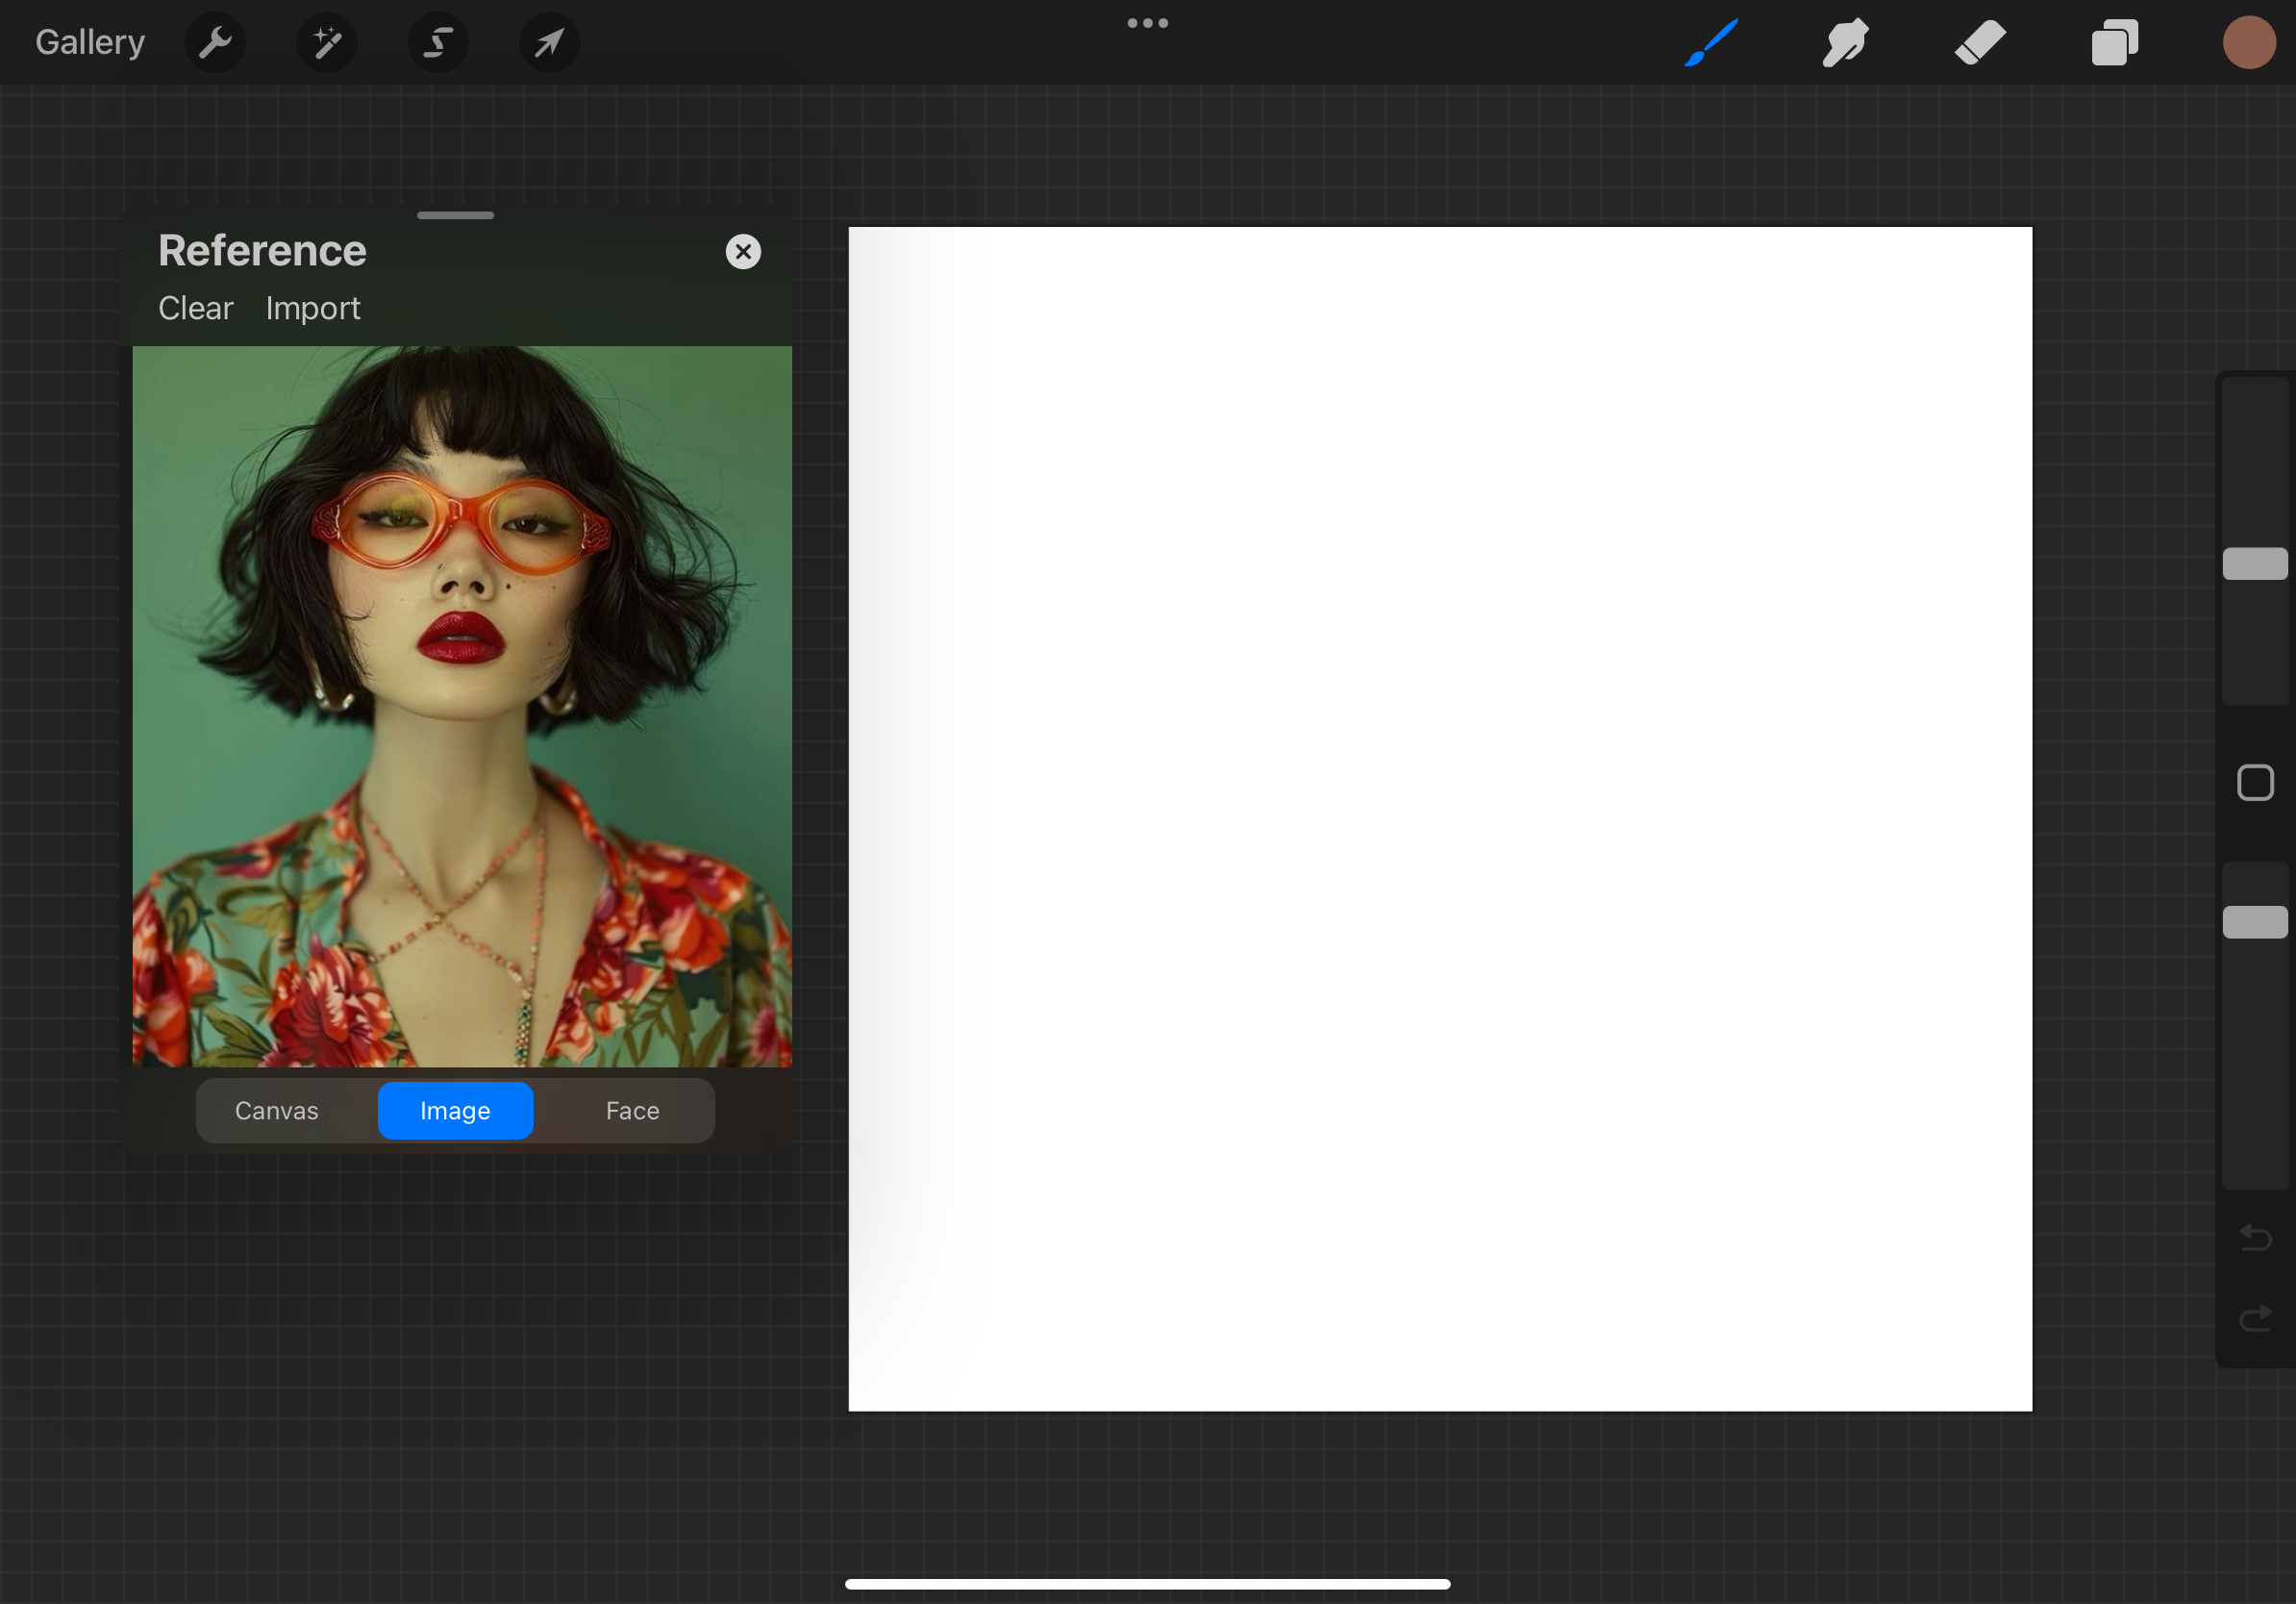
In Procreate, I use the built-in Reference window to open the photo directly inside the app. This makes it super easy to draw from photo reference to glance back and forth as I draw while still focusing on exaggerating proportions and stylizing the character.
🖍 How to Cartoonize Real People—Rough Sketch Stage in Procreate
Using a red brush, I begin a rough sketch. This is where I study the photo and push the shapes—larger eyes, smaller chin, or rounder glasses. Don’t be afraid to stylize boldly! This is key when learning how to turn a real photo into a cartoon drawing.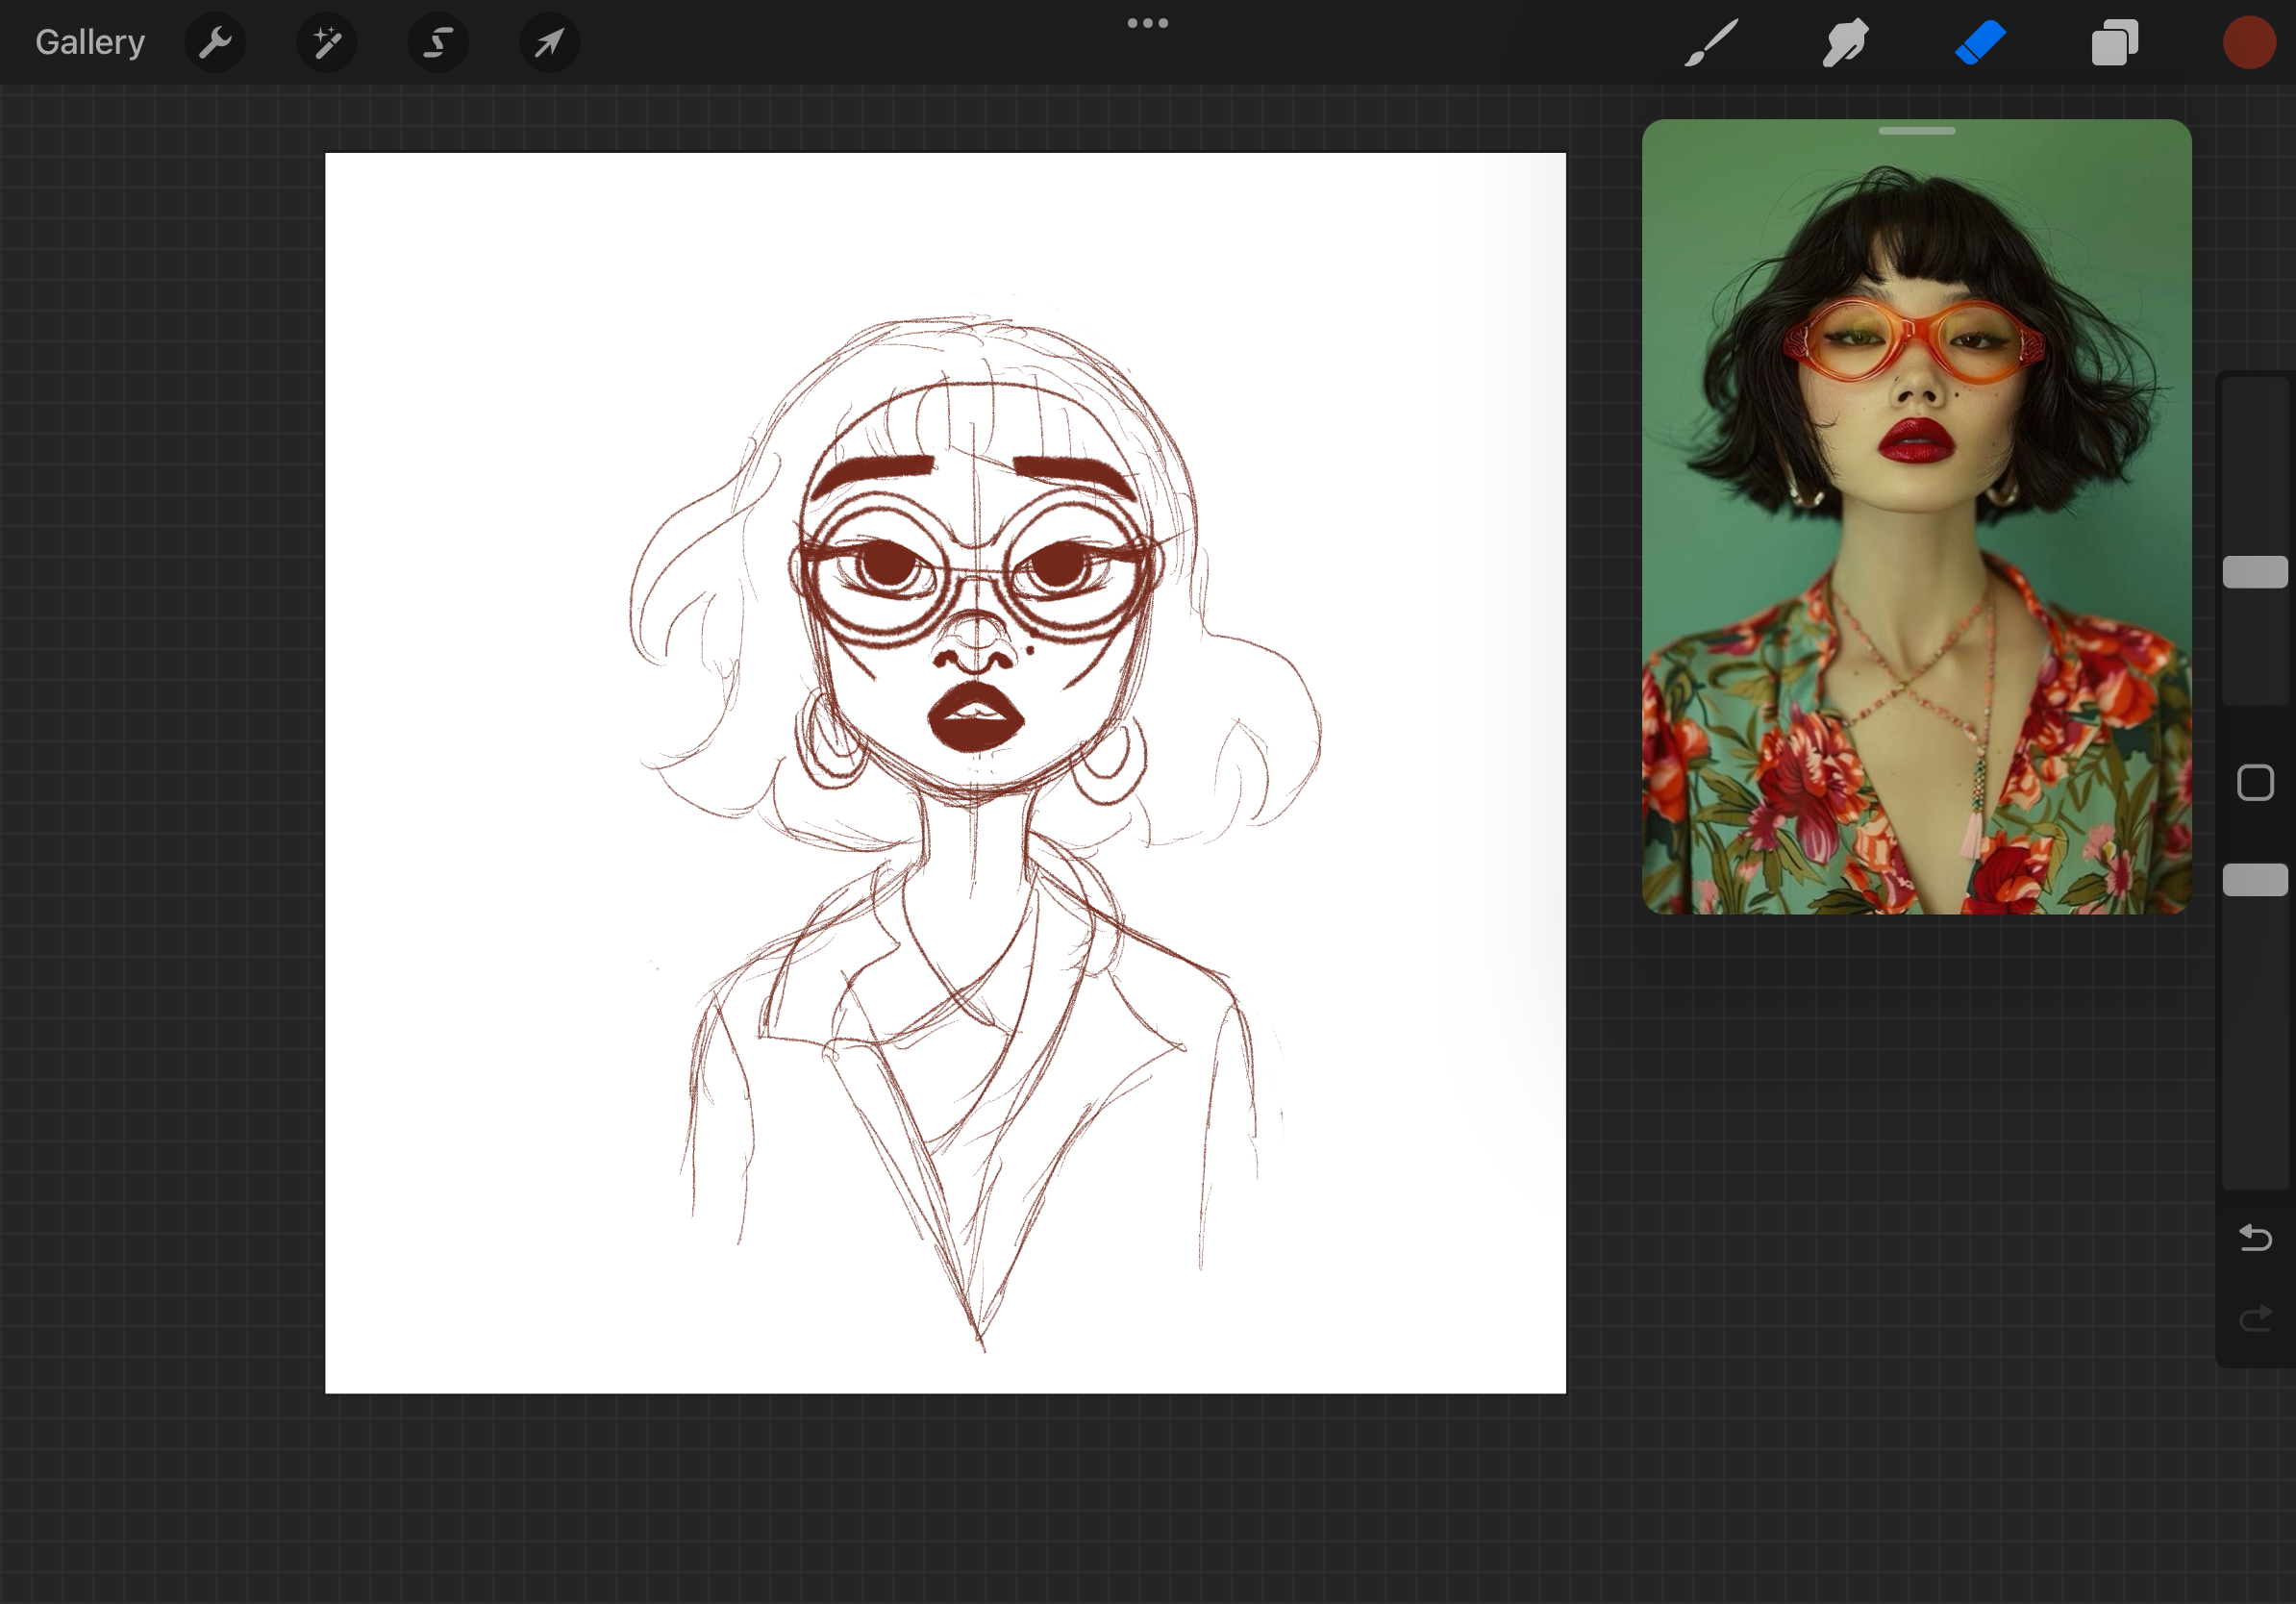
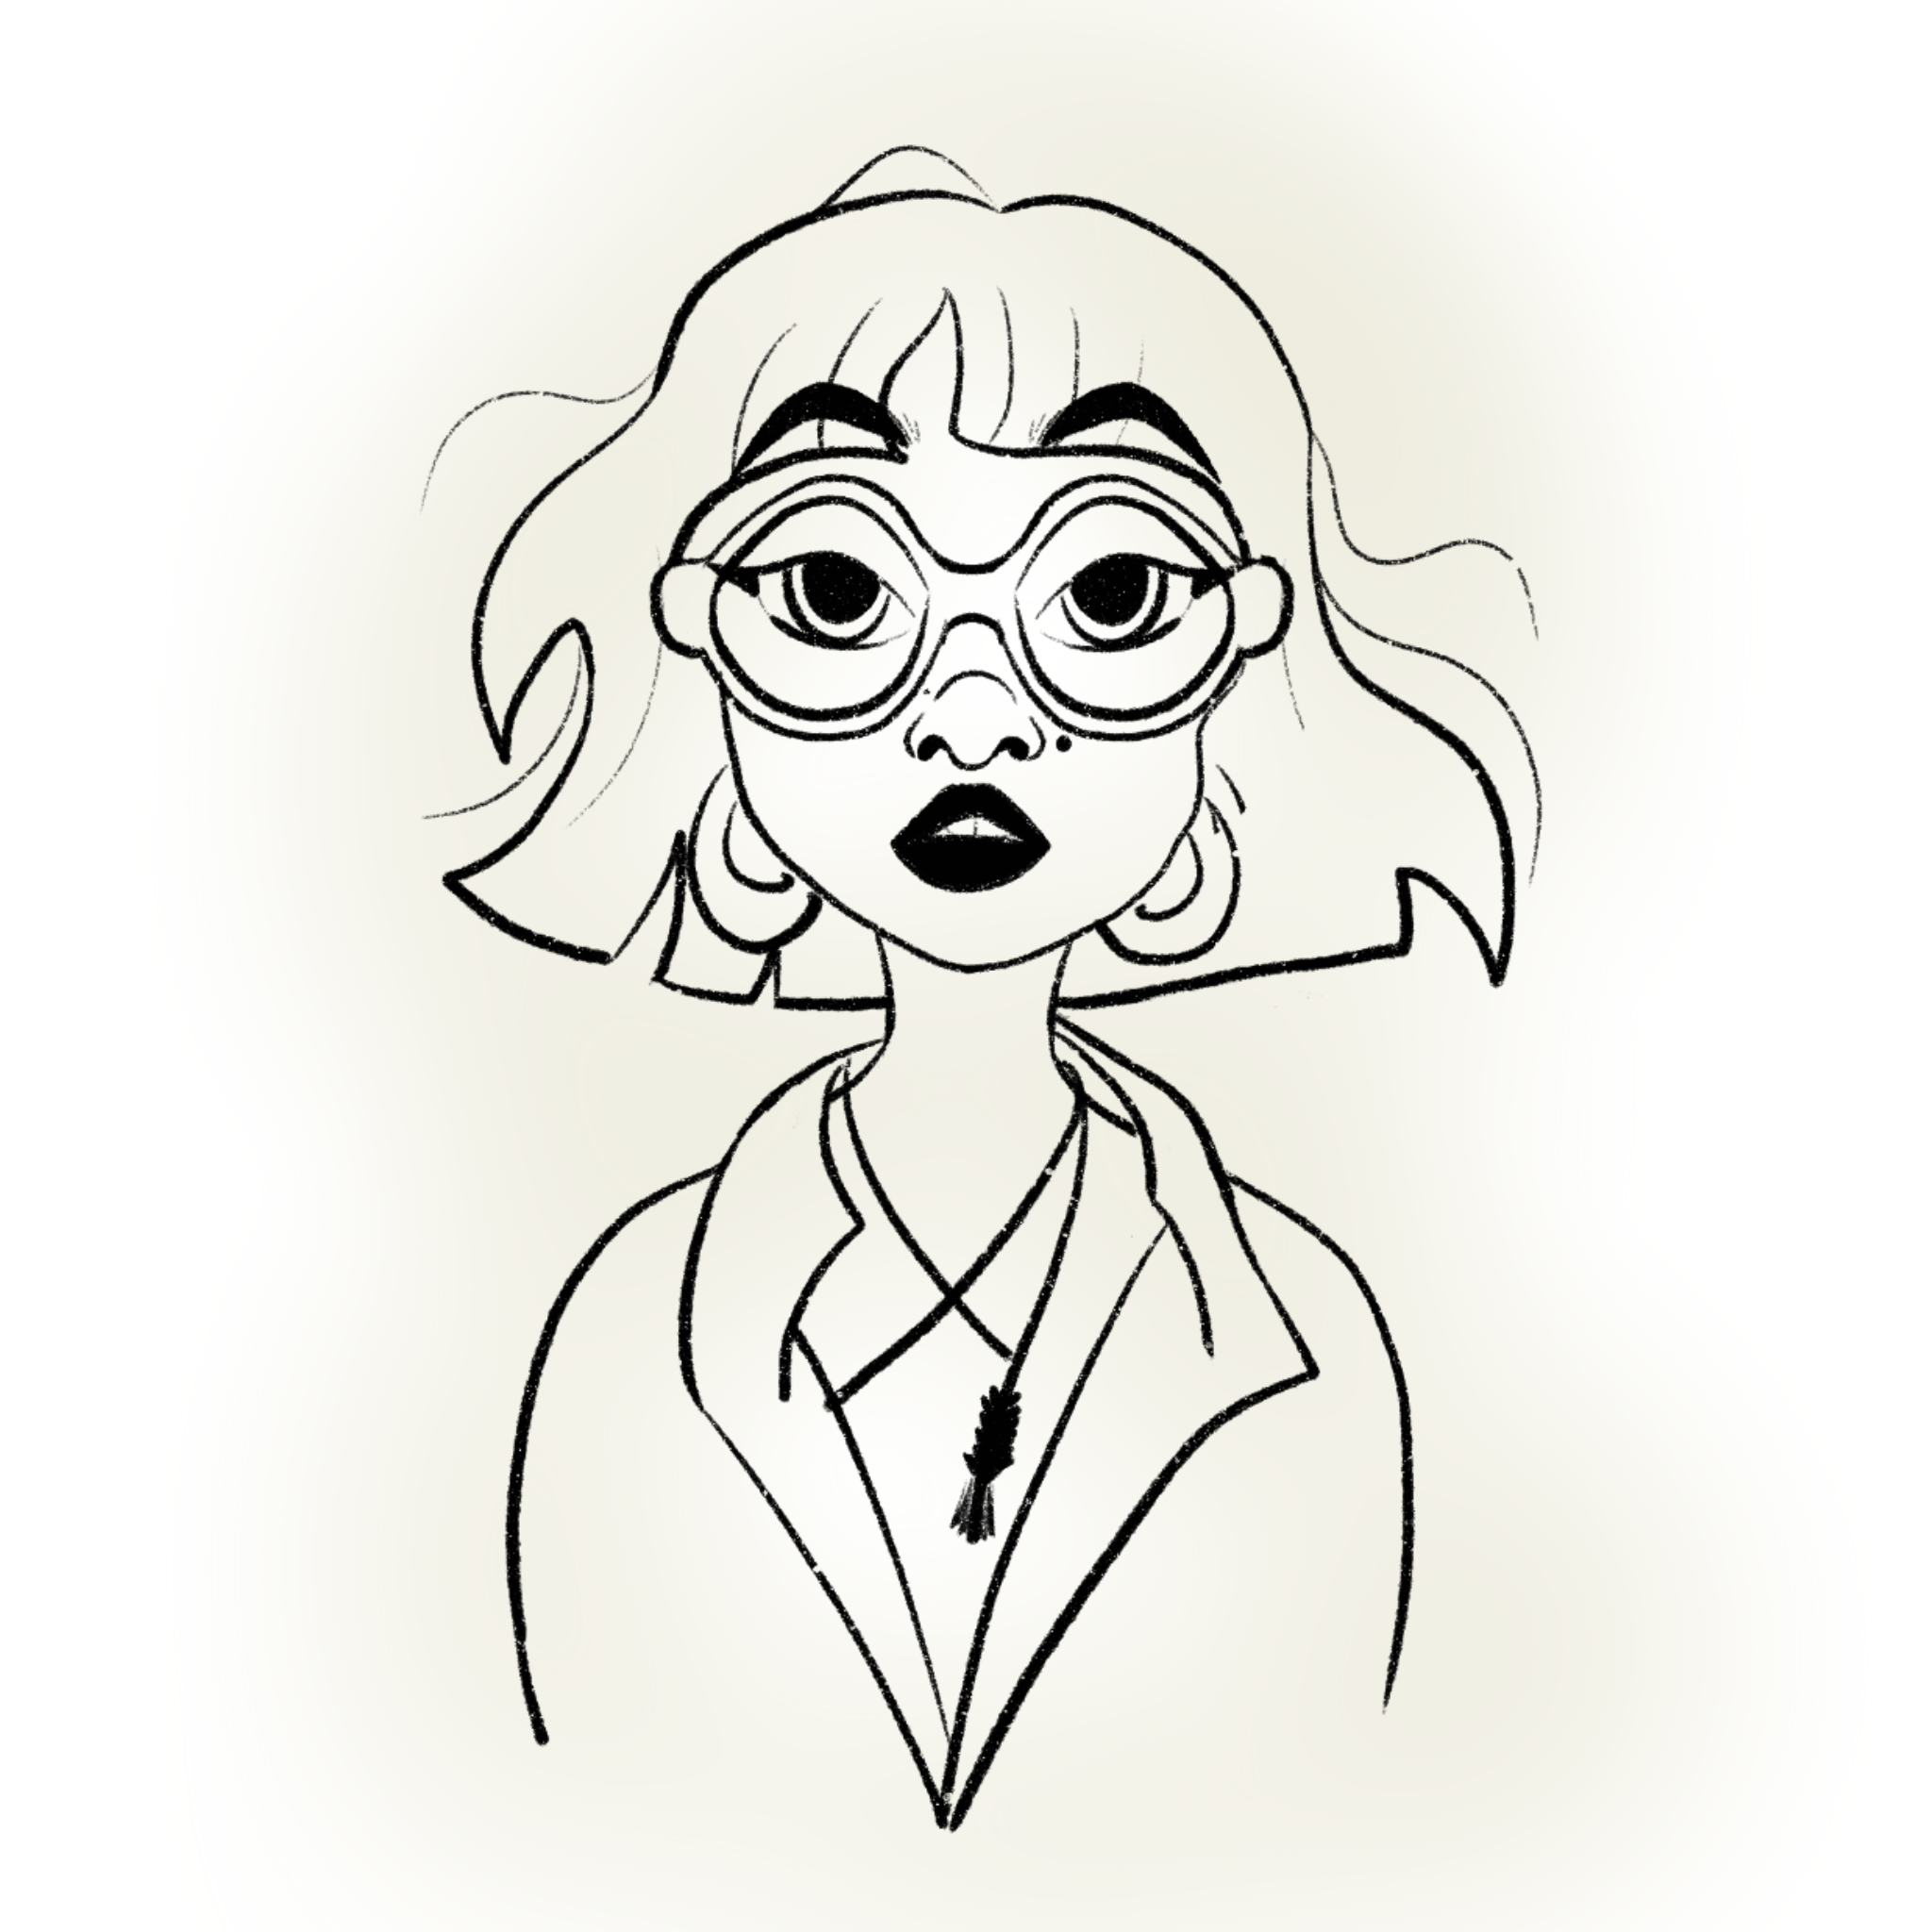
🖋 Step 3: Clean Line Art
Once I’m happy with the sketch, I reduce the layer’s opacity and create a new layer beneath it for clean line art. For this stage, I switch to a different brush in Procreate—something smoother and more refined—to give the lines a clean, polished look.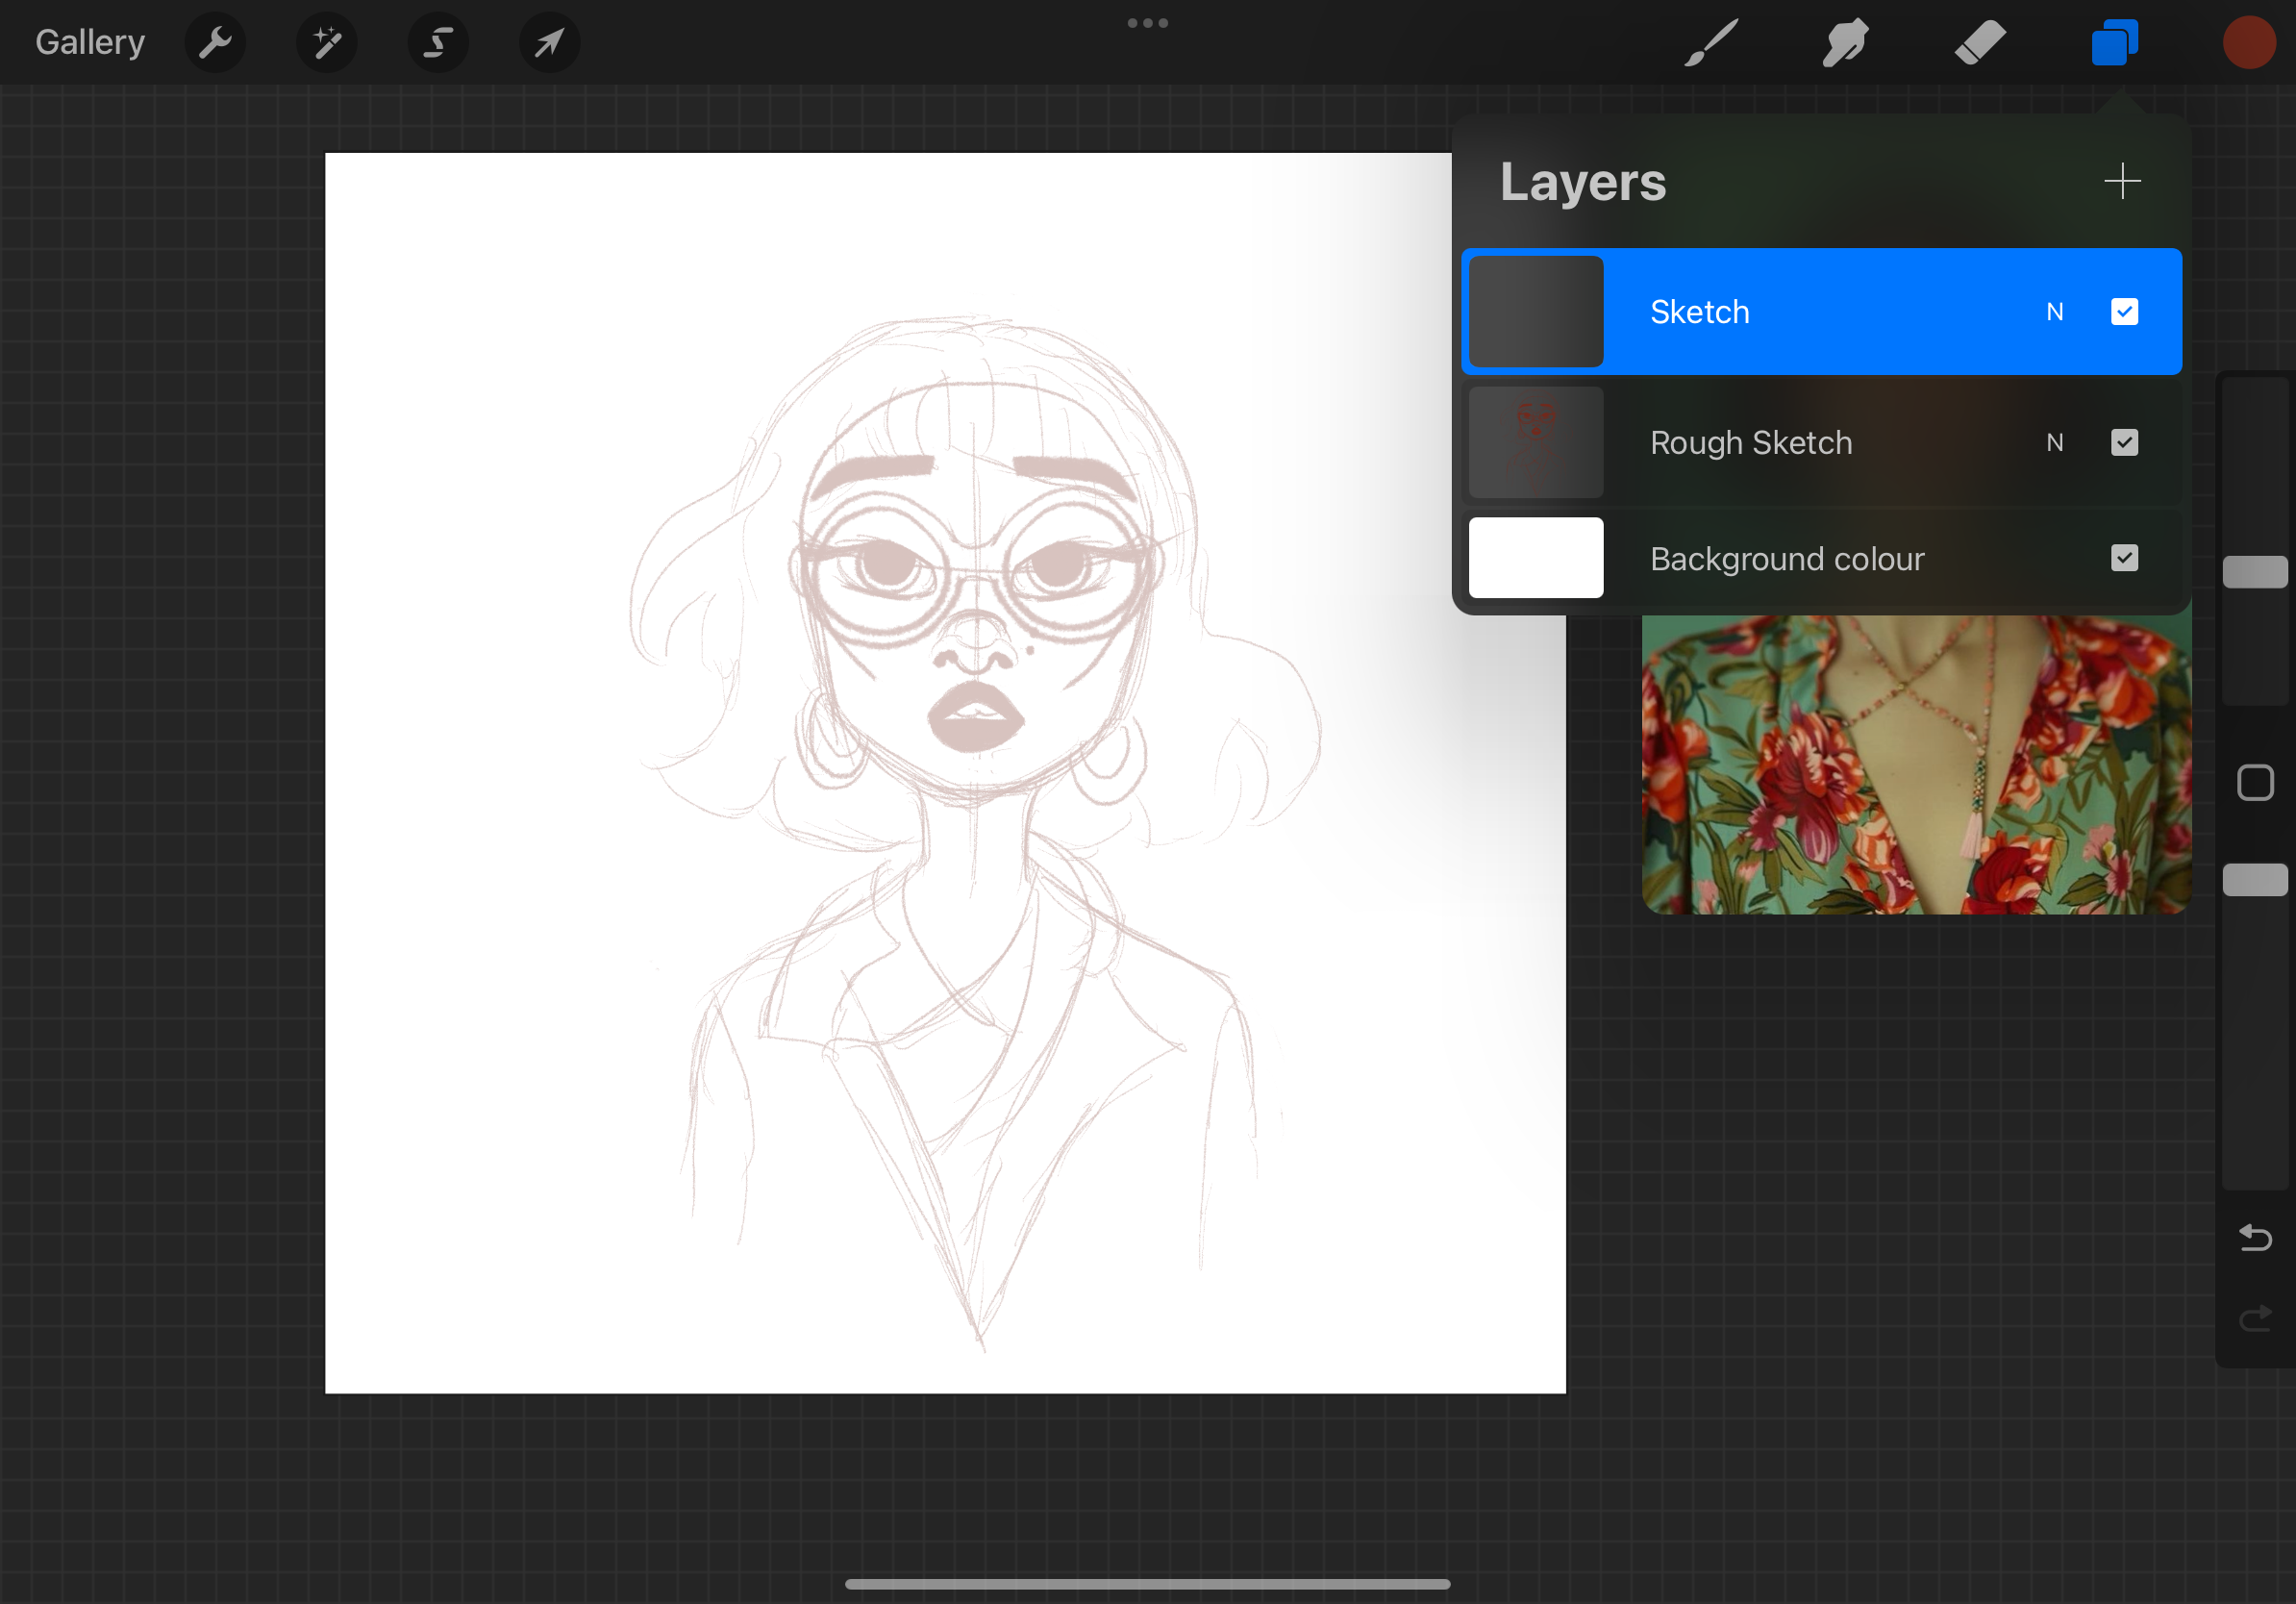
I use black color for the line art to make it really pop. This is where I slow down, bring clarity to the shapes, and keep the lines confident and expressive to match the character’s personality.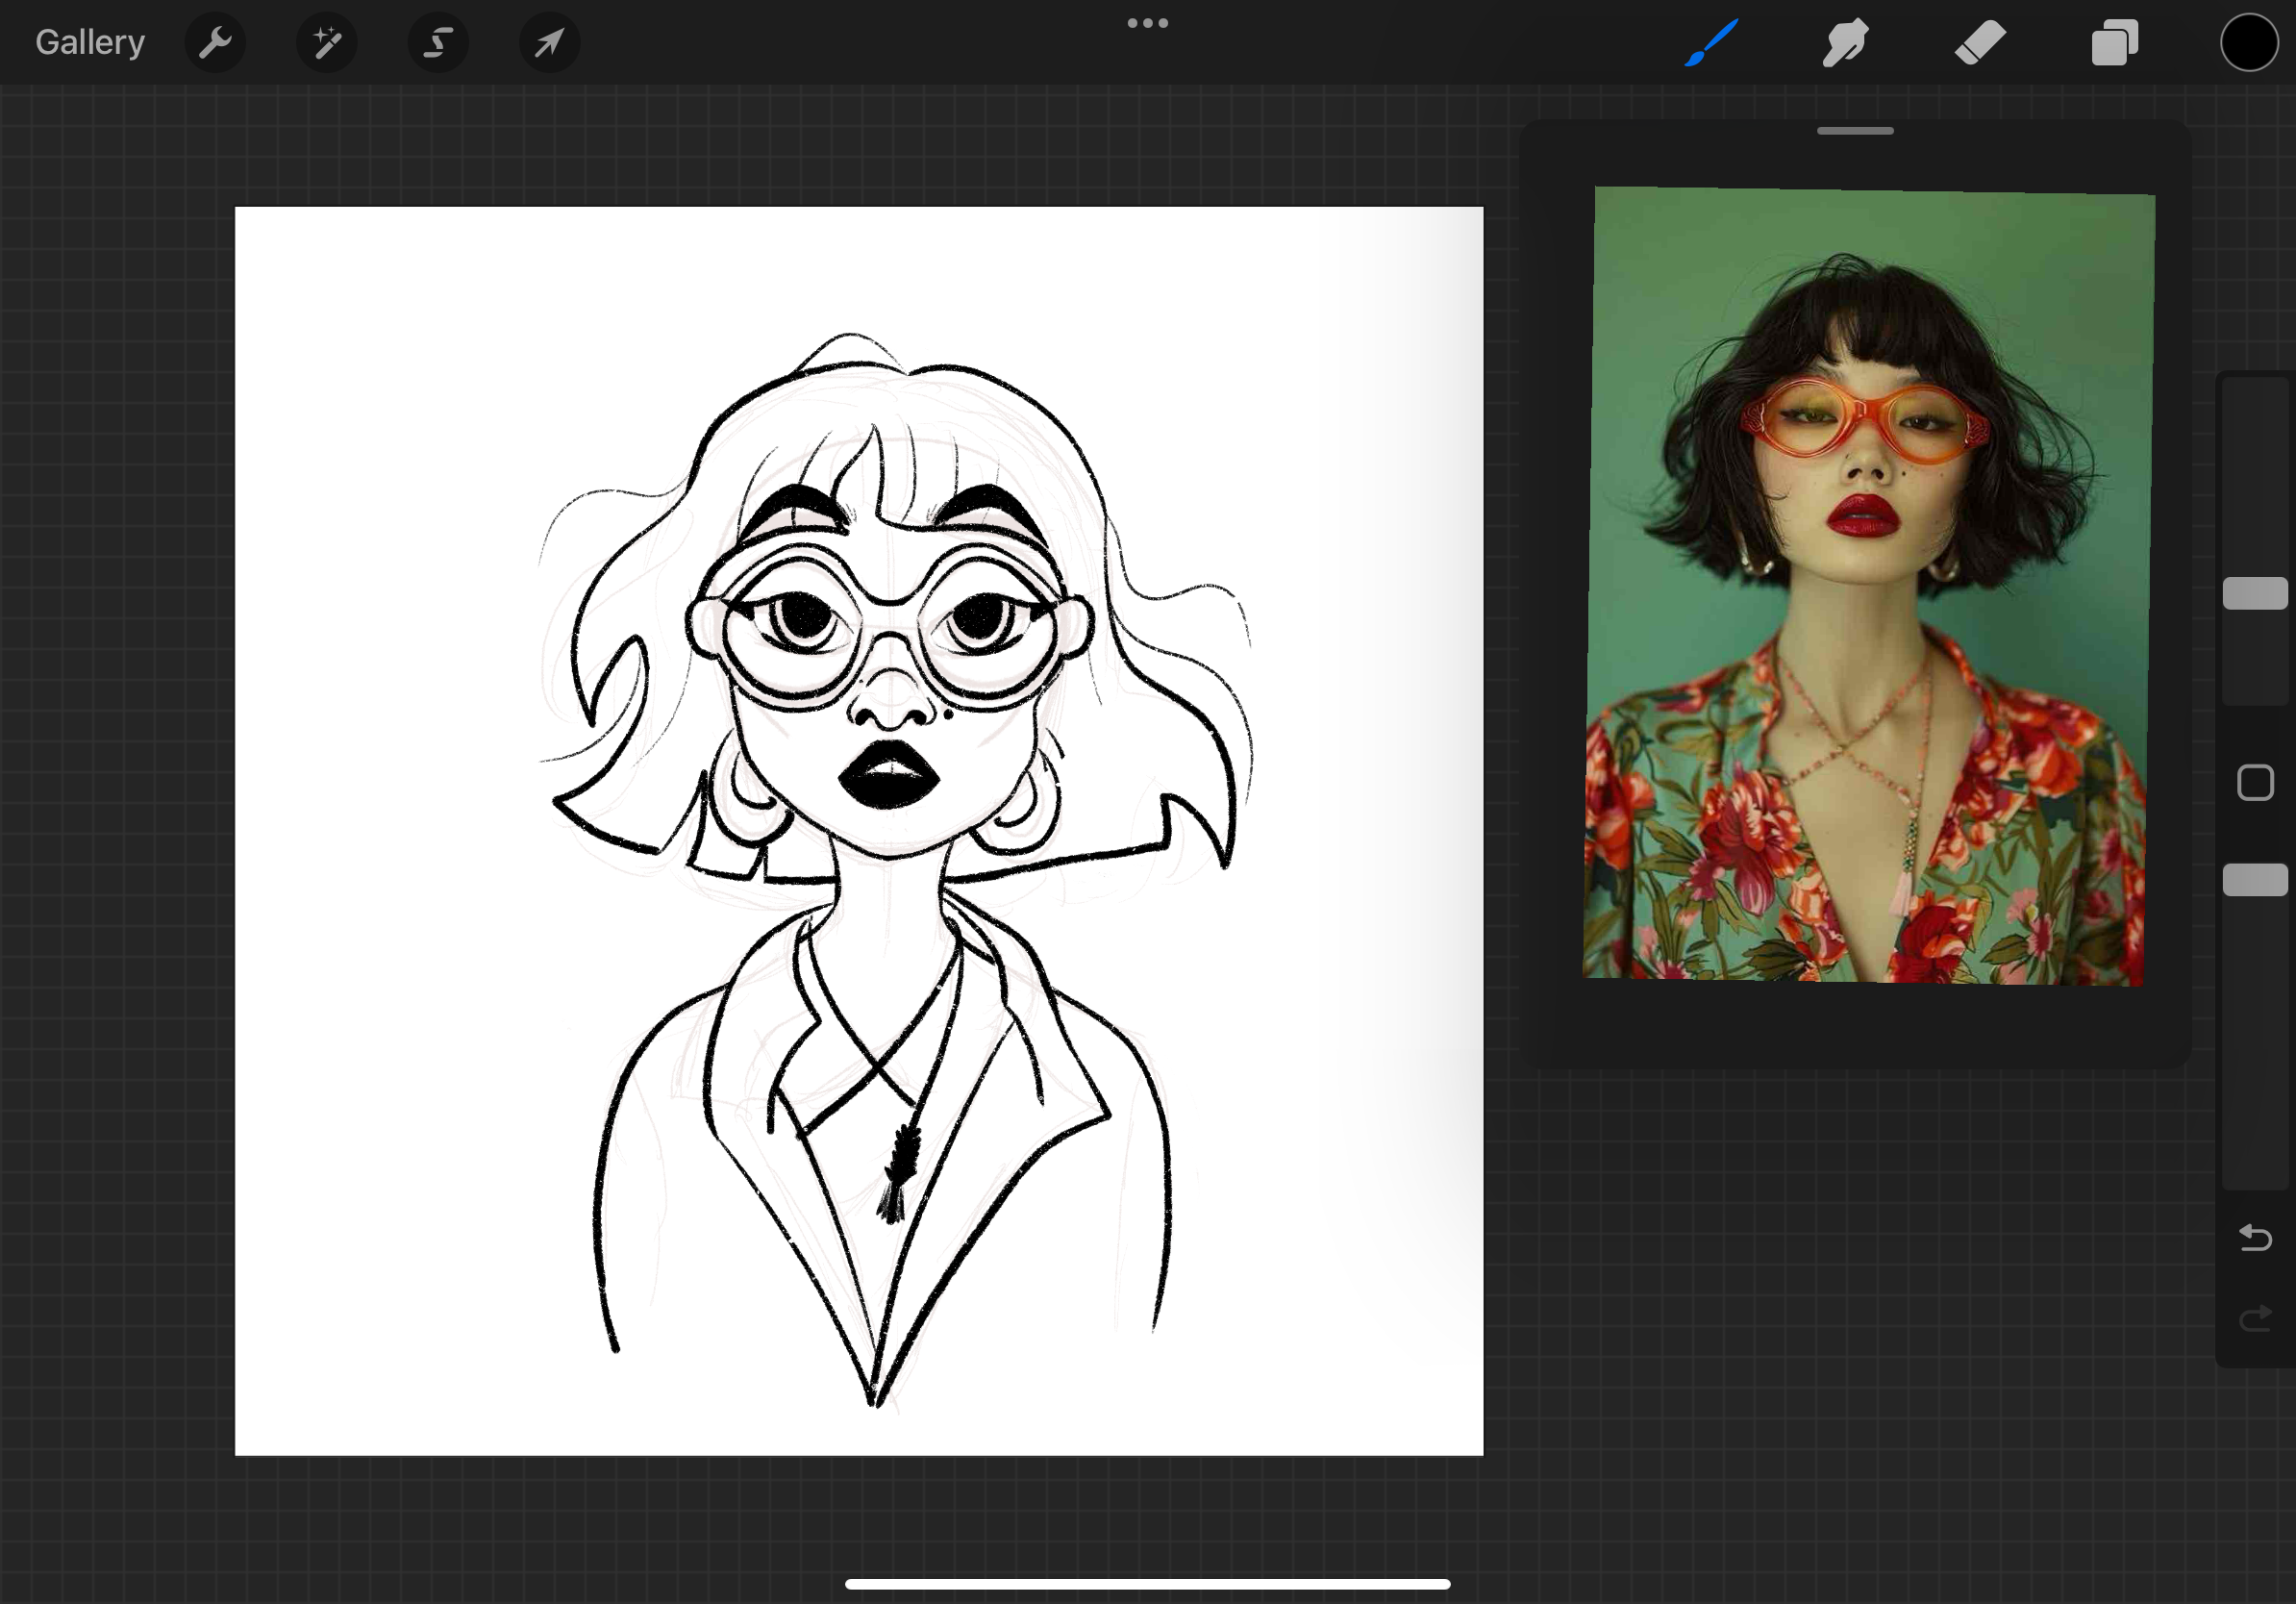
🎨 Step 4: Color the Background
Now it’s time to color! I start with the background first, especially when it’s a solid color like in this reference—it makes things quick and simple.
To do this, I first turn down the opacity of the line art layer, then create a new layer underneath it. This lets me color freely without interfering with the lines. Since the background in this portrait is a plain color, it’s easy to block in cleanly.
Once the background is in, I move on to the base tones—starting with skin and hair. These colors set the foundation before I jump into the detailed features
🧴Step 5: Add Base Colors to Skin and Hair
Next, I add base colors for the skin and hair. I do this on a new layer beneath the line art so the outlines stay clean and visible.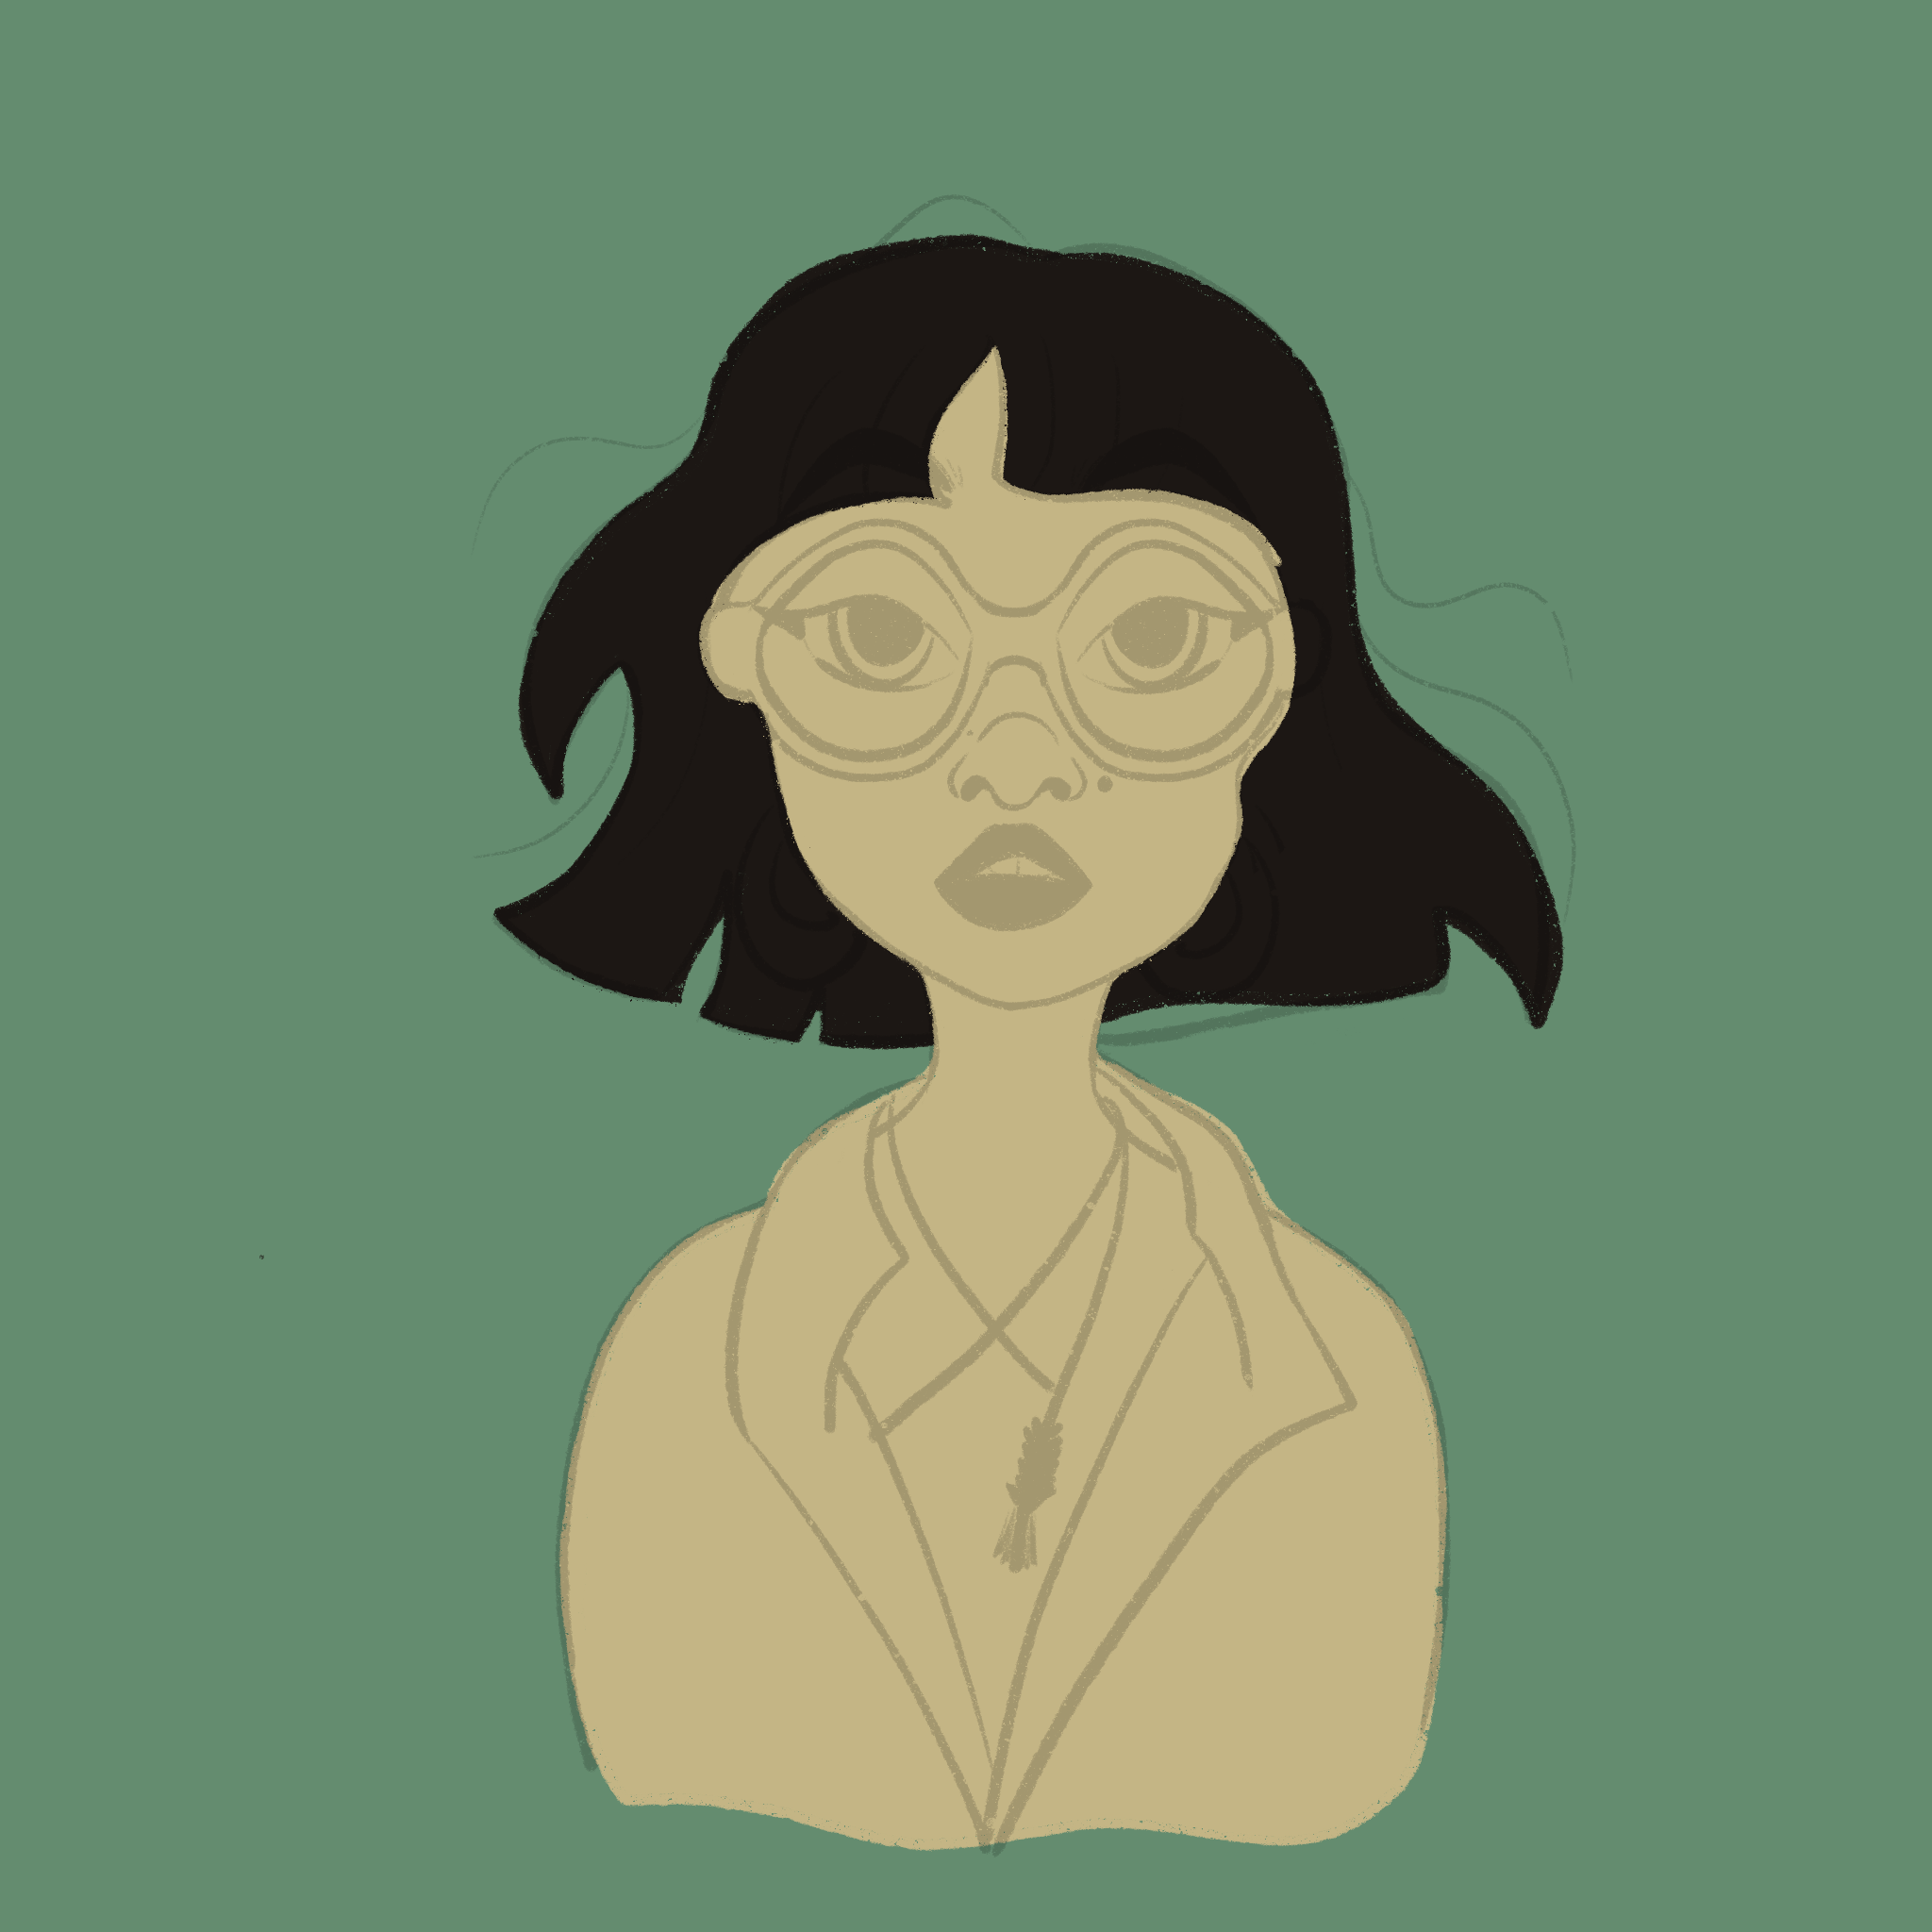
I try to match the skin tone and hair color as closely to the reference photo as possible. At this stage, I’m just laying down flat colors—no shading yet—just setting up the structure for more detailed painting later.
👚 Step 6: Color Clothing & Facial Features
Next, I color in the outfits, referencing the original photo to match patterns and tones. I also add in facial features like eyebrows, lips, nose, and accessories like necklaces. This part really brings the cartoon portrait to life.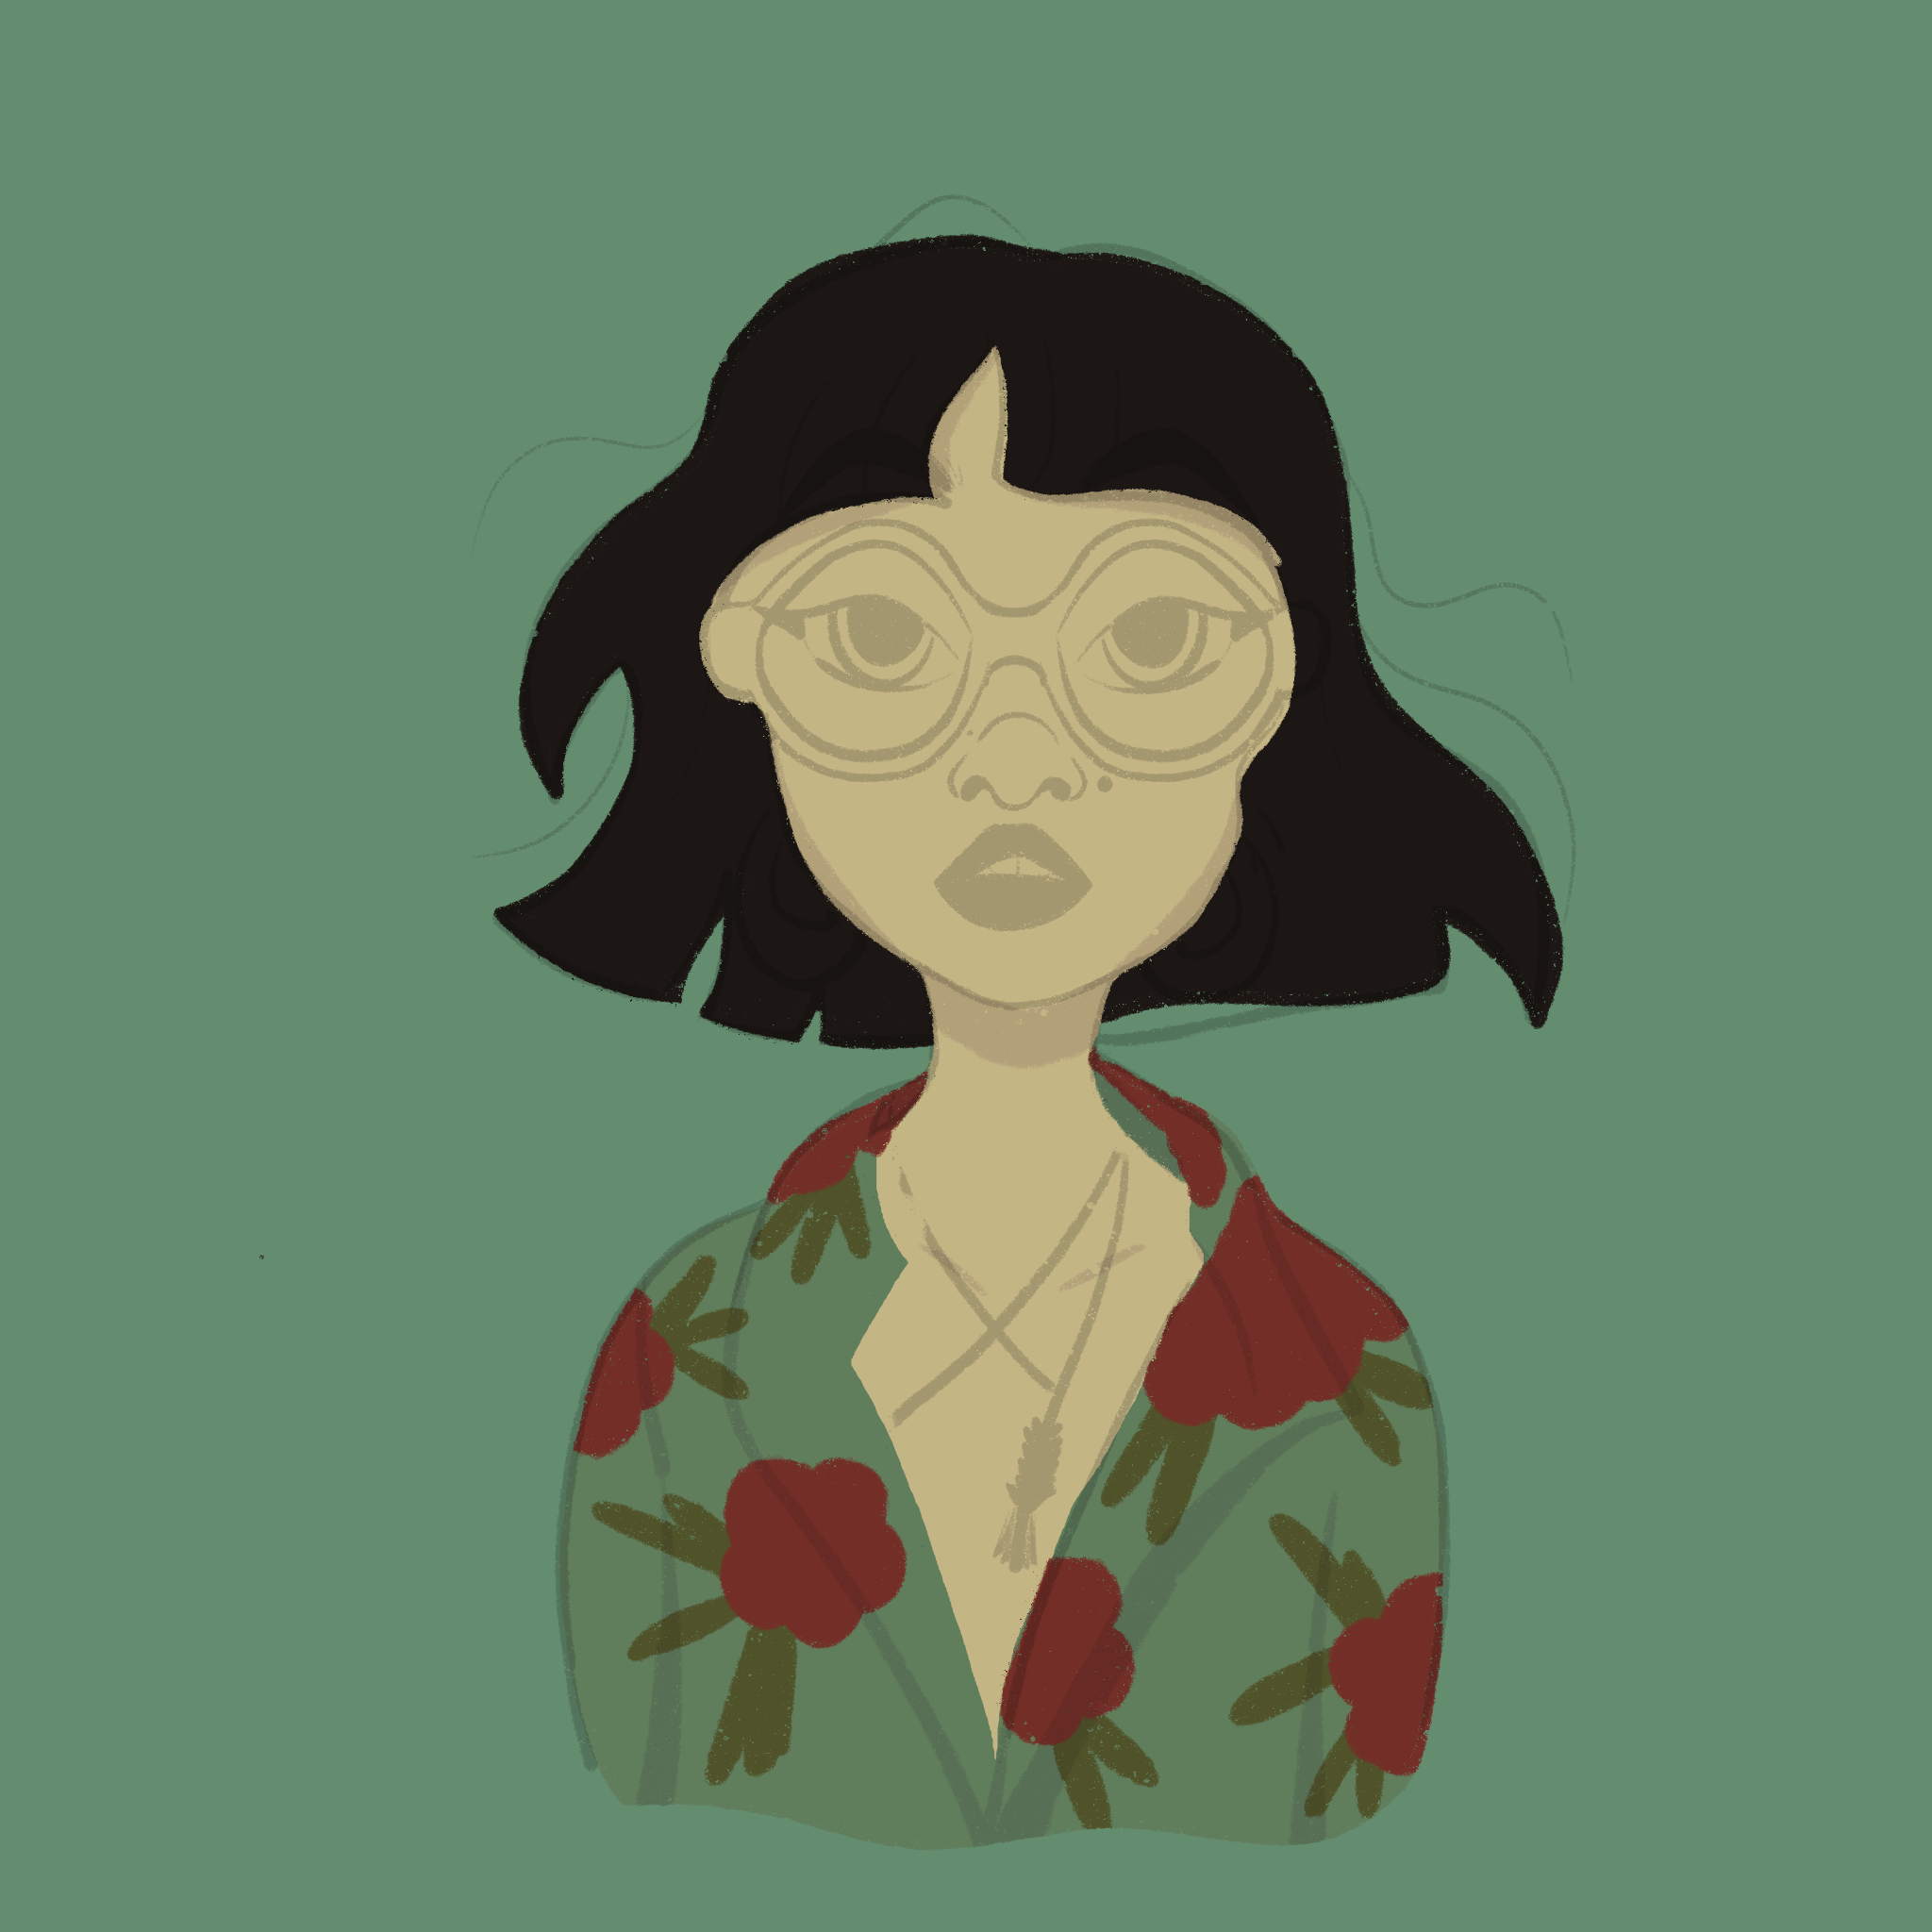
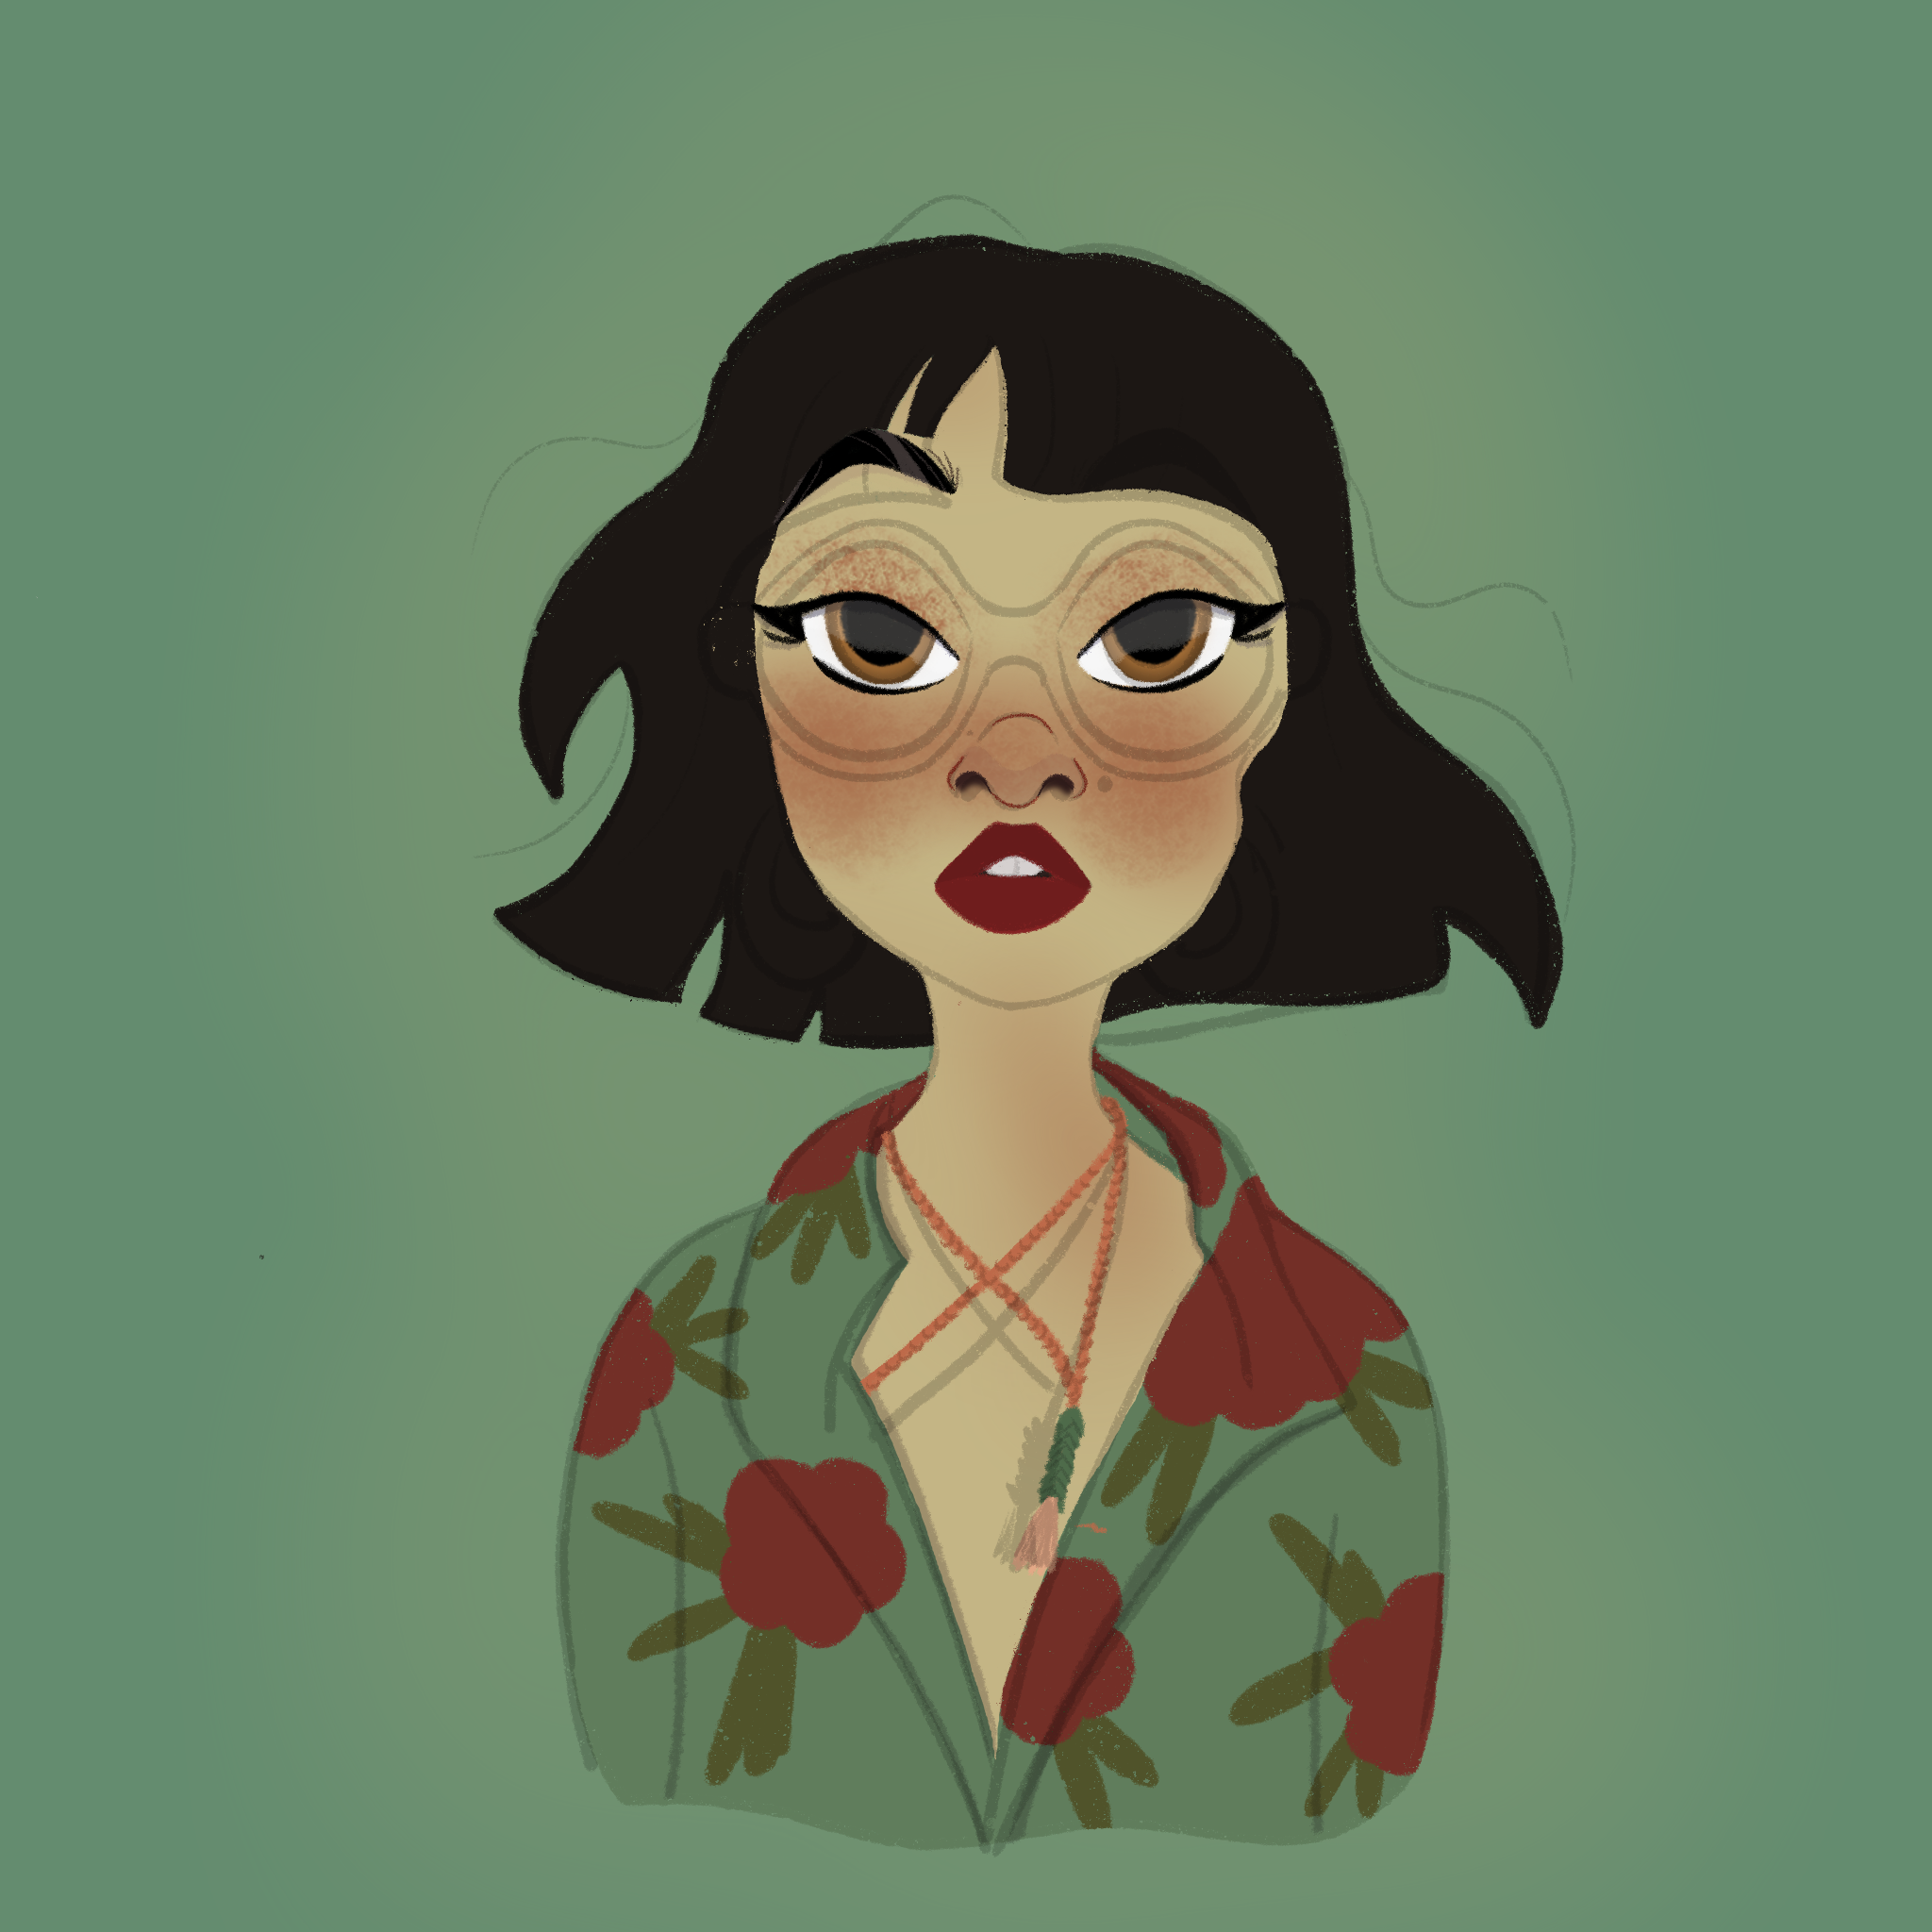
💡 Step 7: Add Shadows, Highlights & Detail
This is my favorite part—adding shadows to the hair, light to the skin, and texture to the clothes. I also color the glasses and earrings, layering in subtle reflections or sparkles.
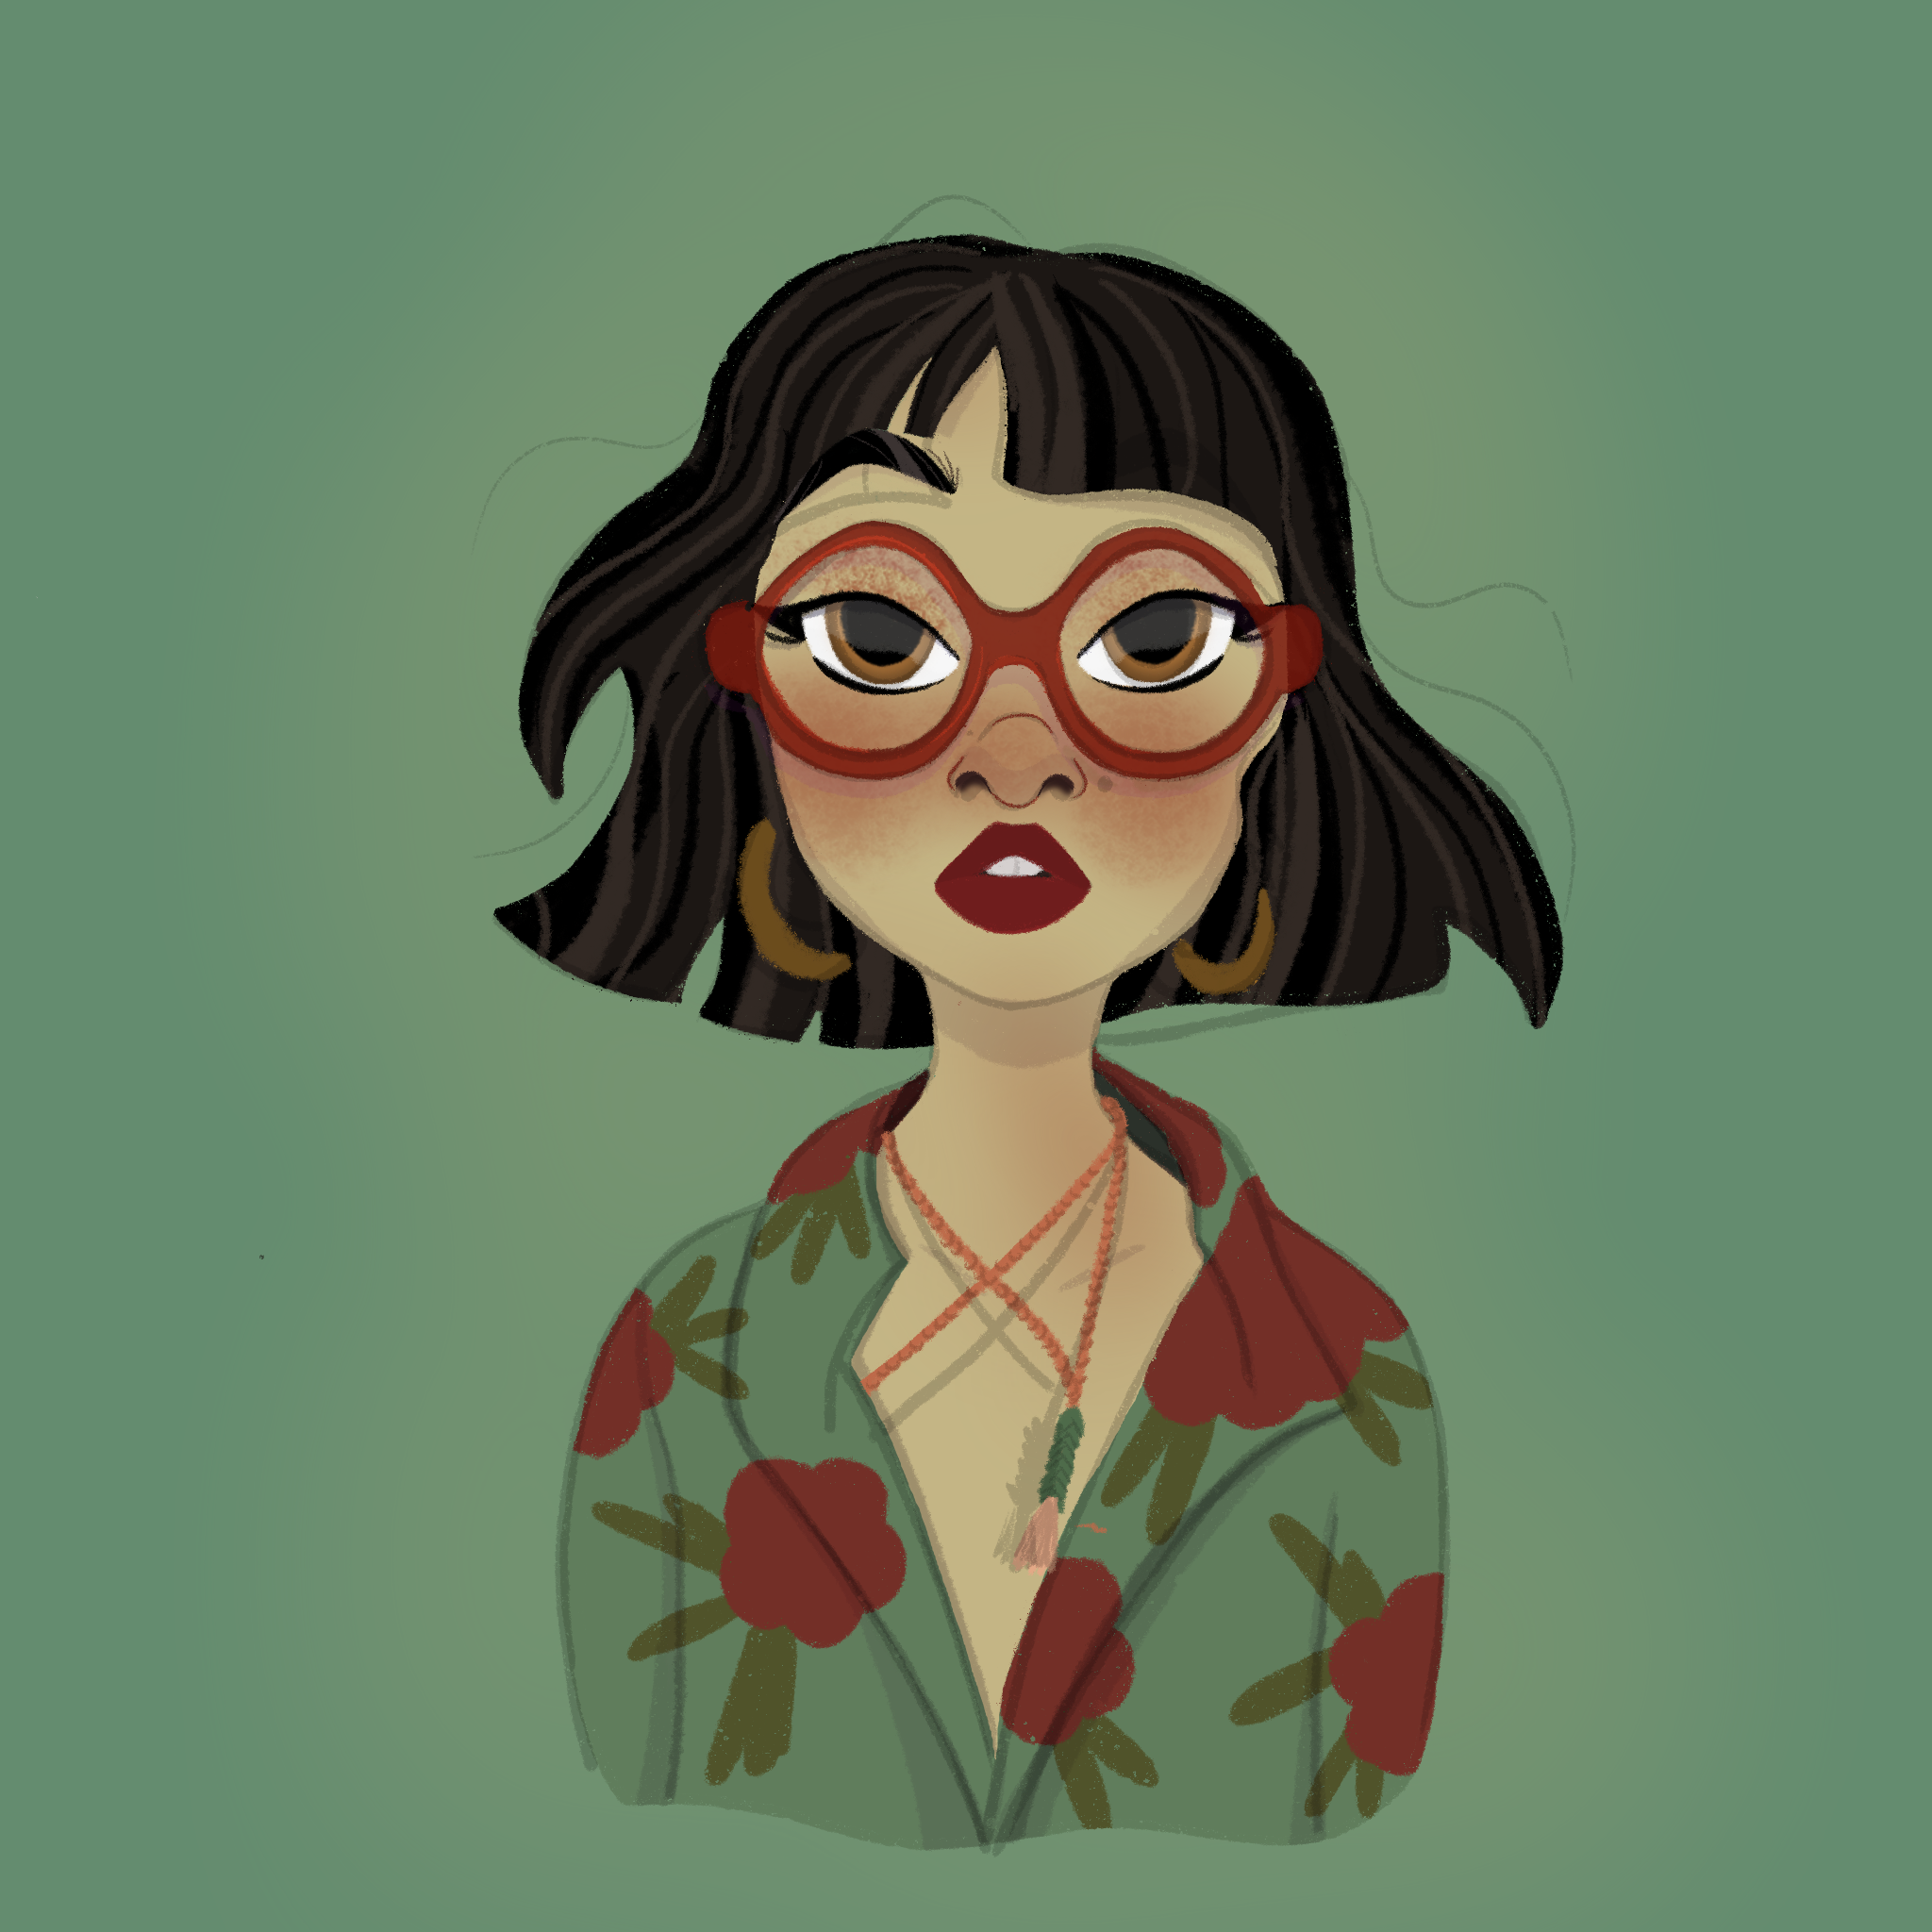
✨ Final Touches
Finally, I go in and add details: flyaway hairs, freckles, specs highlights, and tiny personal marks that make the portrait feel real yet playful.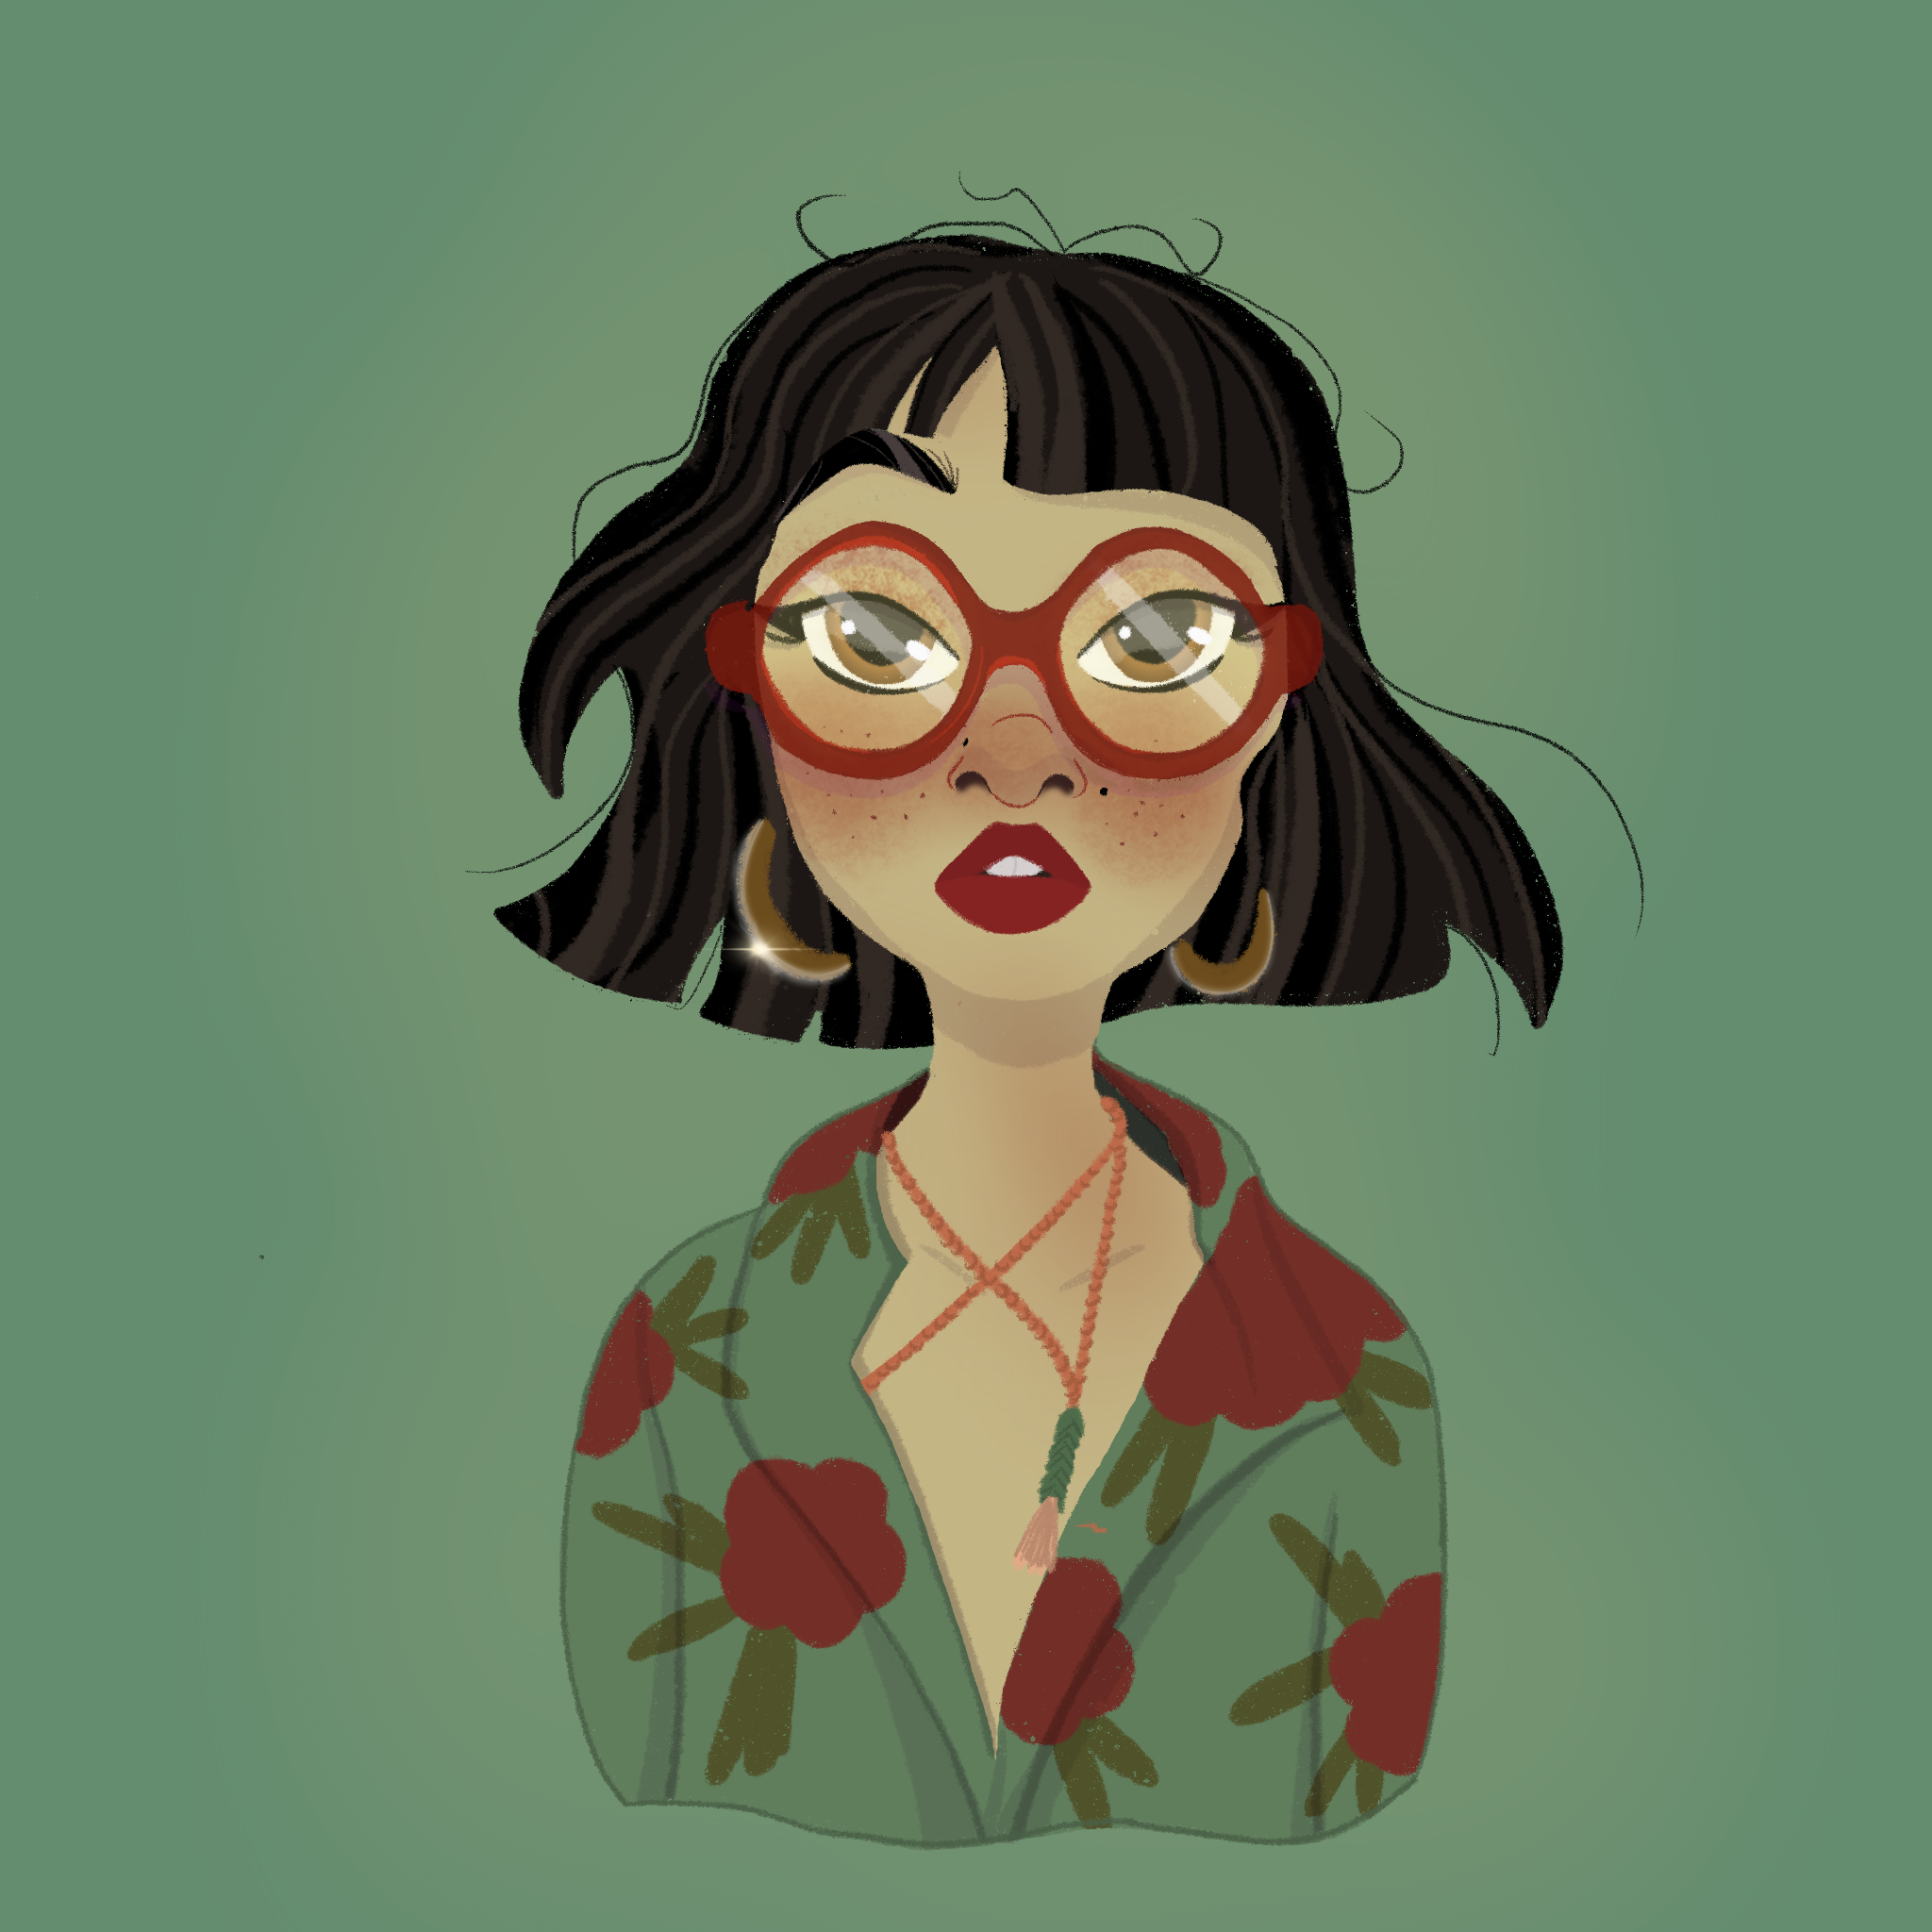
🎁 Free Download: Line Art for You to Color!
Want to try coloring one of these portraits yourself? I’ve uploaded a clean line art download just for you. Feel free to color it in your own style and share it online—just don’t forget to tag me!
👉 Download the free cartoon portrait line art here
📌 Final Thoughts
Learning how to cartoonize real people is an awesome way to build your stylization skills and study real faces at the same time. It’s not about copying—it’s about capturing the energy of a person and making them come to life in your own cartoon world.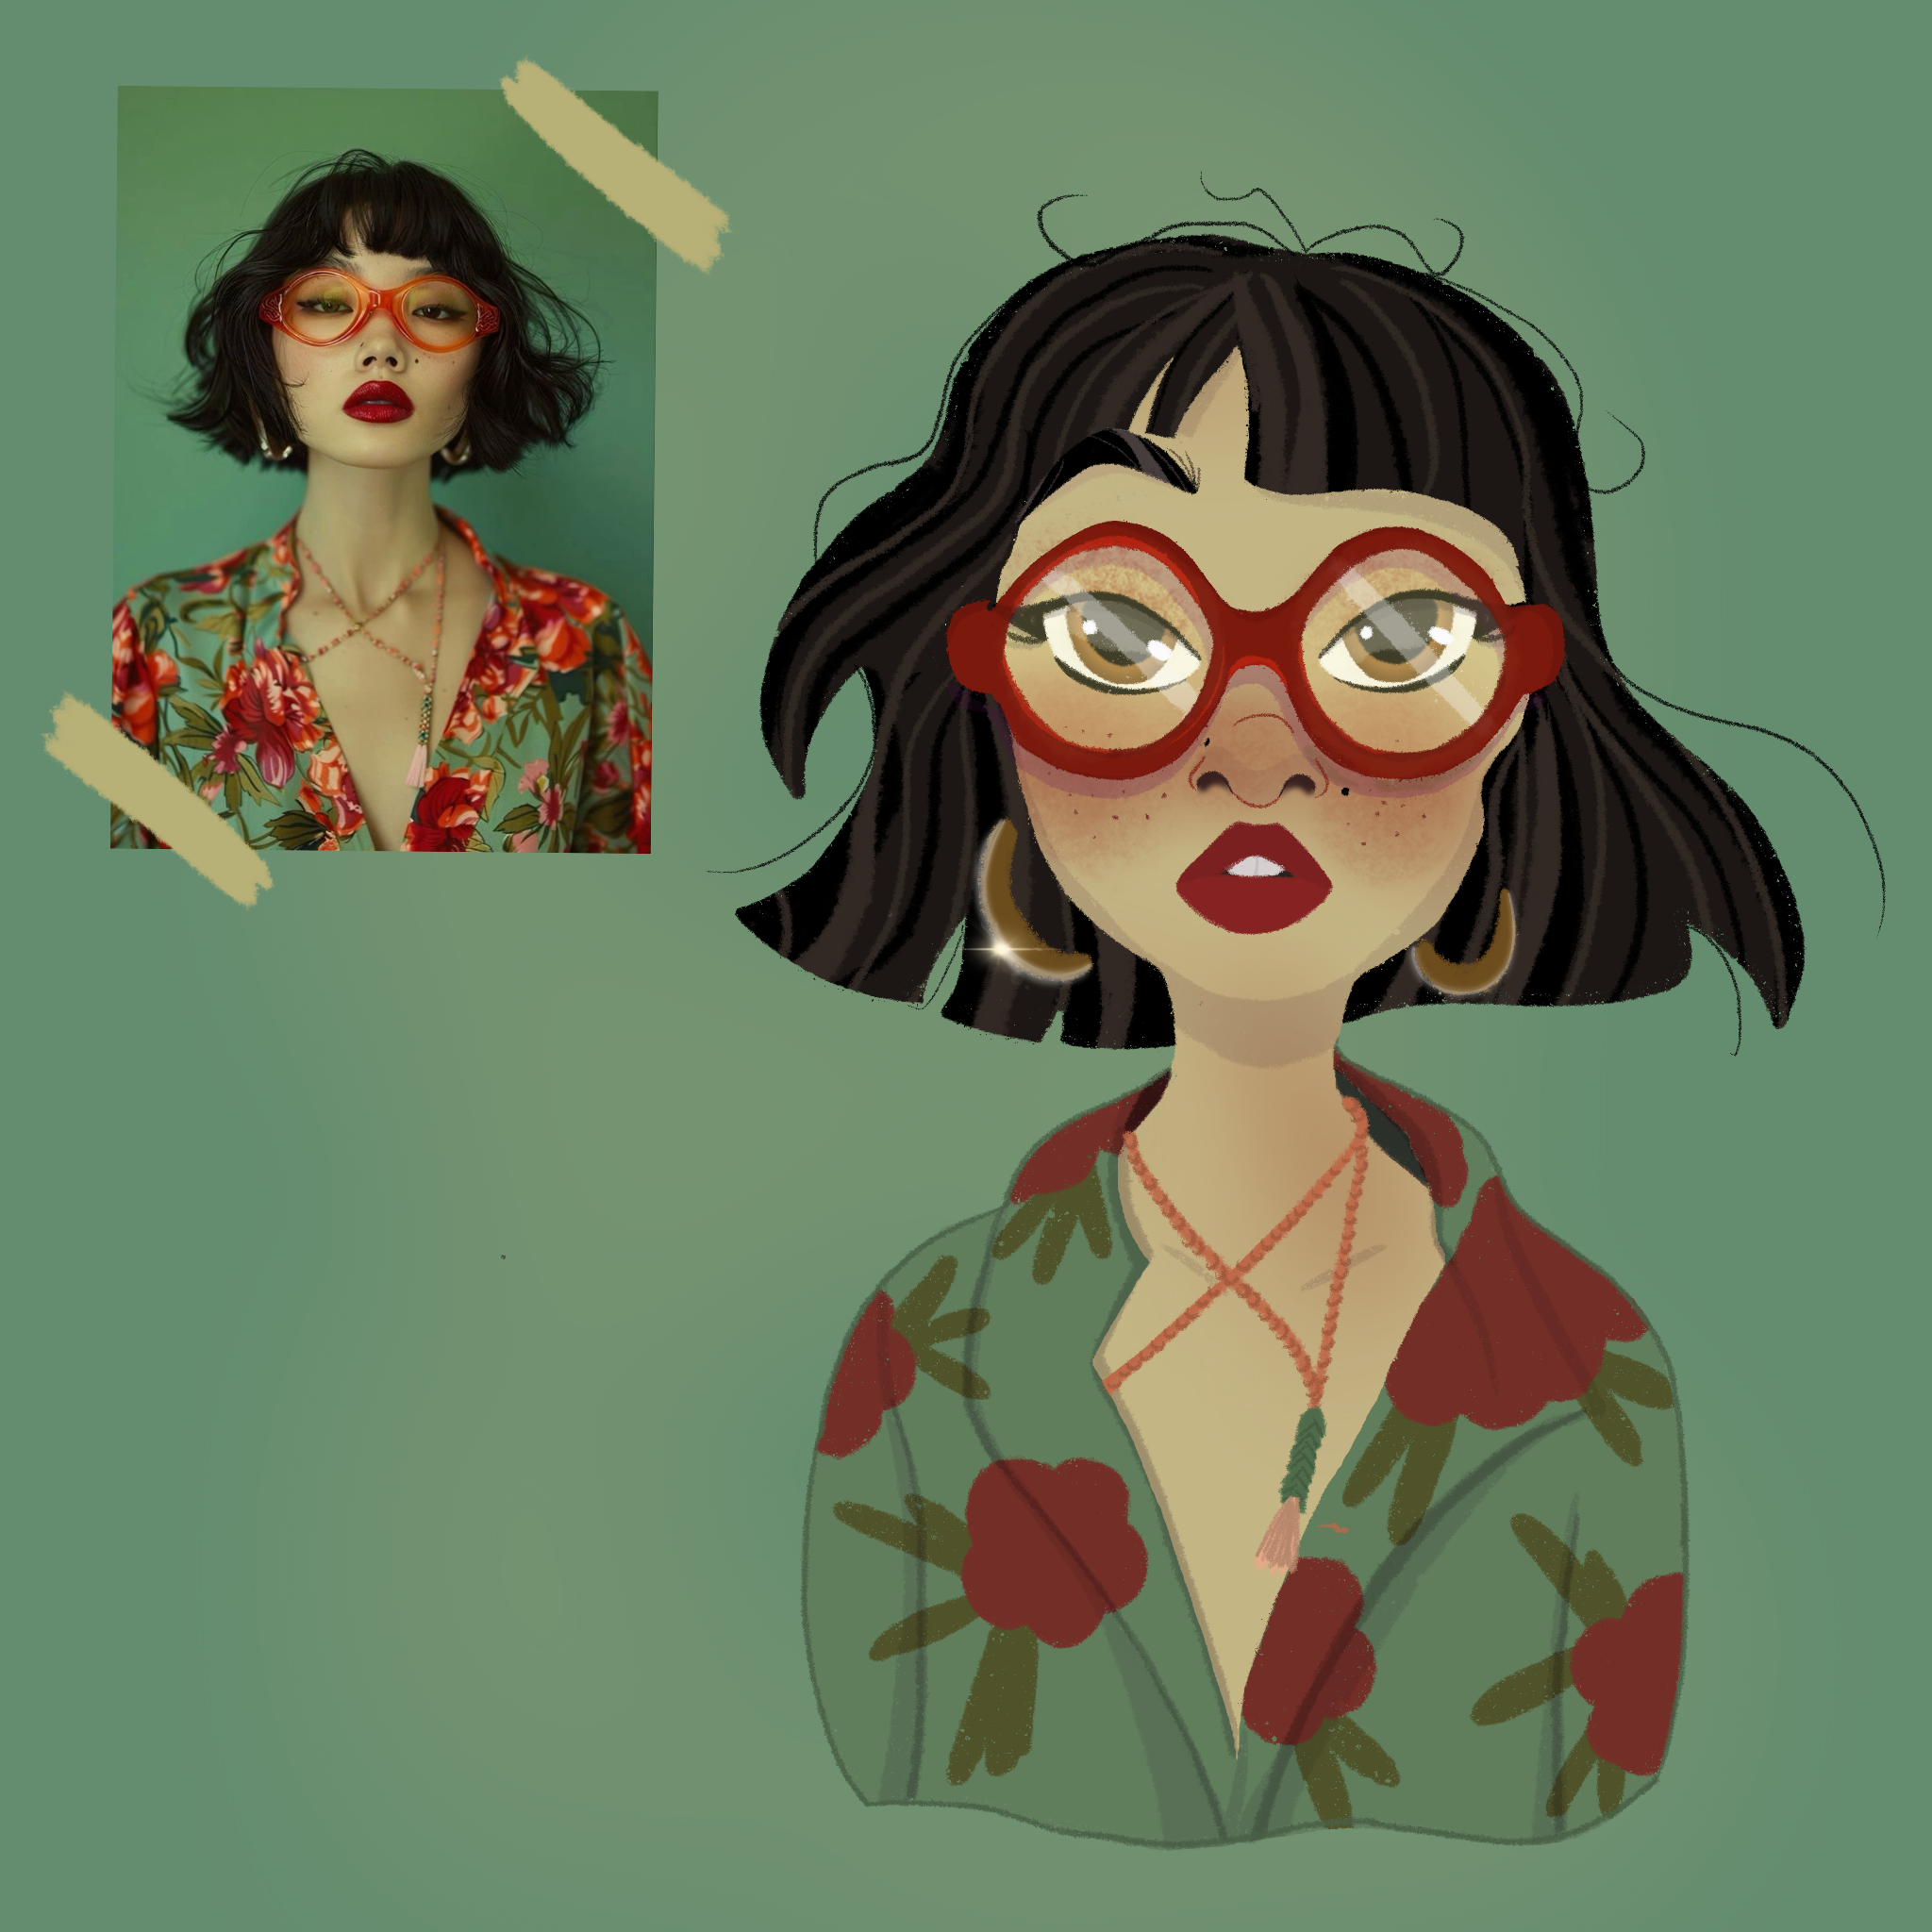
Thanks for following along! If you try this tutorial, I’d love to see your version—feel free to tag me on Instagram or your favorite platform.
Happy drawing! 🎨
Hello,
In this How to Cartoonize Real People, my struggle is with step 2. How to push the shapes—larger eyes, smaller chin, or rounder glasses.
I need help so I can stylize.