
When I first downloaded Procreate, I’ll be honest—I was a little overwhelmed. So many brushes, menus, and options! But once I got the hang of it, it quickly became one of my favorite tools for drawing, painting, and bringing my creative ideas to life. If you’re just starting out and wondering how to use Procreate, don’t worry—I’ve got you covered. This Procreate app guide will walk you through everything you need to know to create your first digital masterpiece.
What is Procreate?
Procreate is a powerful digital illustration app made for iPads. Artists love it because it’s easy to use, fast, and incredibly flexible. Whether you’re into sketching, painting, lettering, or making animations, Procreate gives you all the tools you need right at your fingertips. All you need is an iPad and (ideally) an Apple Pencil to get started.
Step 1: Opening the App and Creating a Canvas
Once you’ve downloaded Procreate from the App Store, open the app and tap the “+” icon in the top right to create a new canvas. You’ll see some default sizes you can choose from, or you can set up a custom one.
If you’re unsure, try something simple like 2048 x 2048 pixels—it’s great for social media posts and doesn’t slow things down.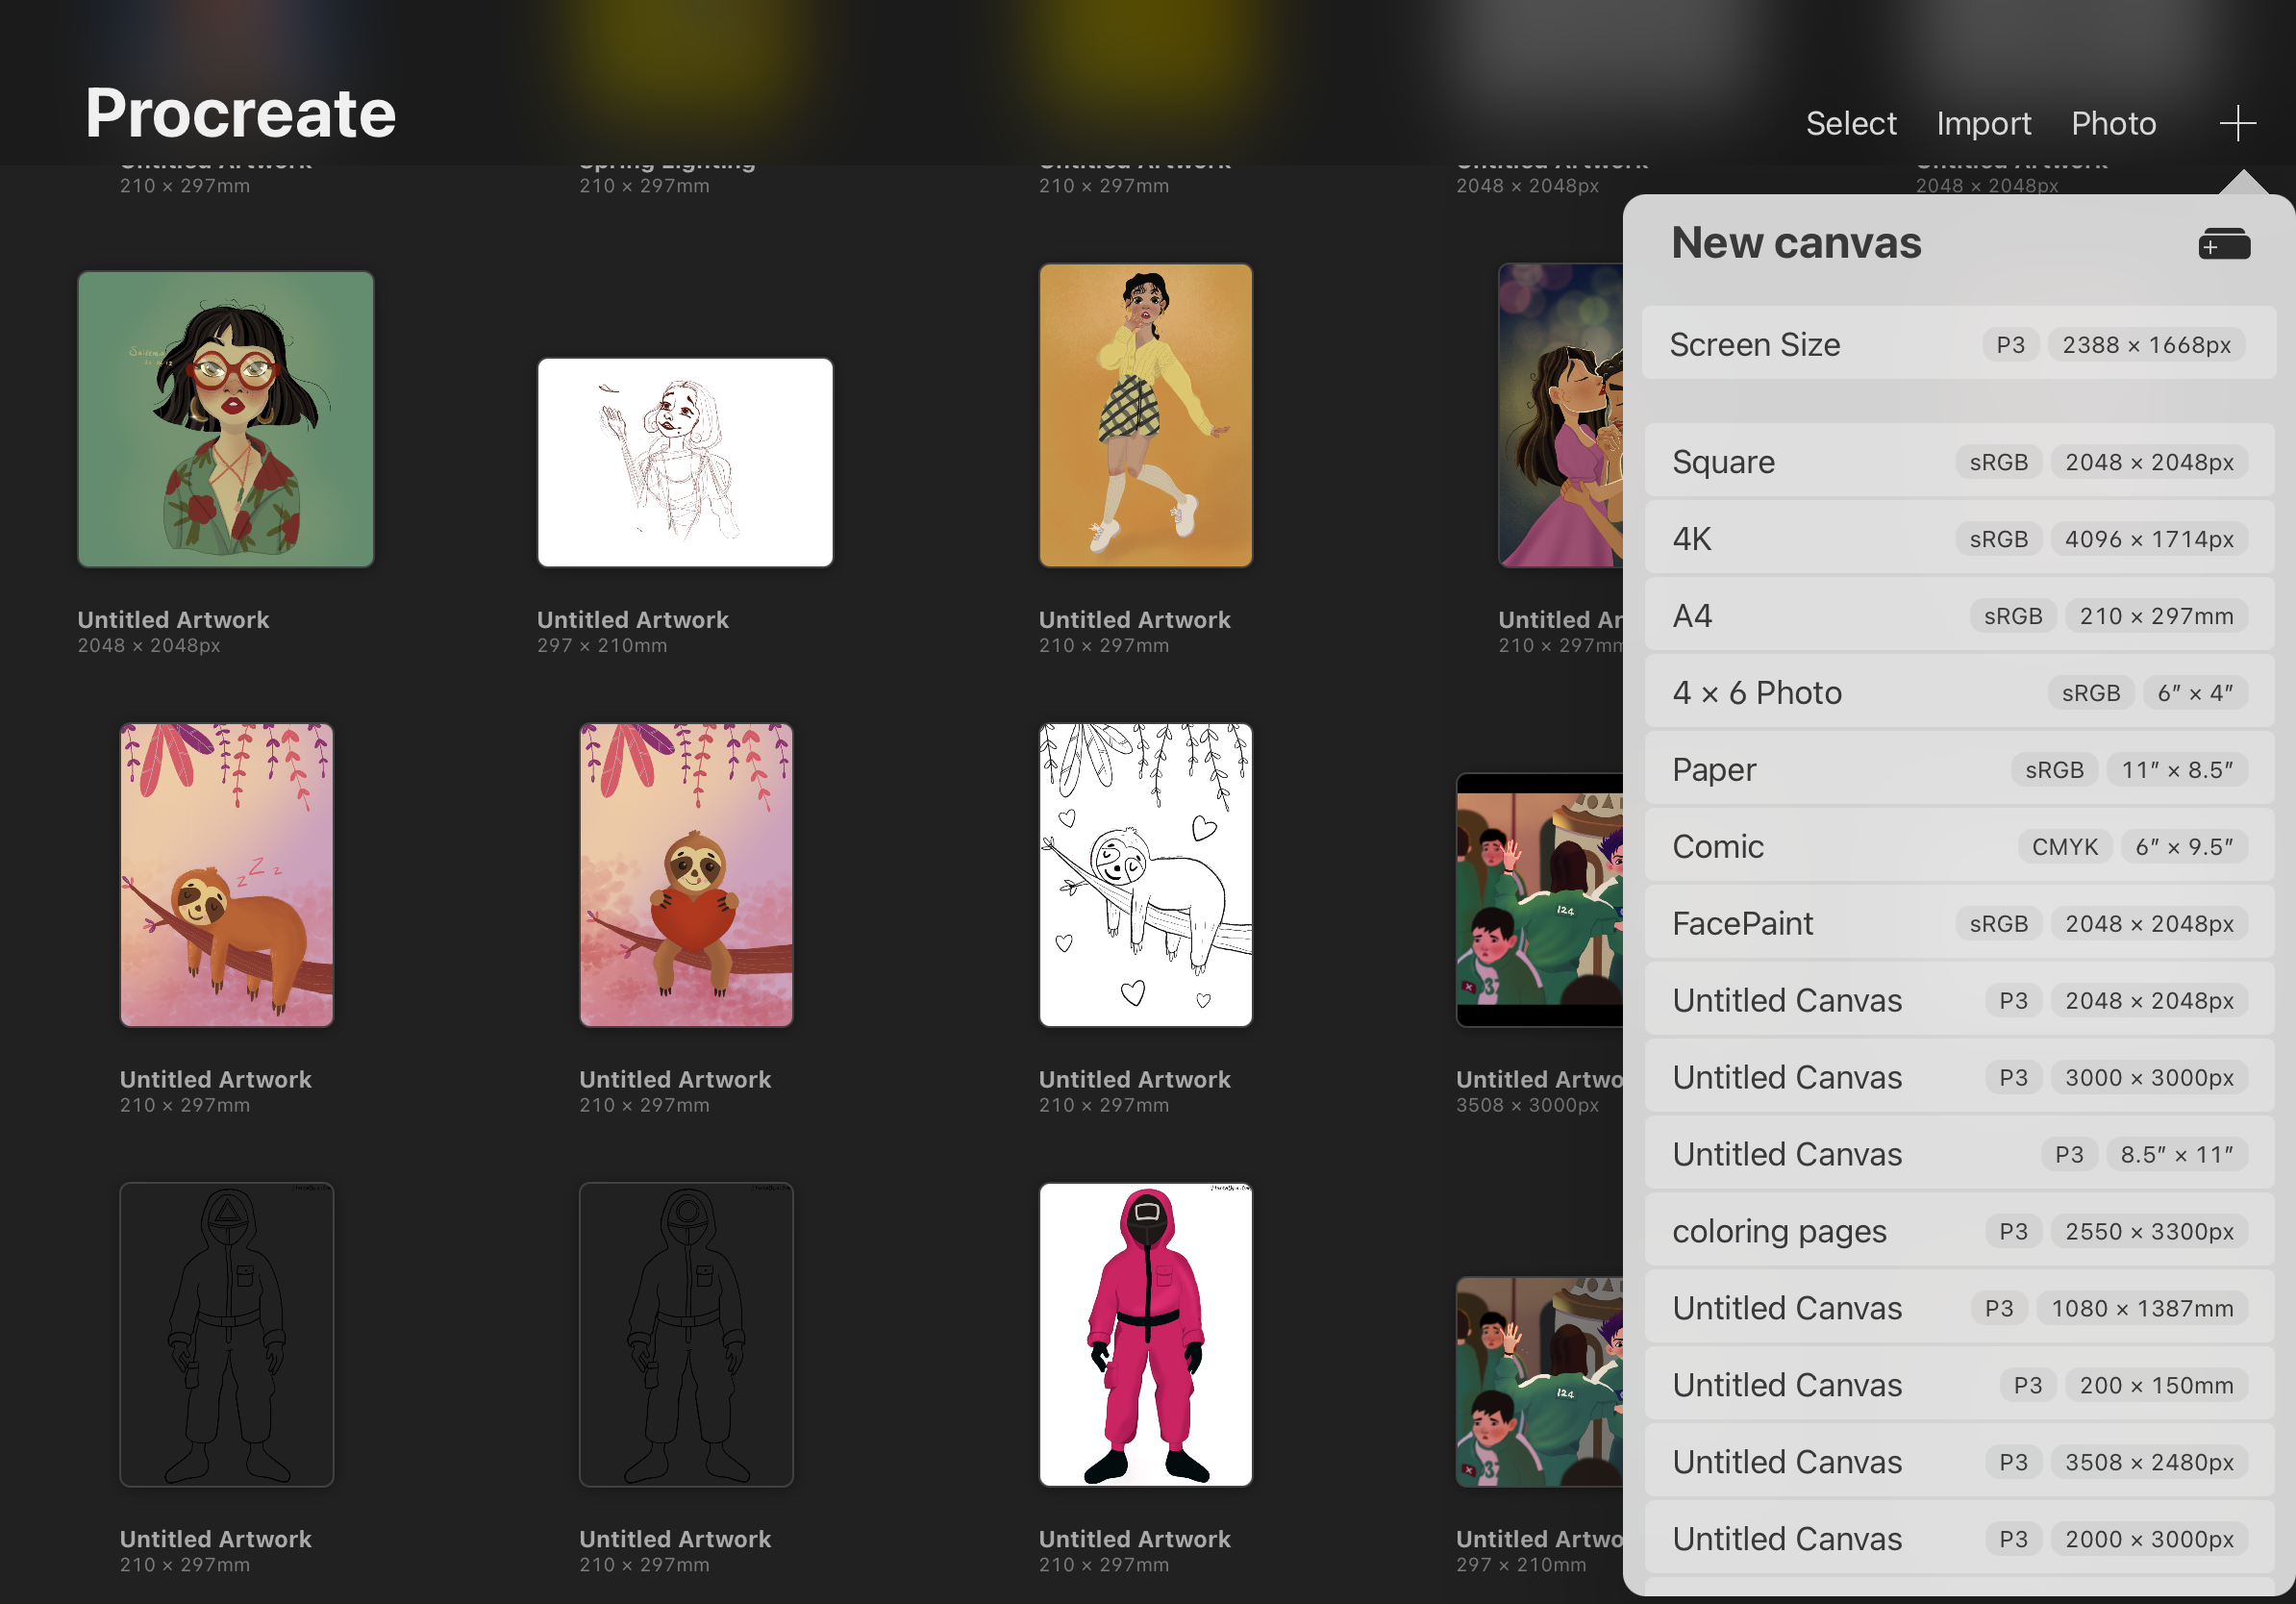
Or simply create a new canvas by tapping the folder icon with the ‘+’ symbol.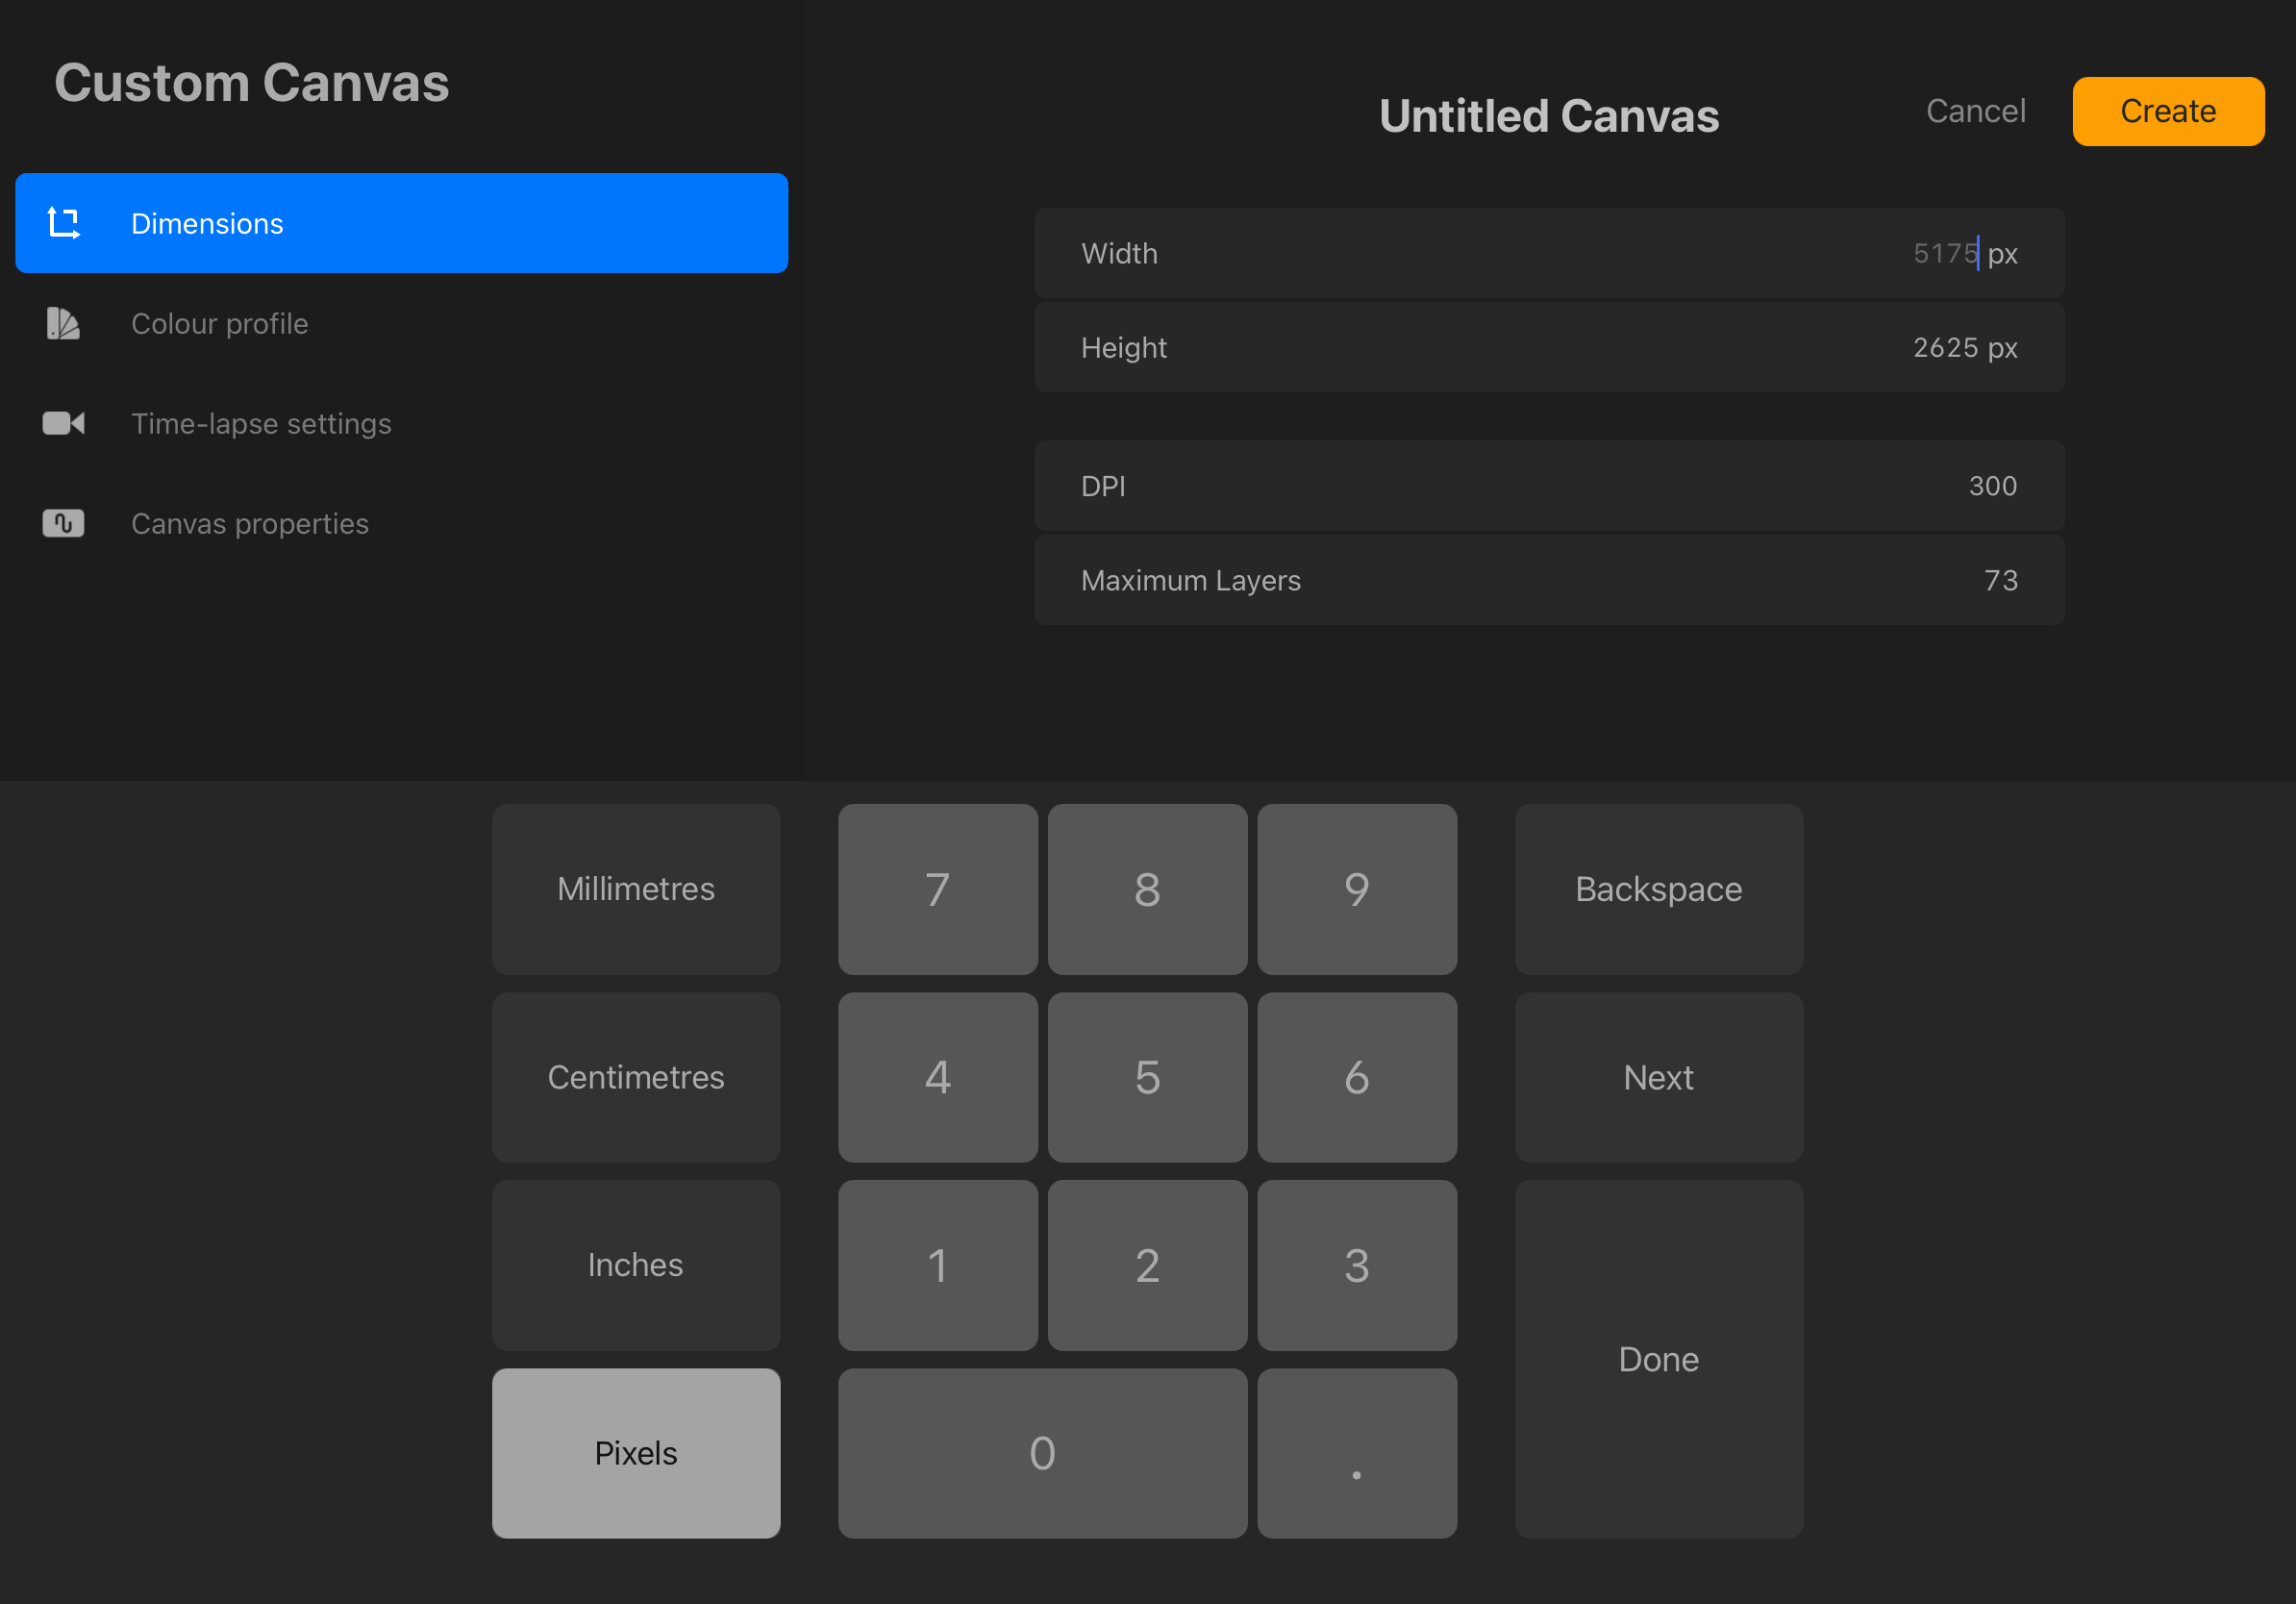
Step 2: Getting to Know the Interface
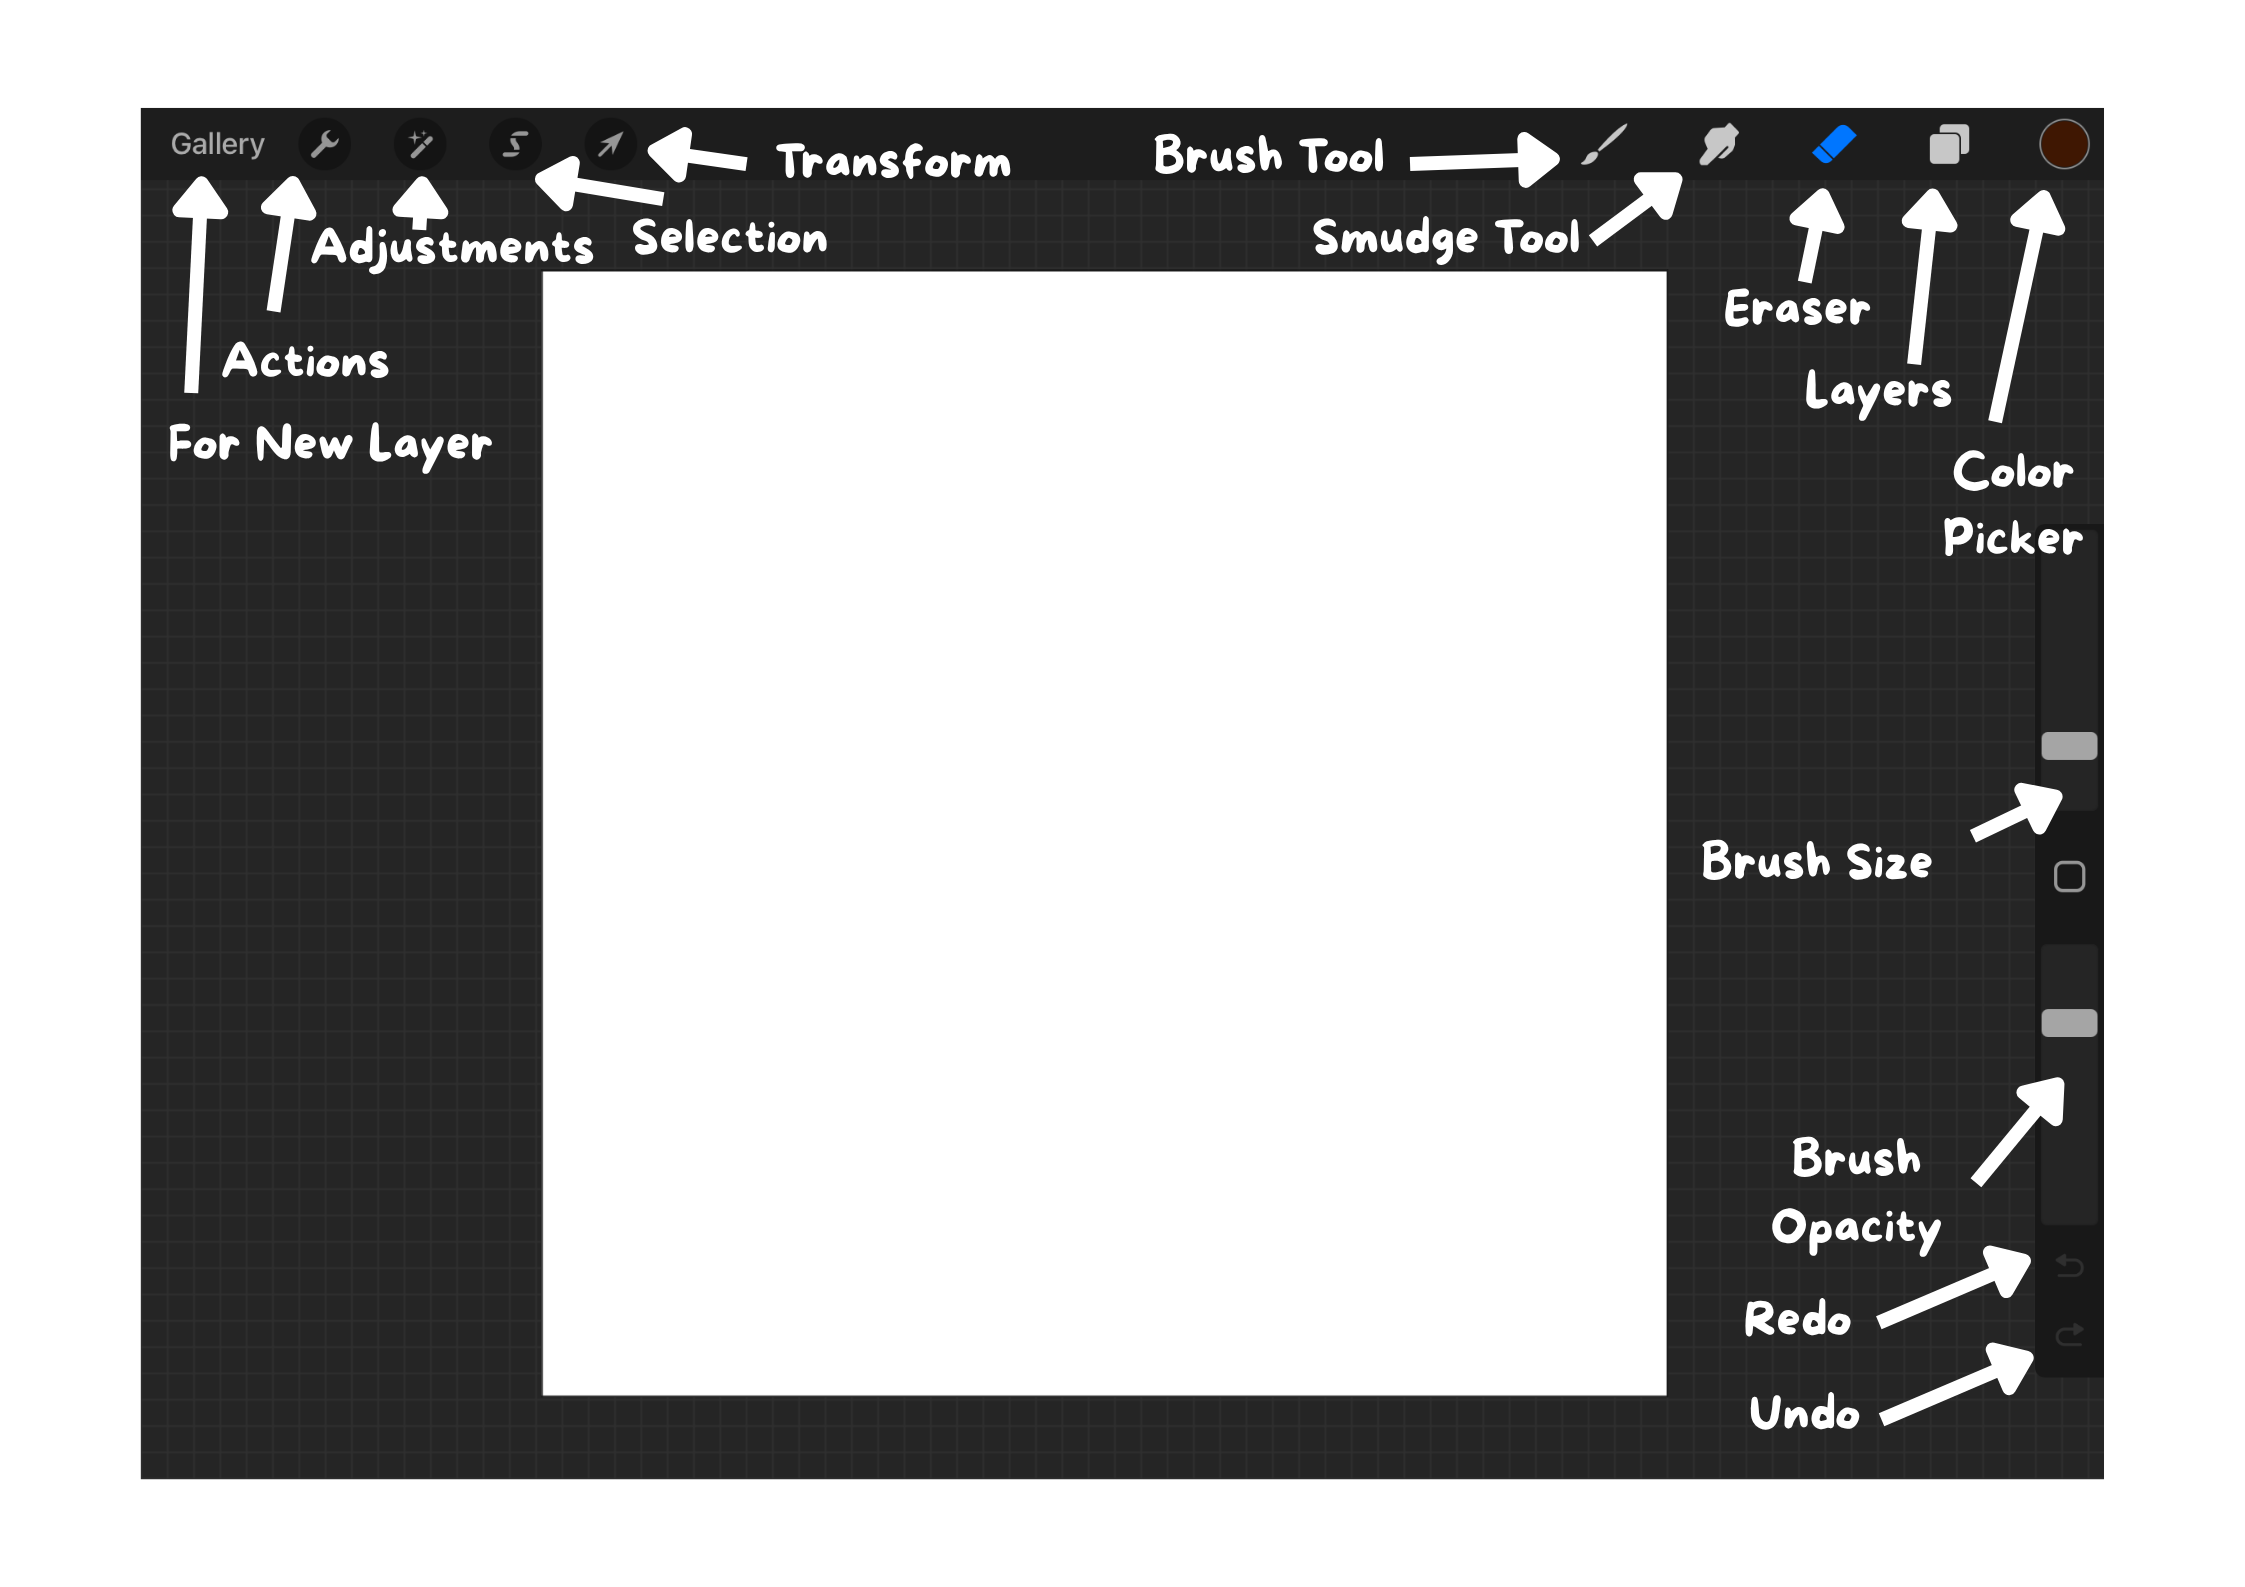
Procreate’s layout is super clean, which is one reason it’s so beginner-friendly. Here are the main areas you’ll want to get familiar with:
- Brush Tool (paintbrush icon): Where the magic happens! Use this for sketching, coloring, and painting.
- Smudge Tool (finger icon): For blending colors smoothly.
- Eraser Tool (eraser icon): Works just like the Brush Tool—you can even choose different brushes for erasing.
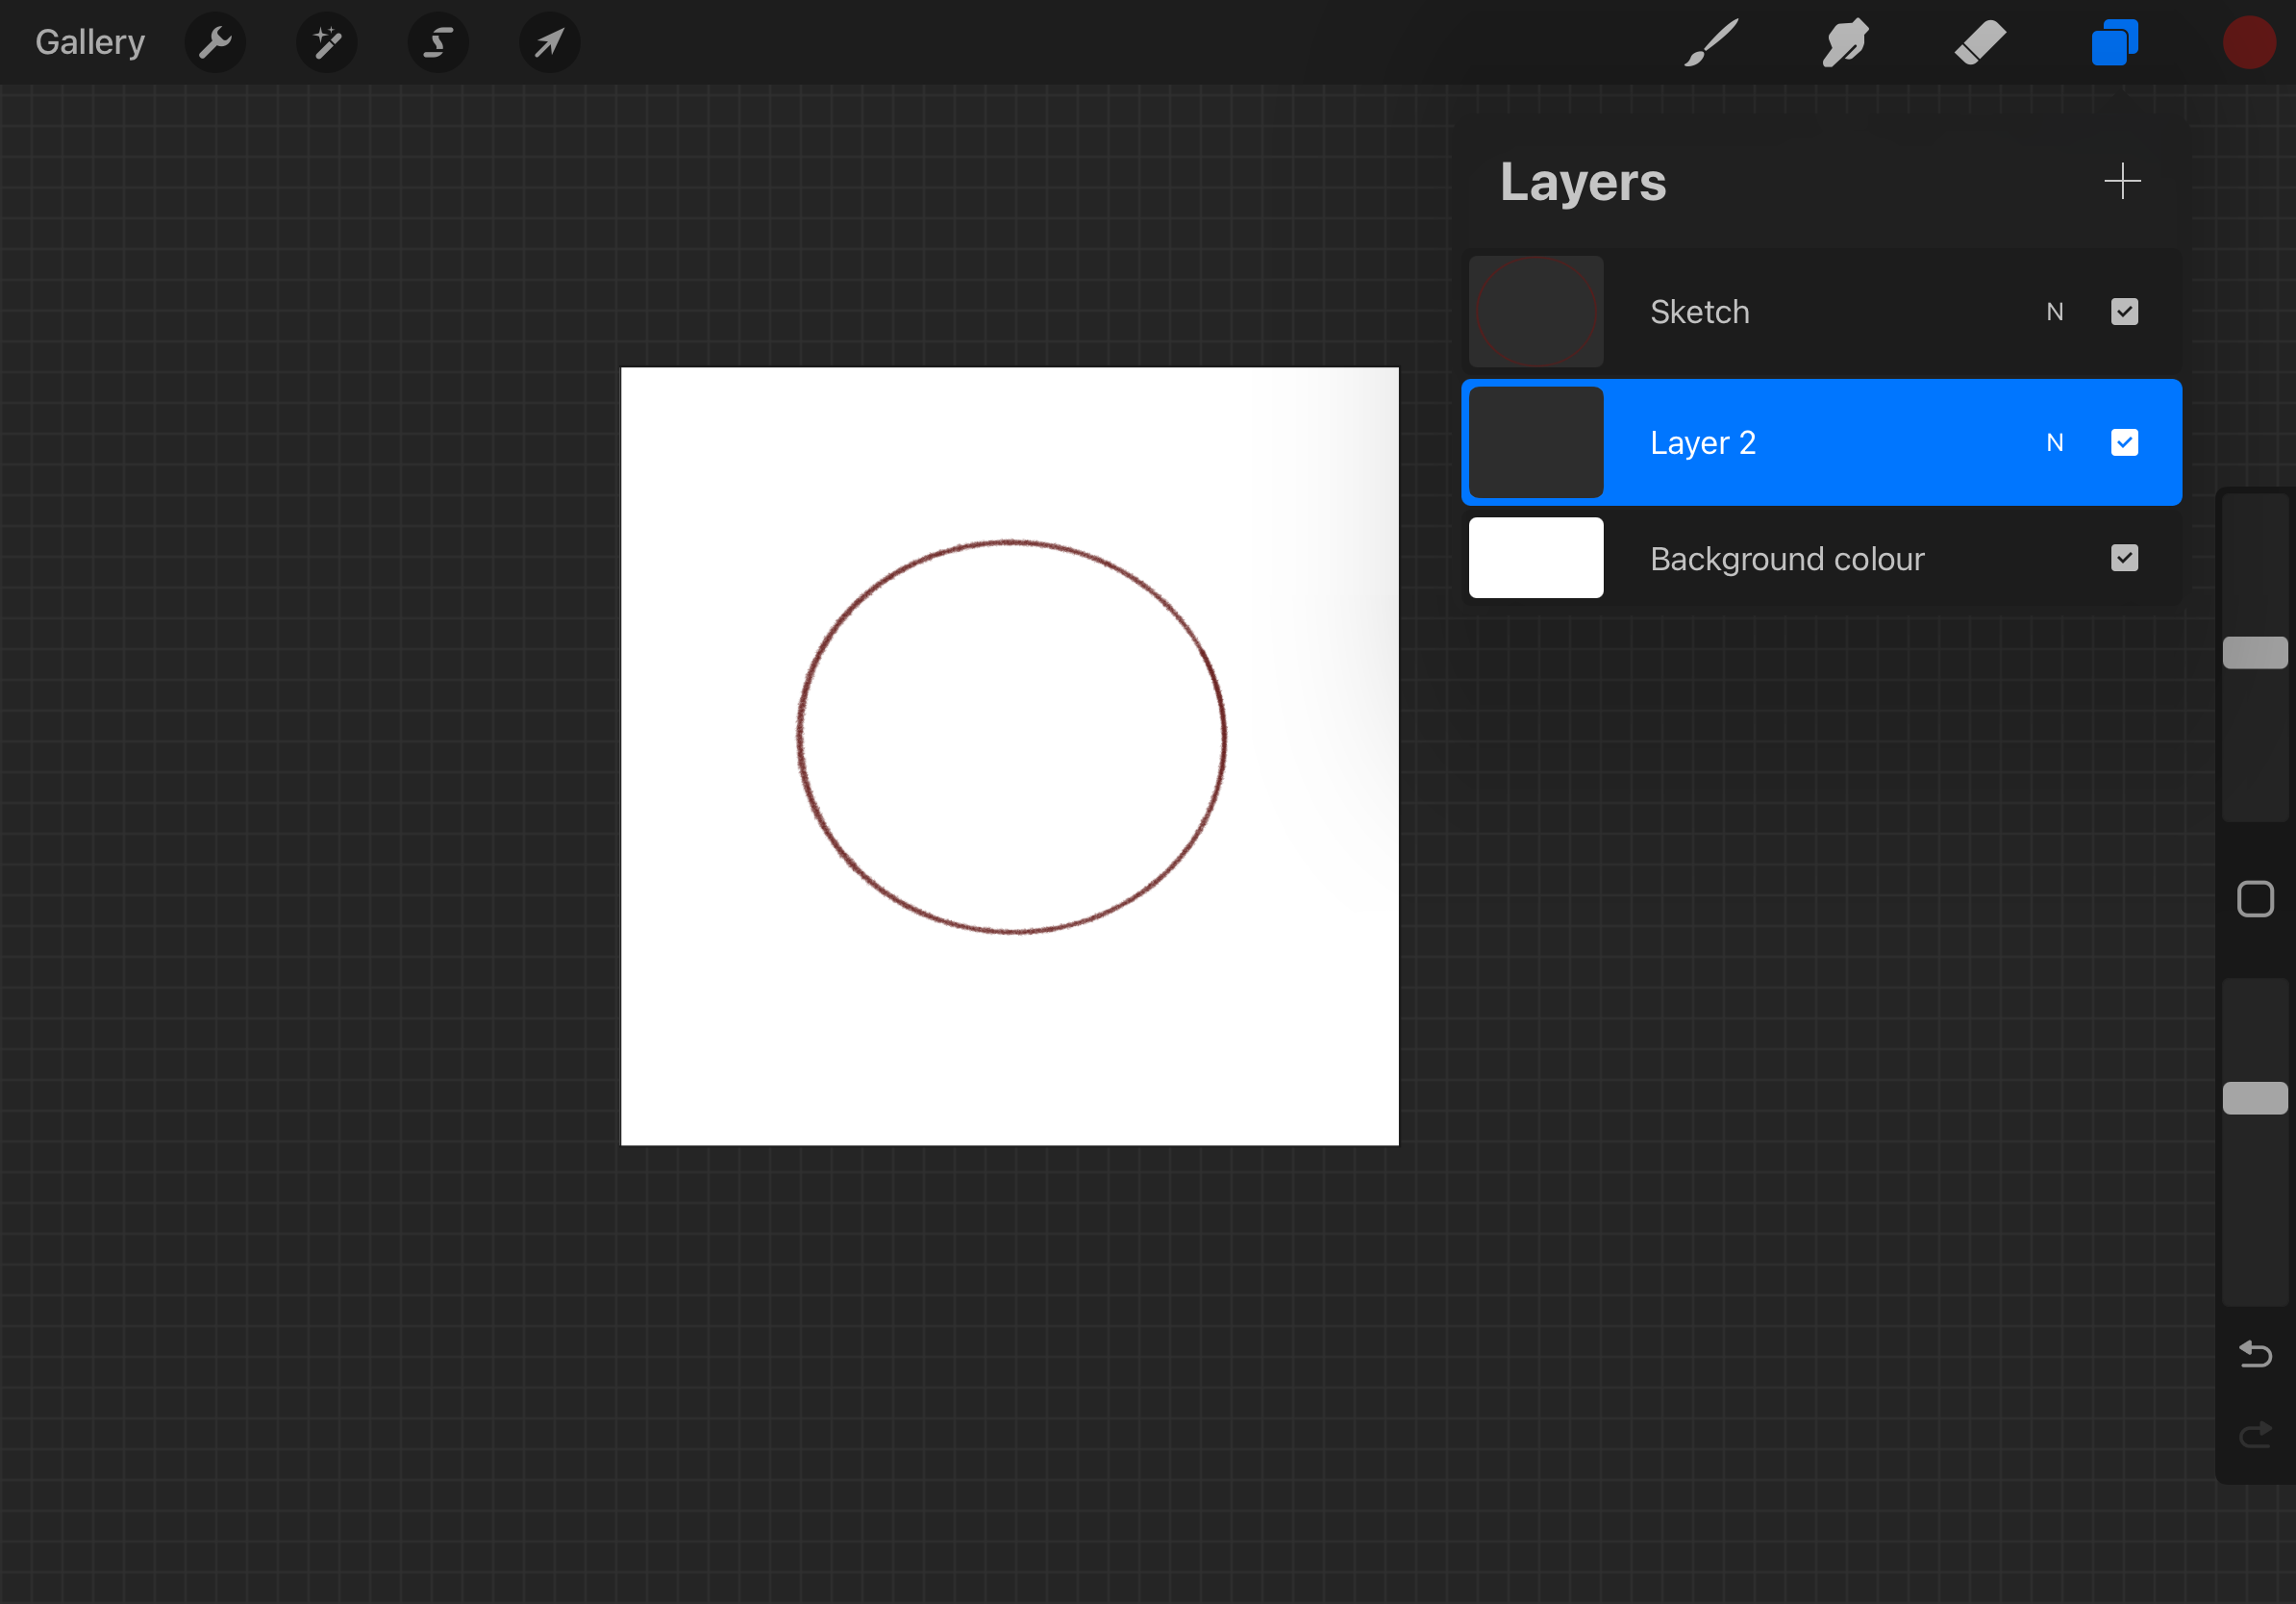
- Layers (two stacked squares): These work like sheets of tracing paper. Use separate layers for sketching, inking, and coloring.
- Color Picker (top right circle): Tap to pick your color. You can save favorite colors and palettes here too.
Step 3: Sketching Your Idea
Start with a simple sketch using the 6B Pencil from the Sketching brush set or Ink Bleed Brush from the Inking Brush Set. Ink Bleed is one of my favorites because it feels very natural. Lower the opacity of your sketch layer when you’re ready to draw the clean outline on a new layer.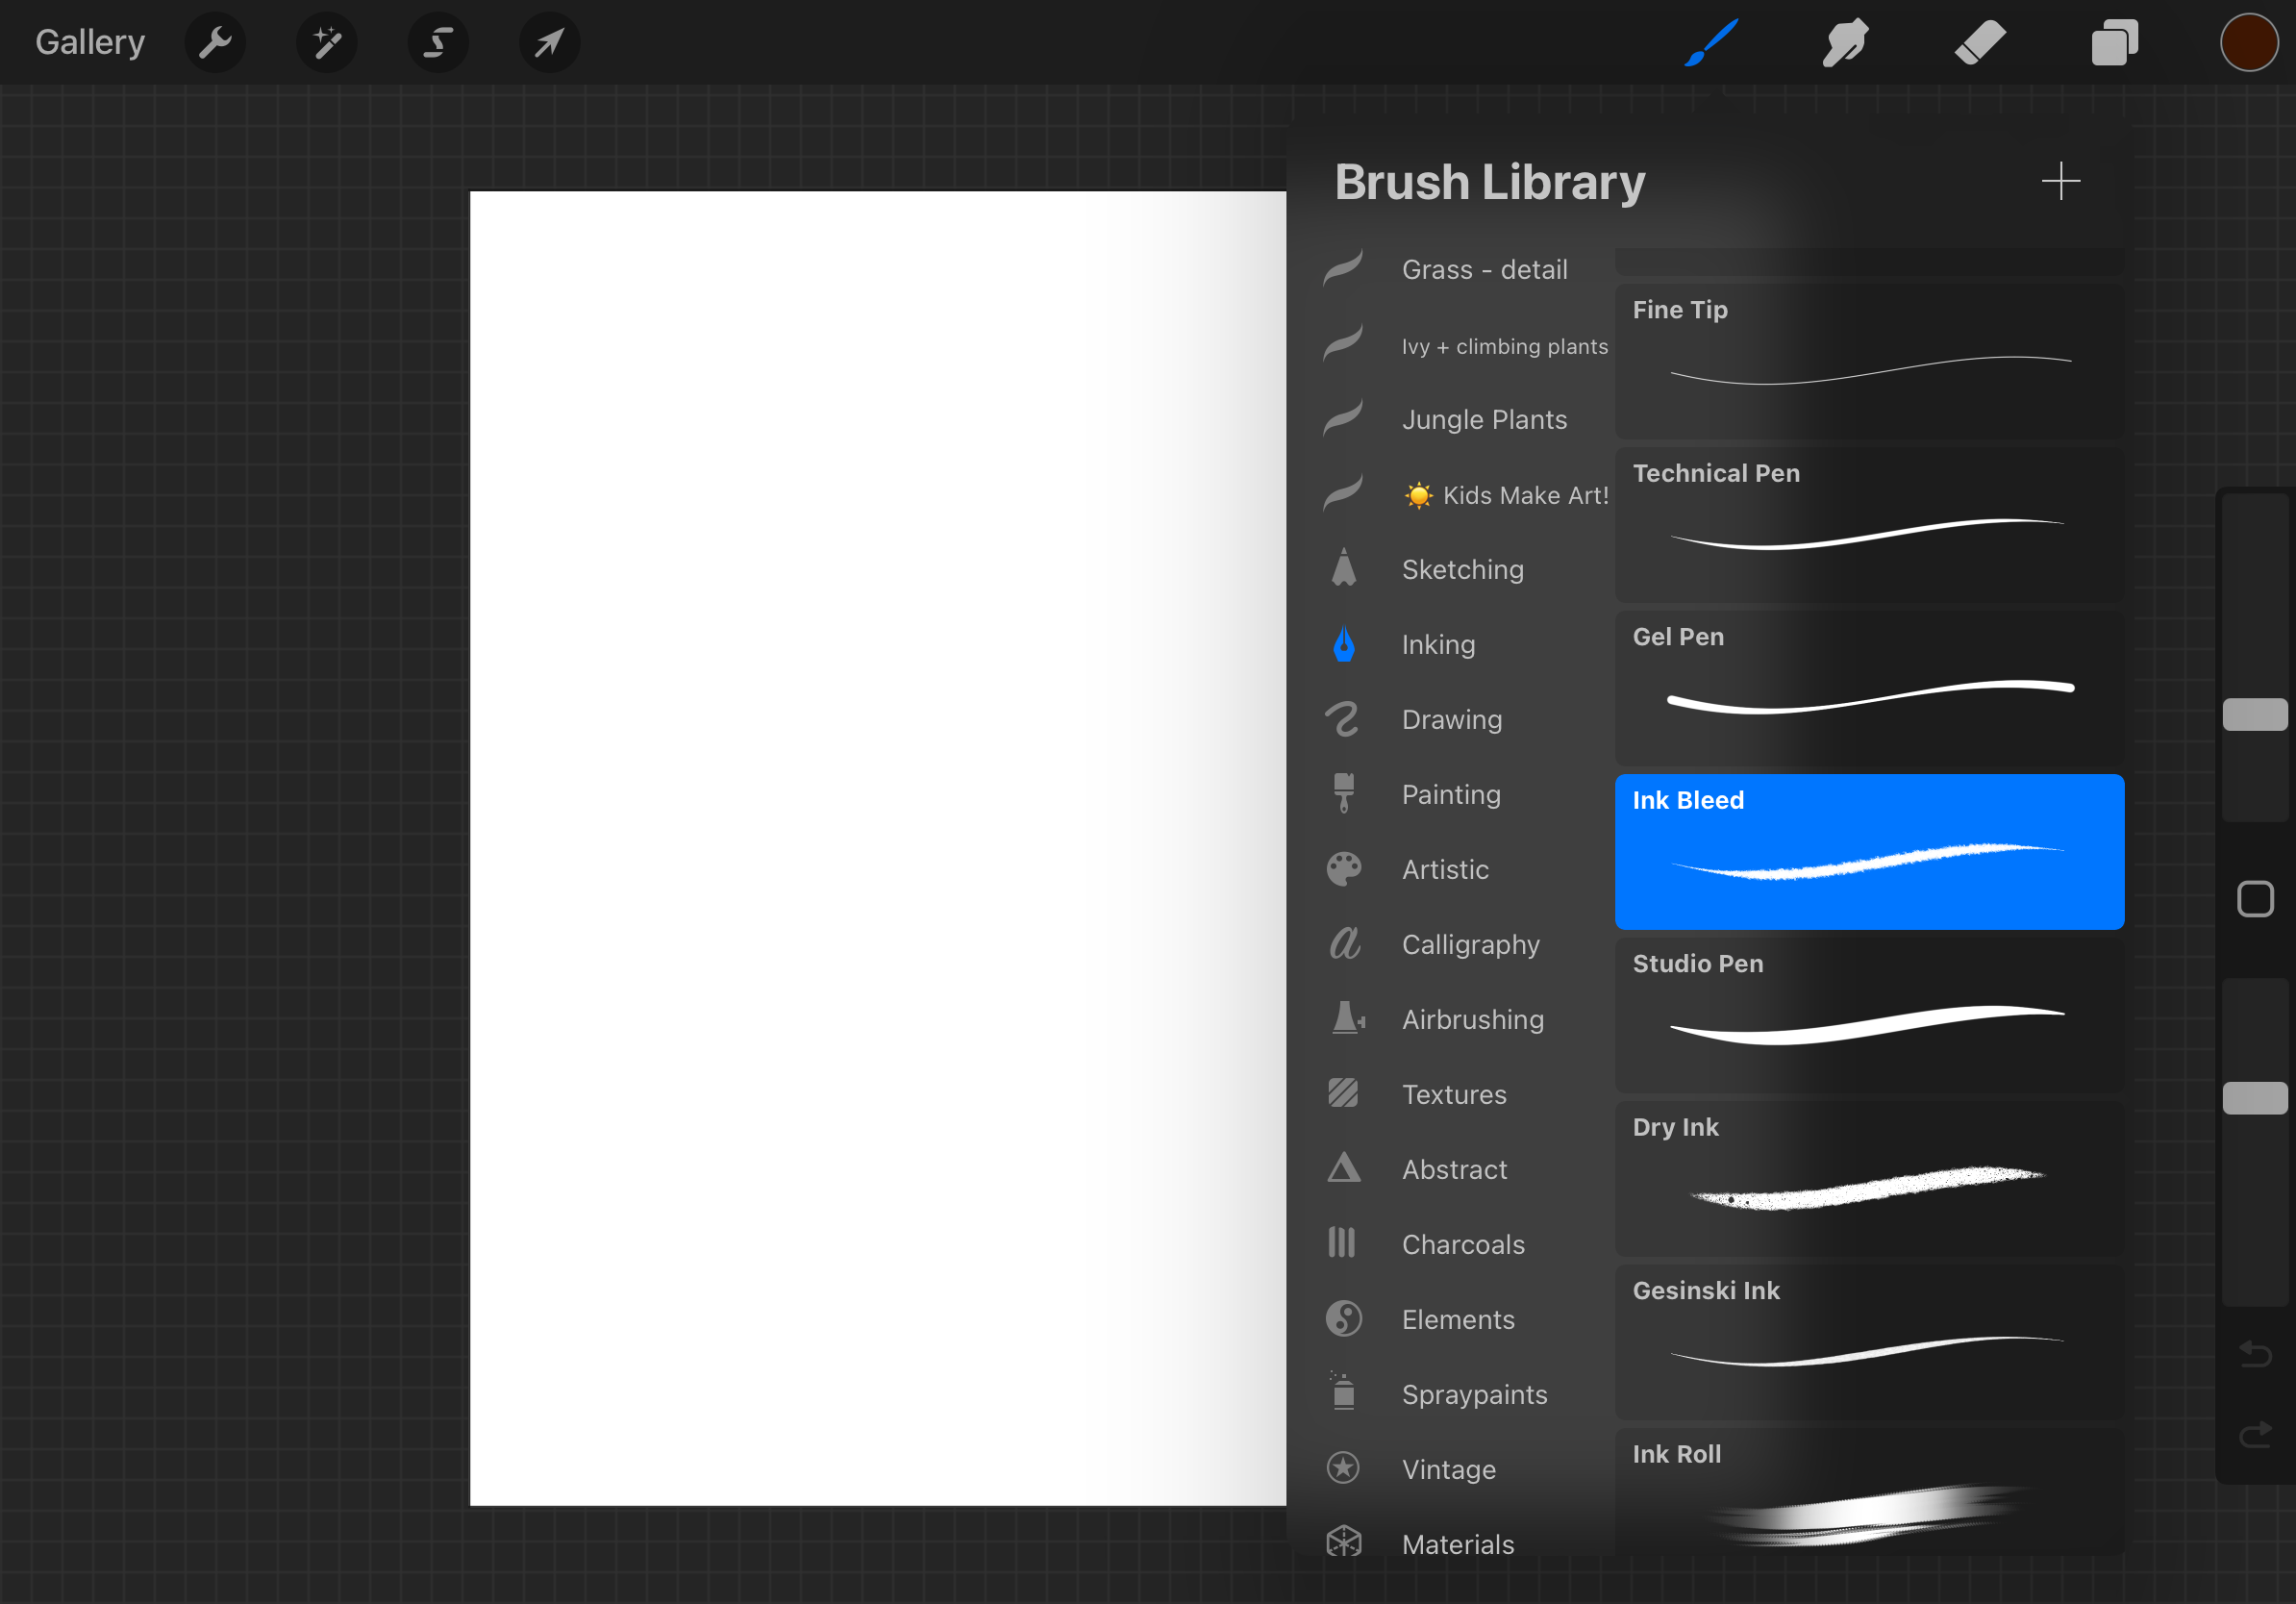
Use the technical pen from the Inking section for smooth line work.
Step 4: Coloring Your Drawing
To color your art:
- Create a new layer underneath your line art.
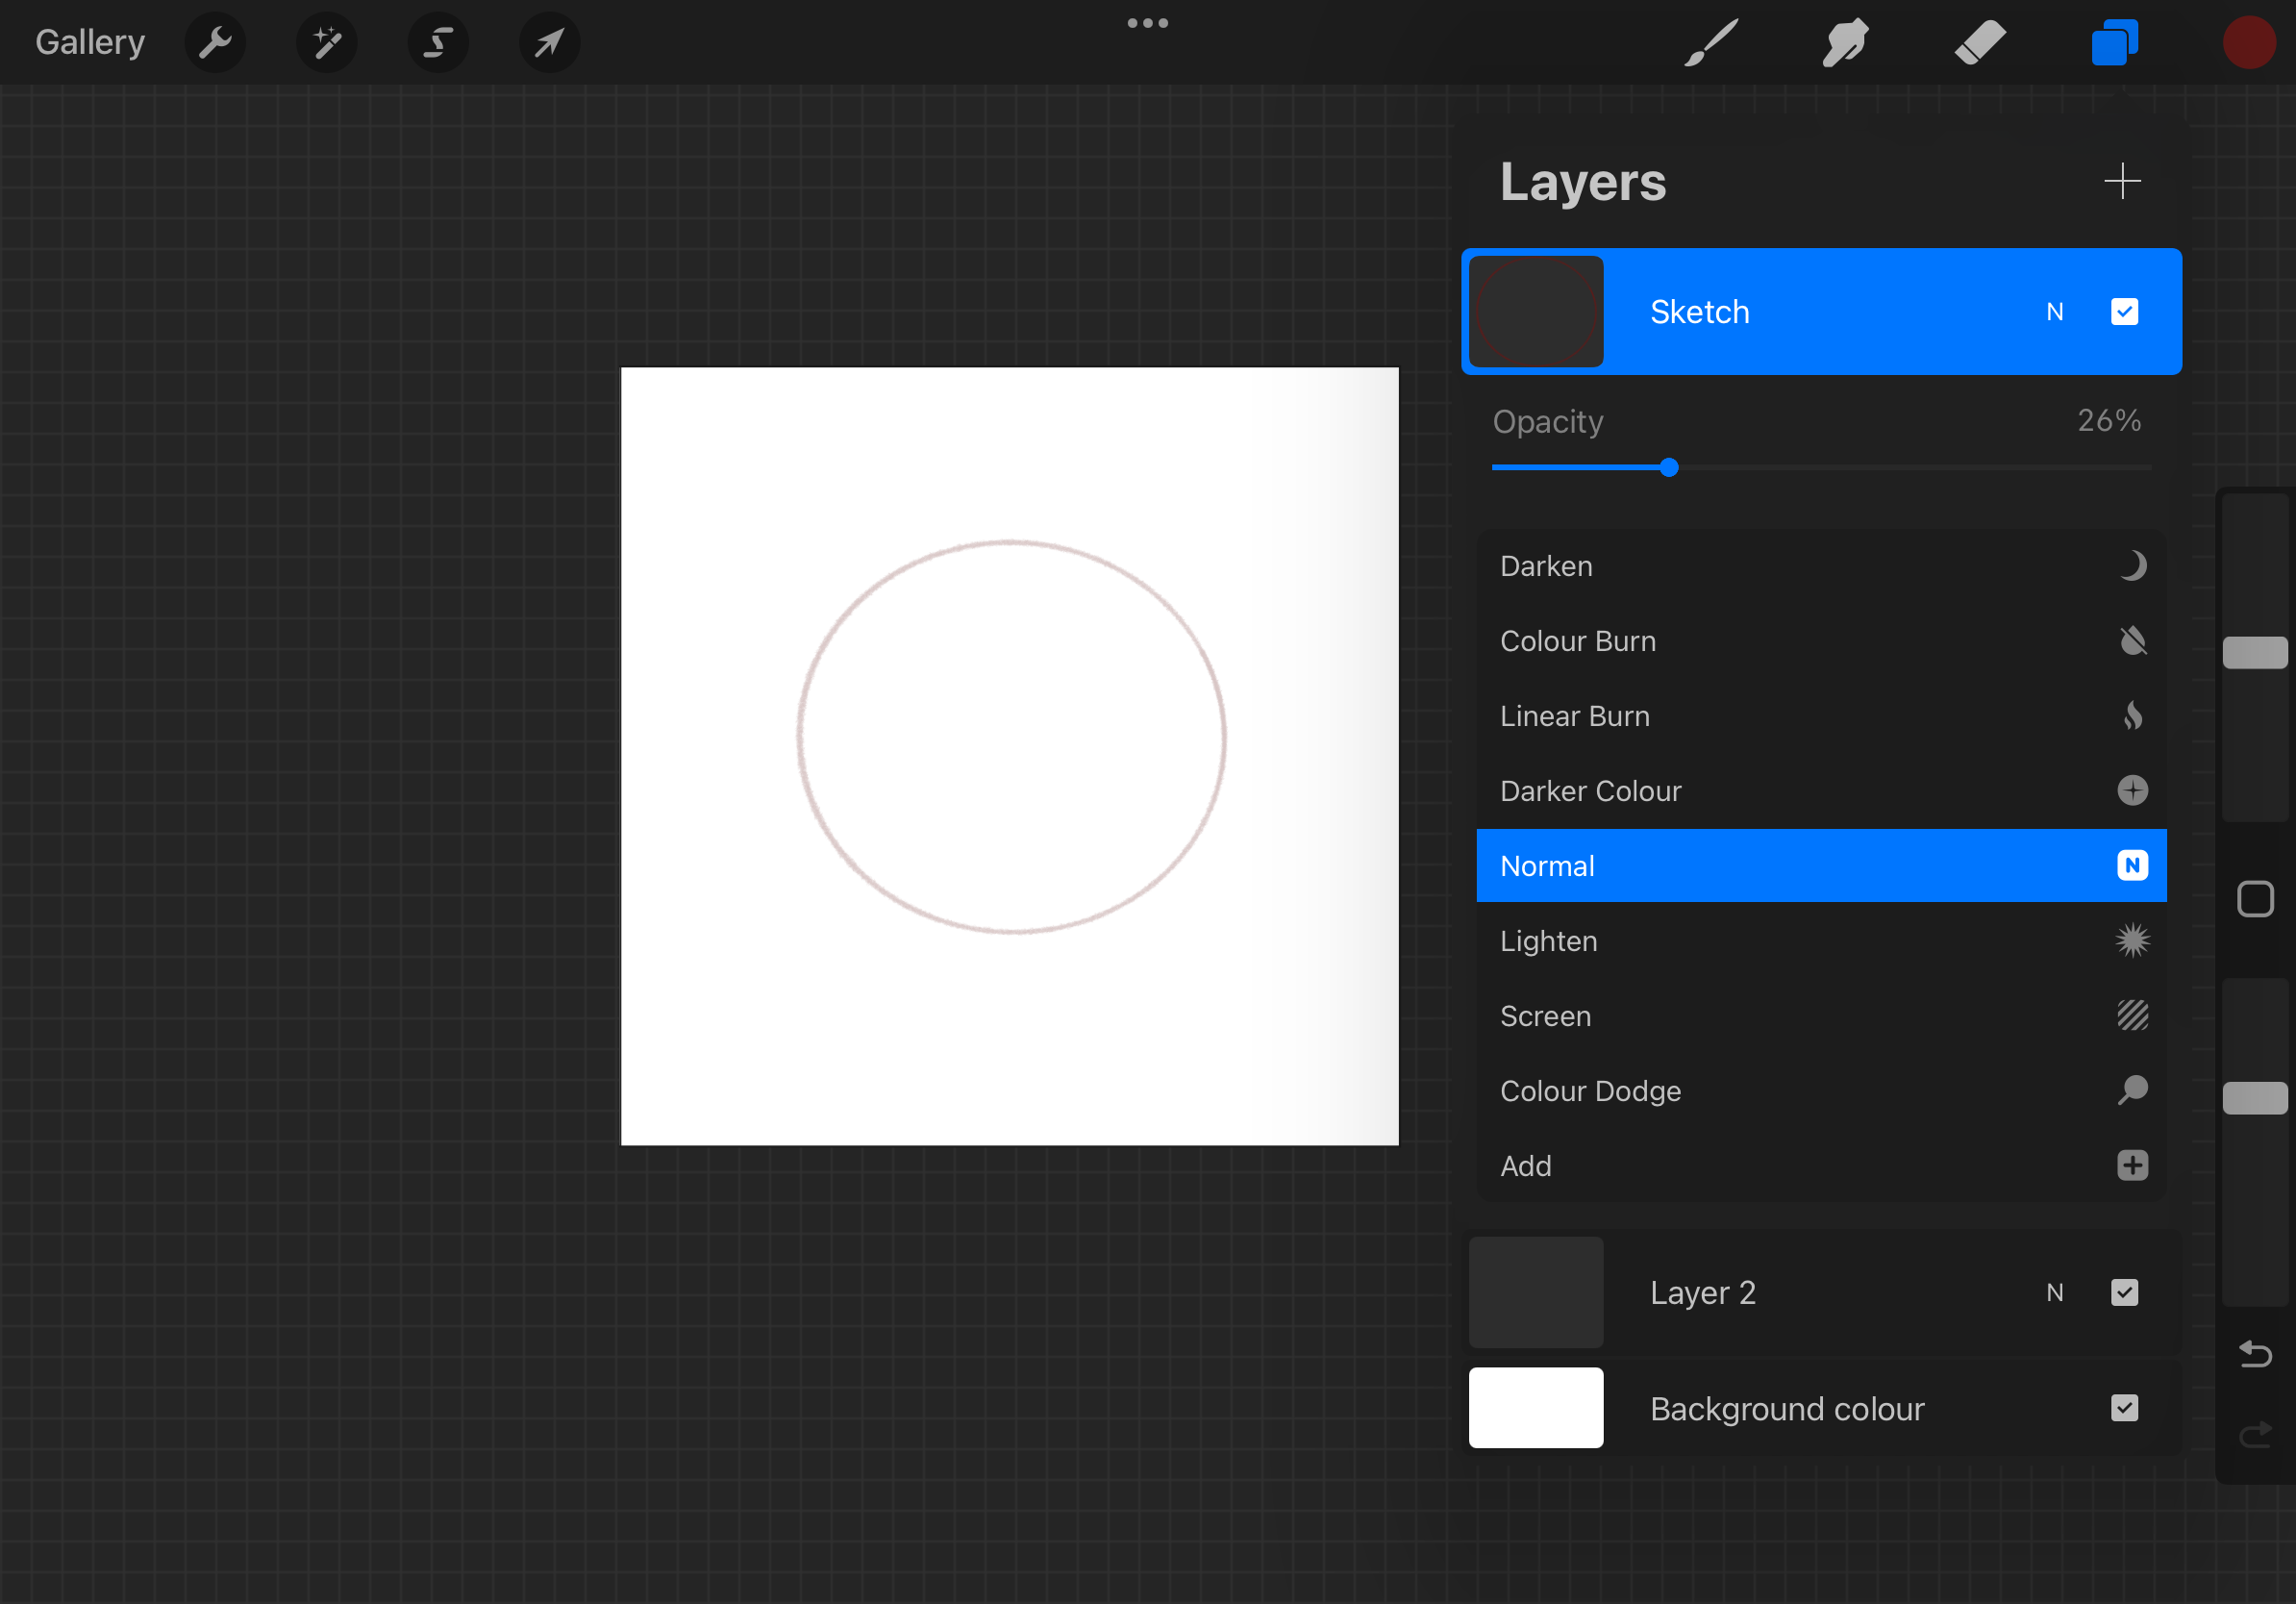
- Make opacity lower of the sketch layer.
- Choose a brush like Round Brush or Monoline for flat coloring.
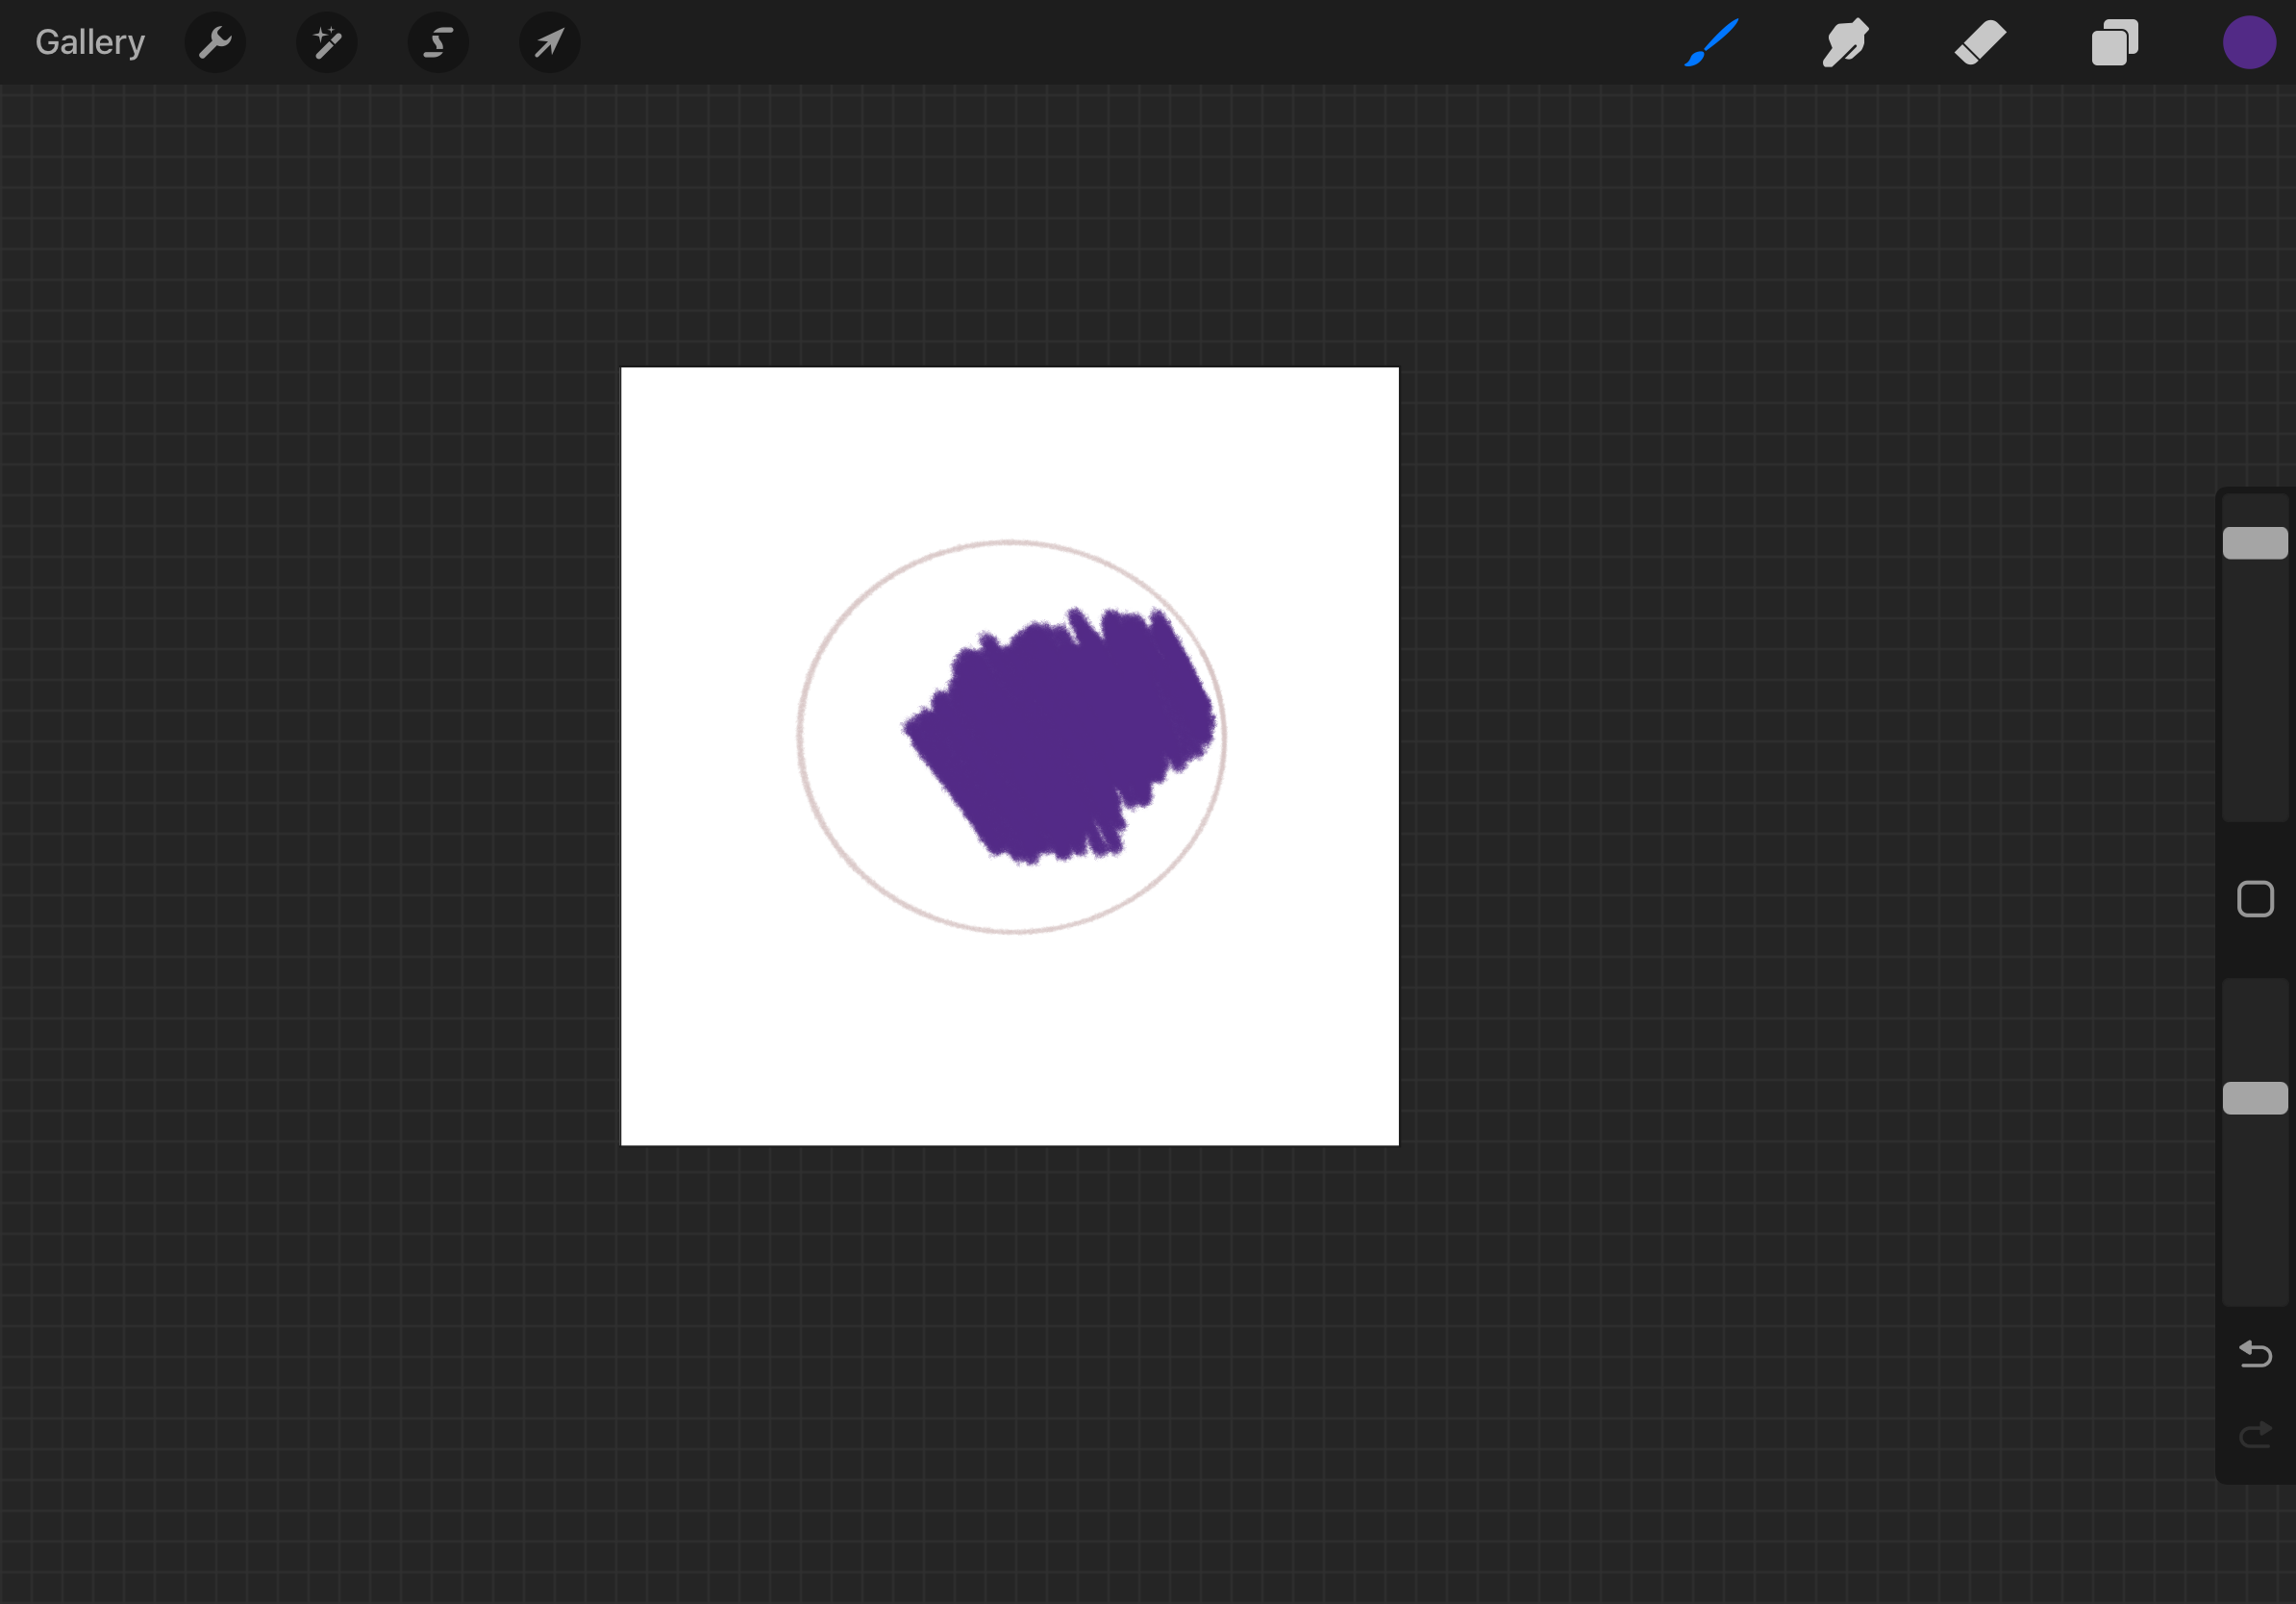
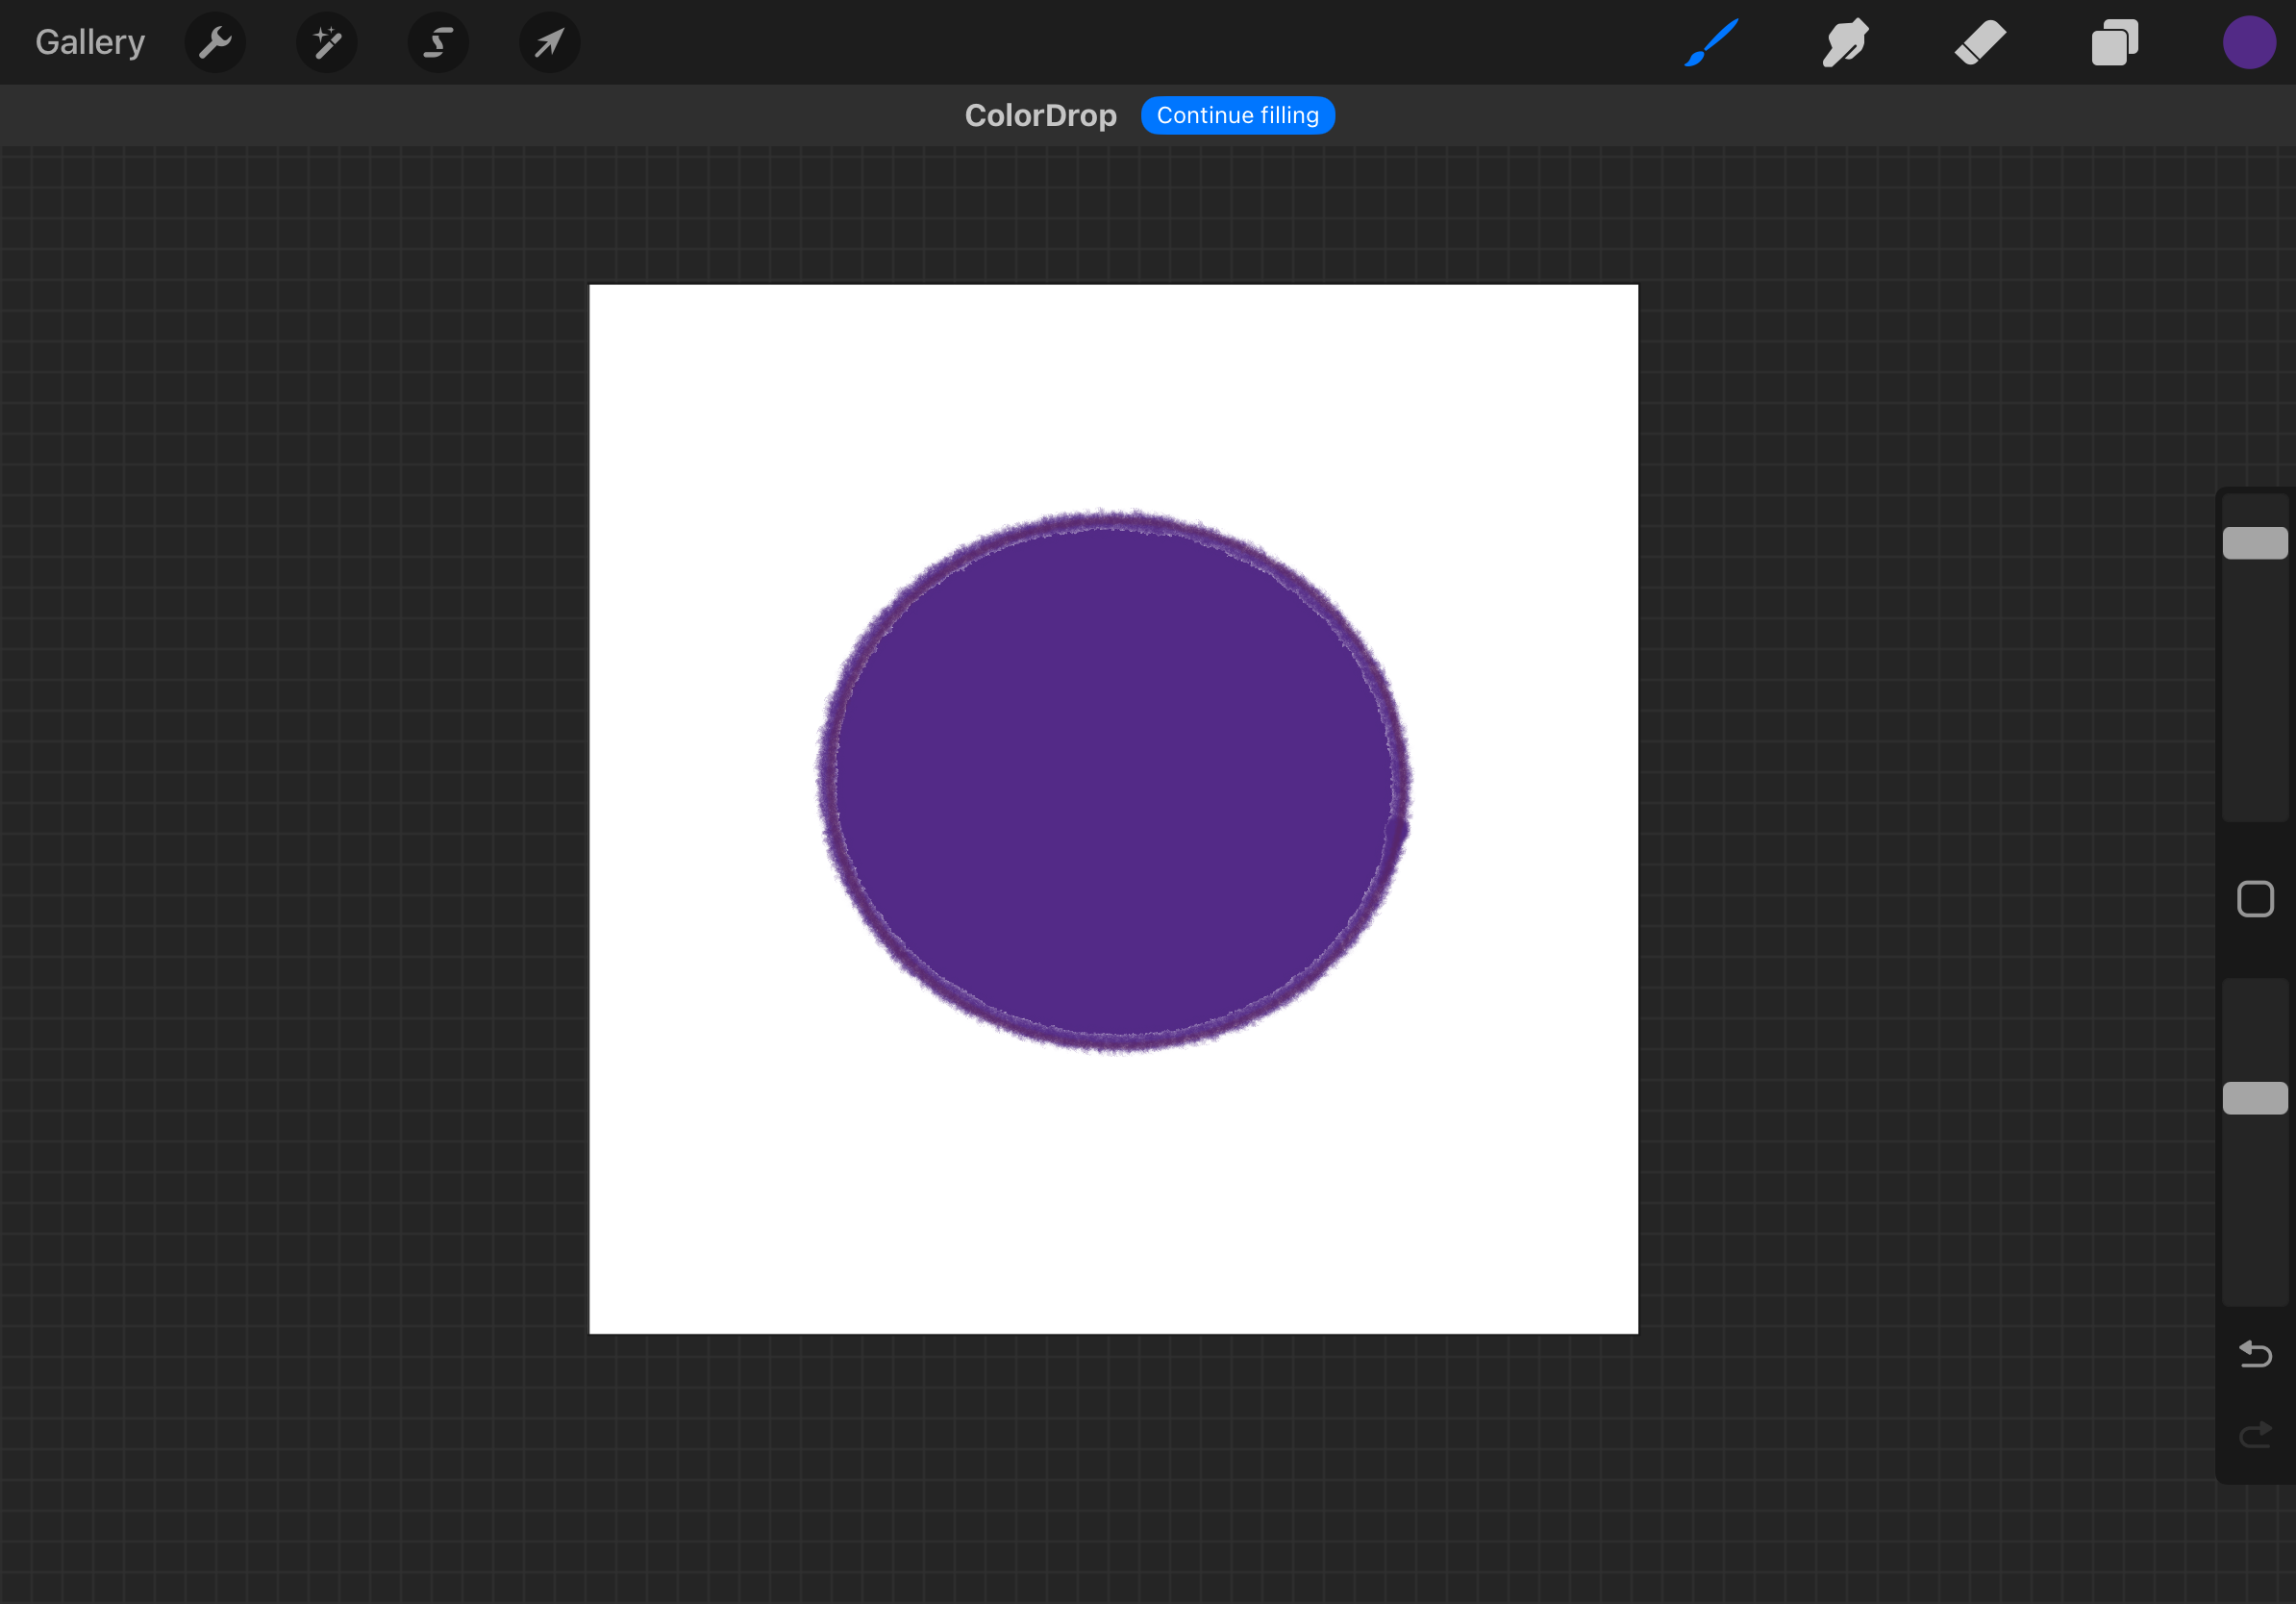
- Or use ColorDrop: Drag the color circle into a closed area to quickly fill it in.
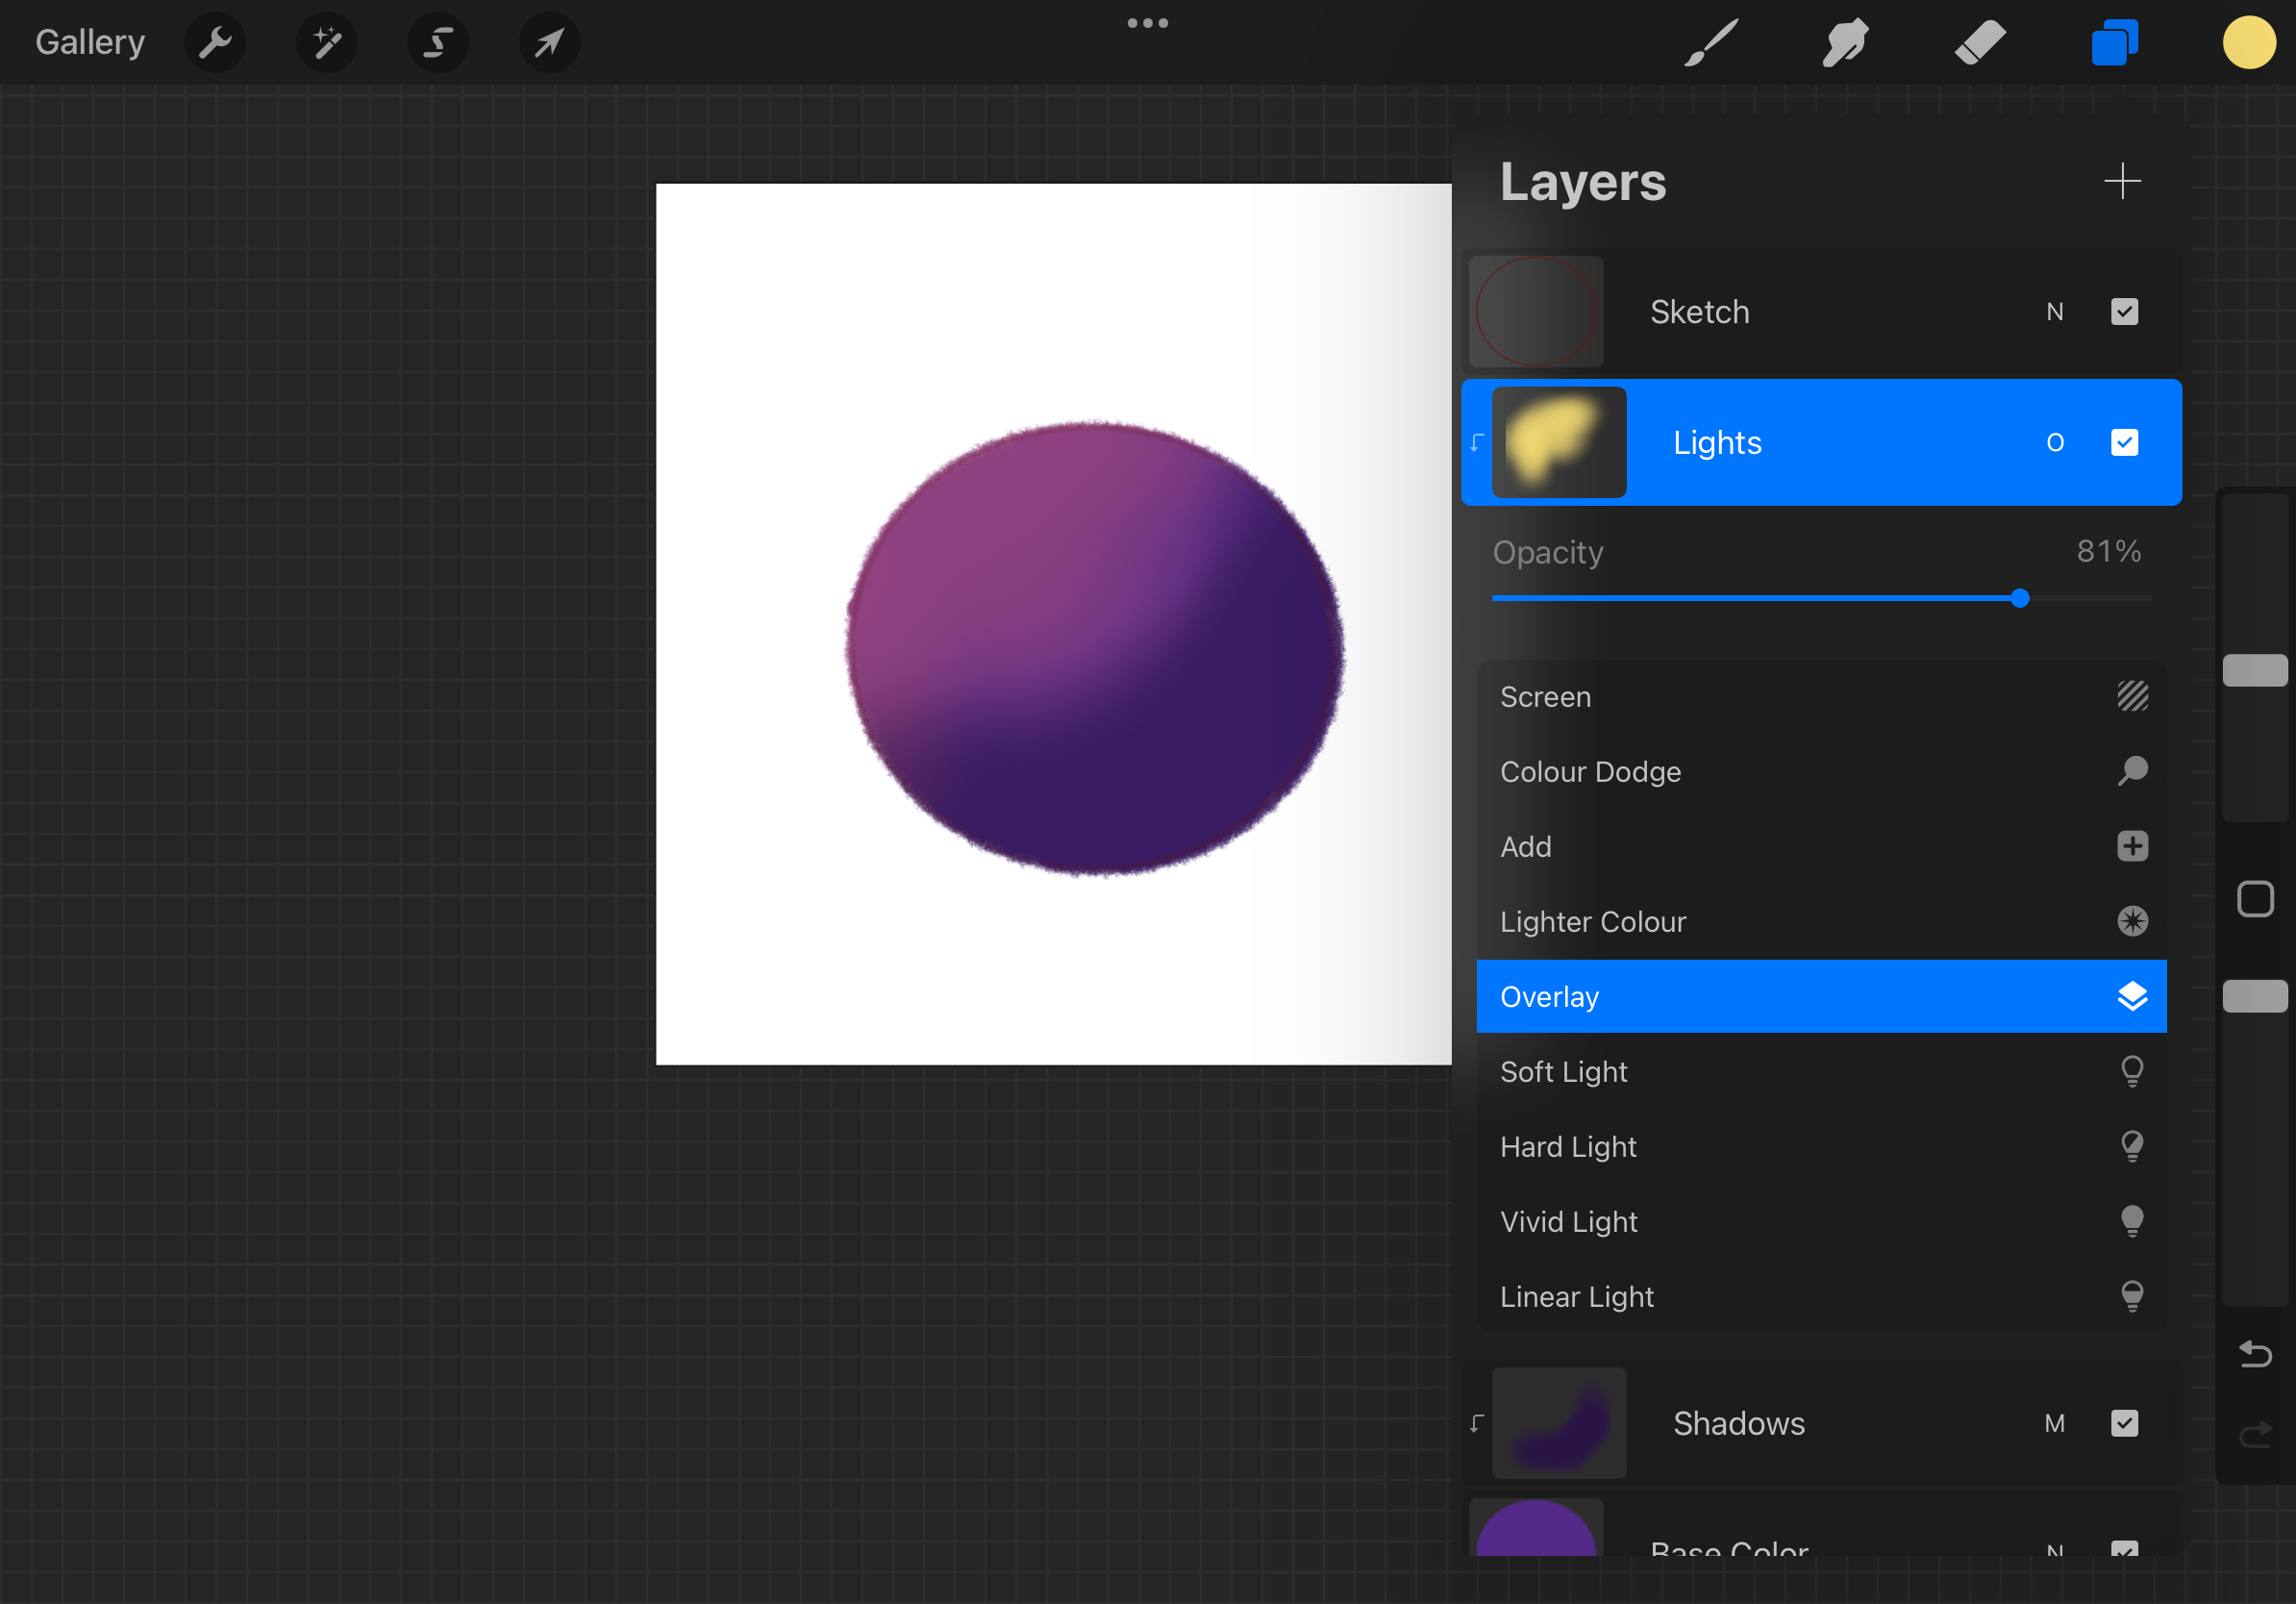
To add shadows or highlights, use either Alpha Lock or Clipping Mask on a new layer. This way, your shading stays within the base shape.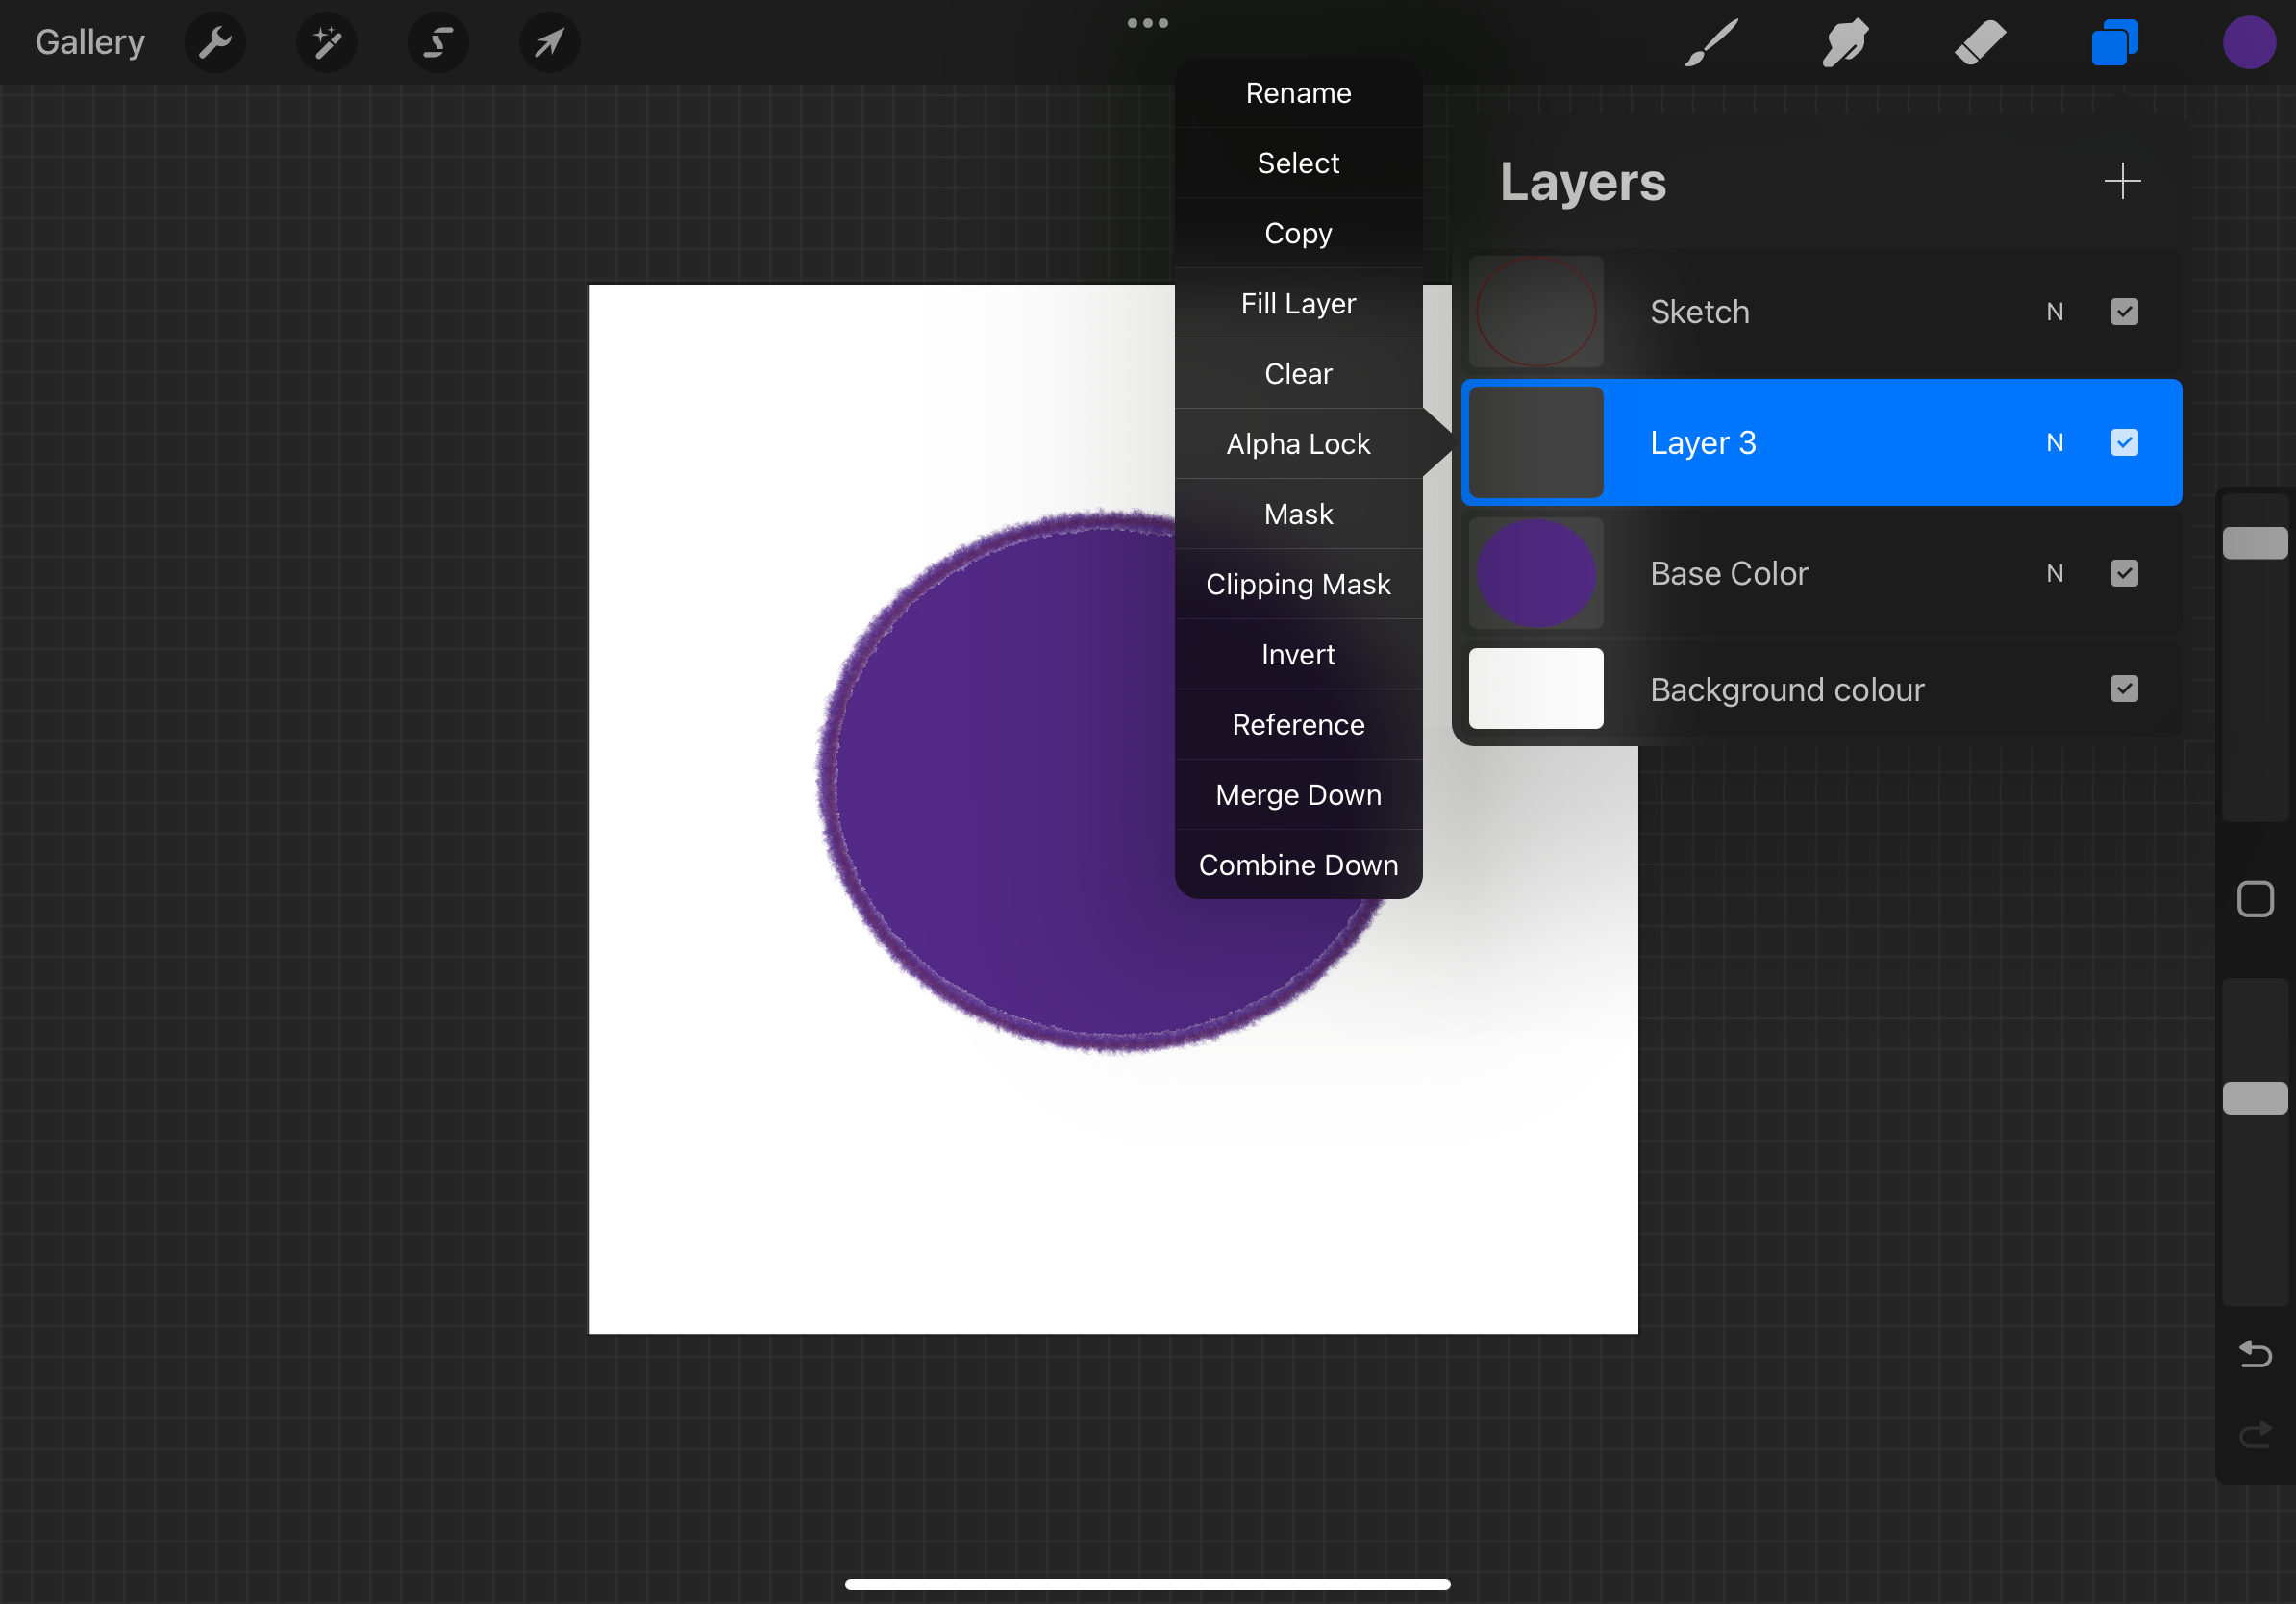
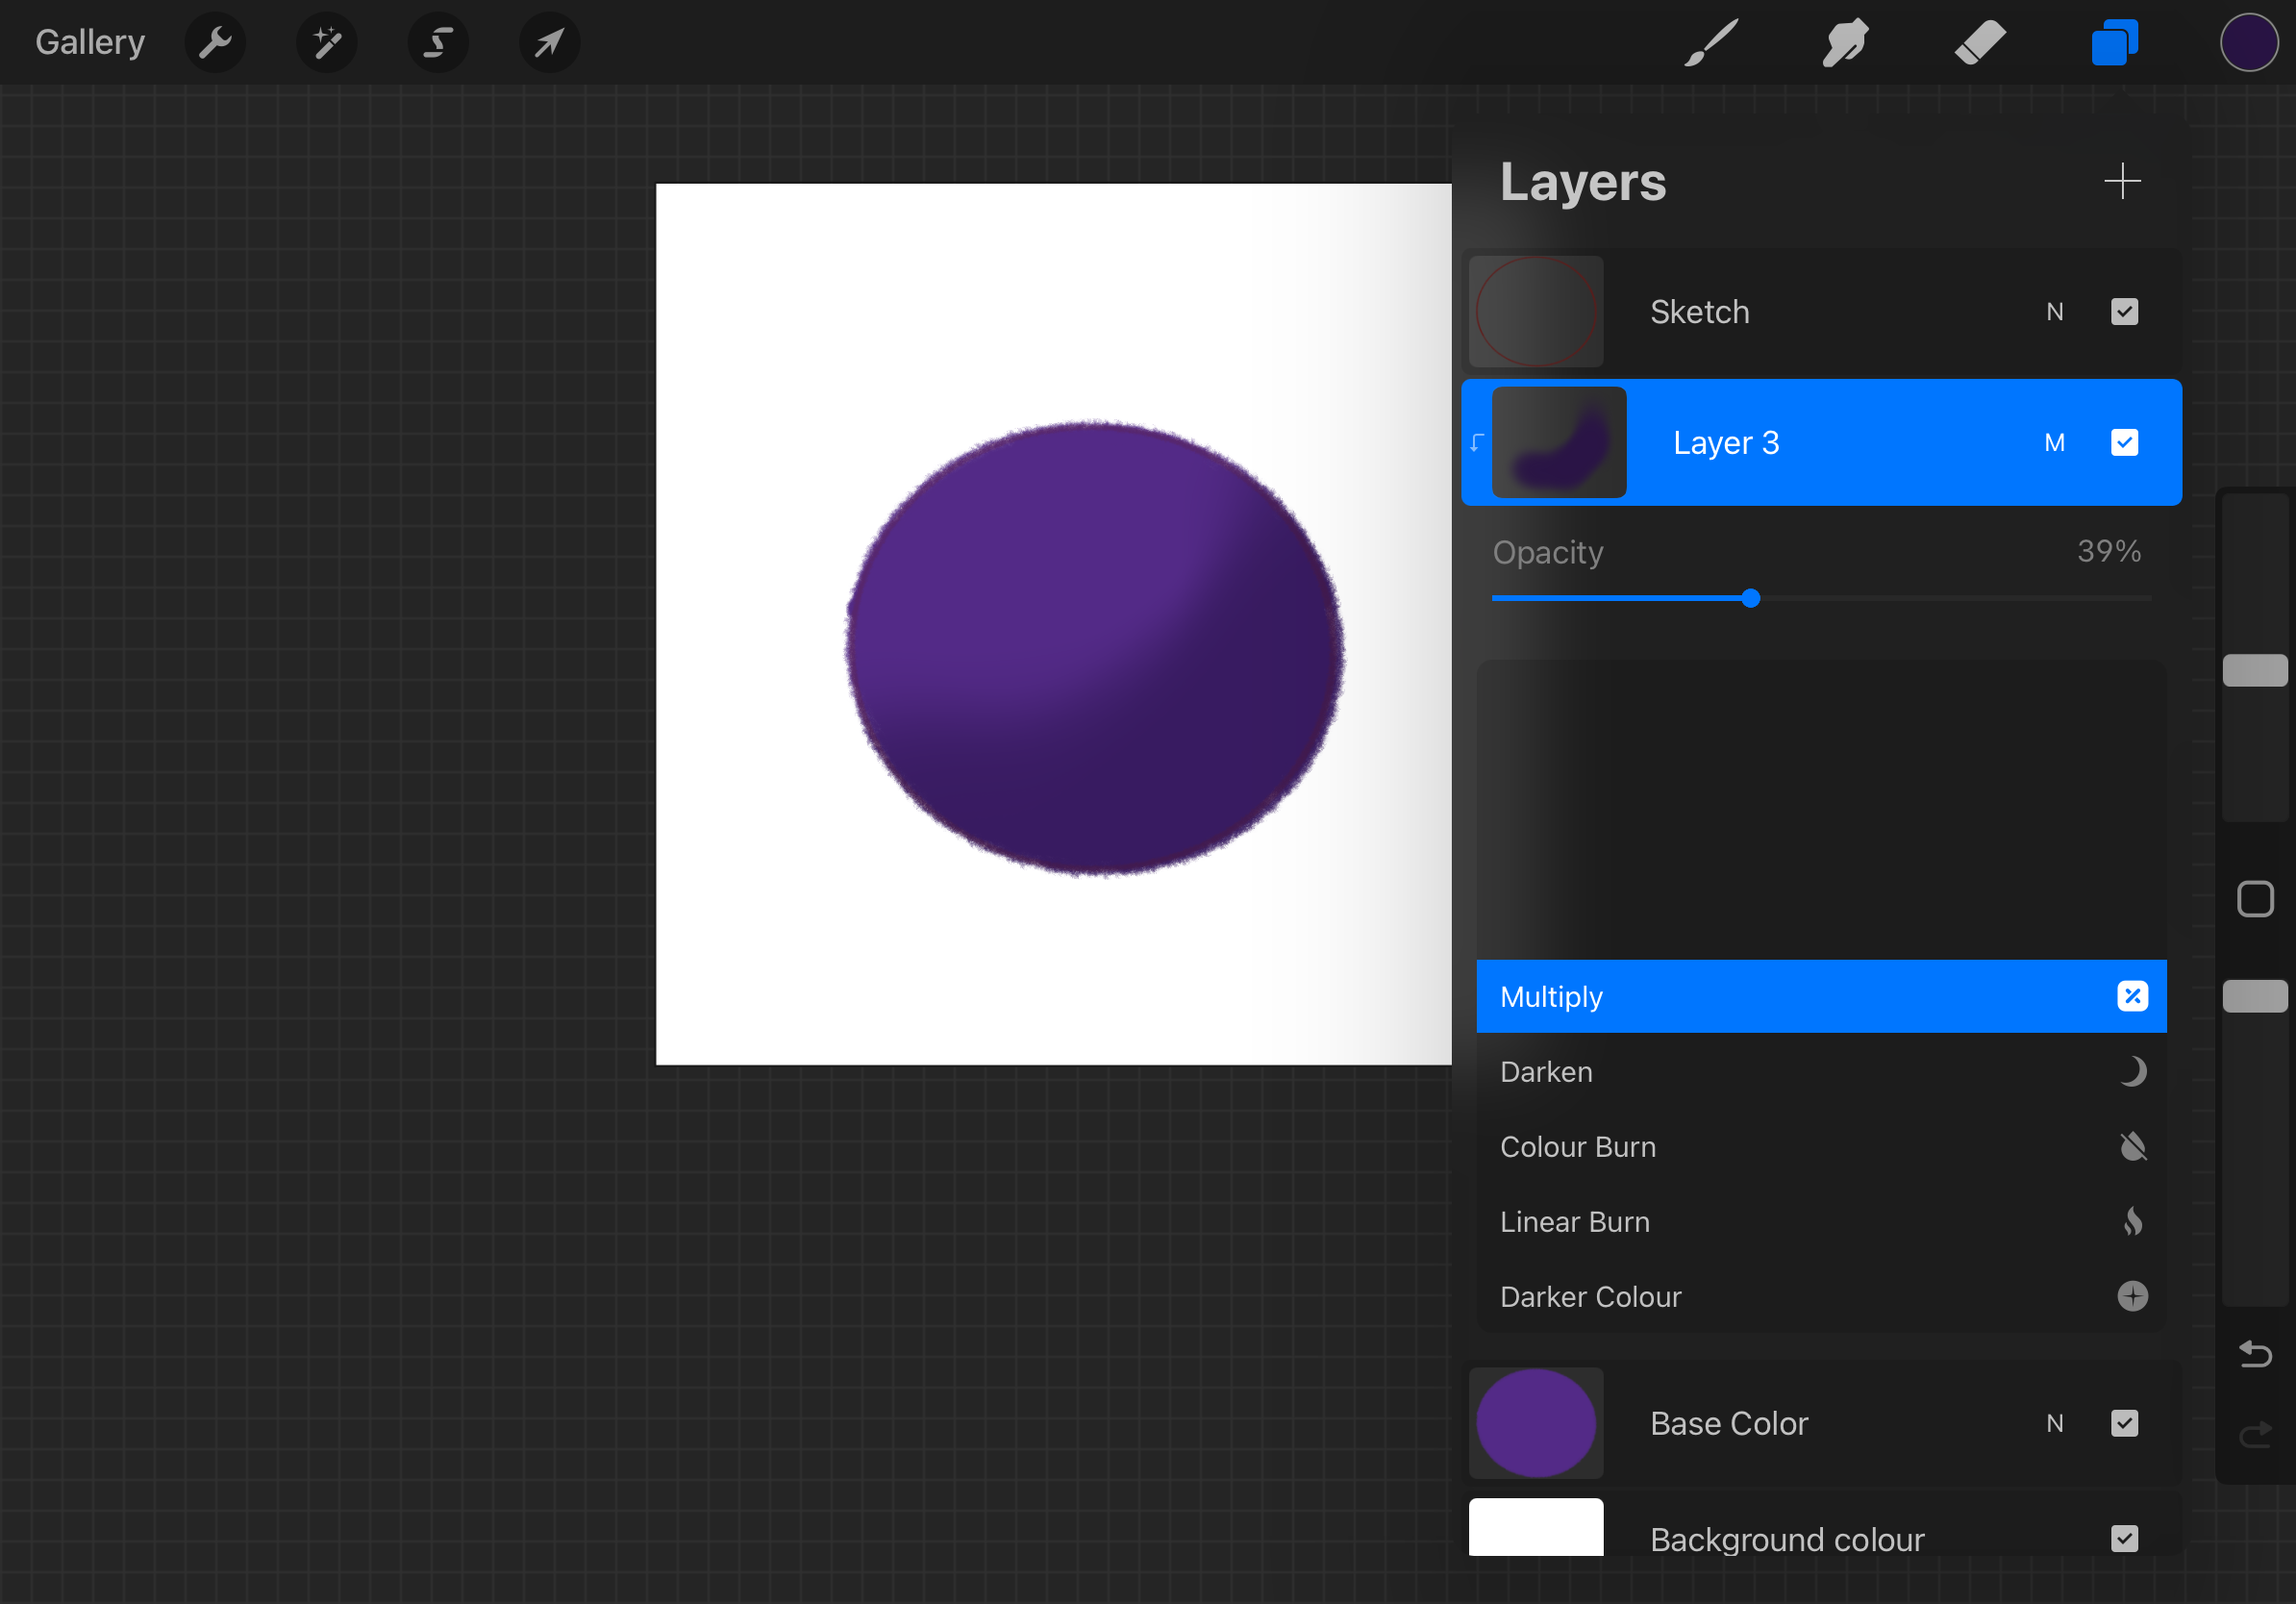
Use the Soft Brush from the Airbrushing set to add shadows and highlights. Lower the brush opacity for a subtle effect. I like to use Multiply mode for shadows and Overlay mode for highlights—it gives a nice, natural blend.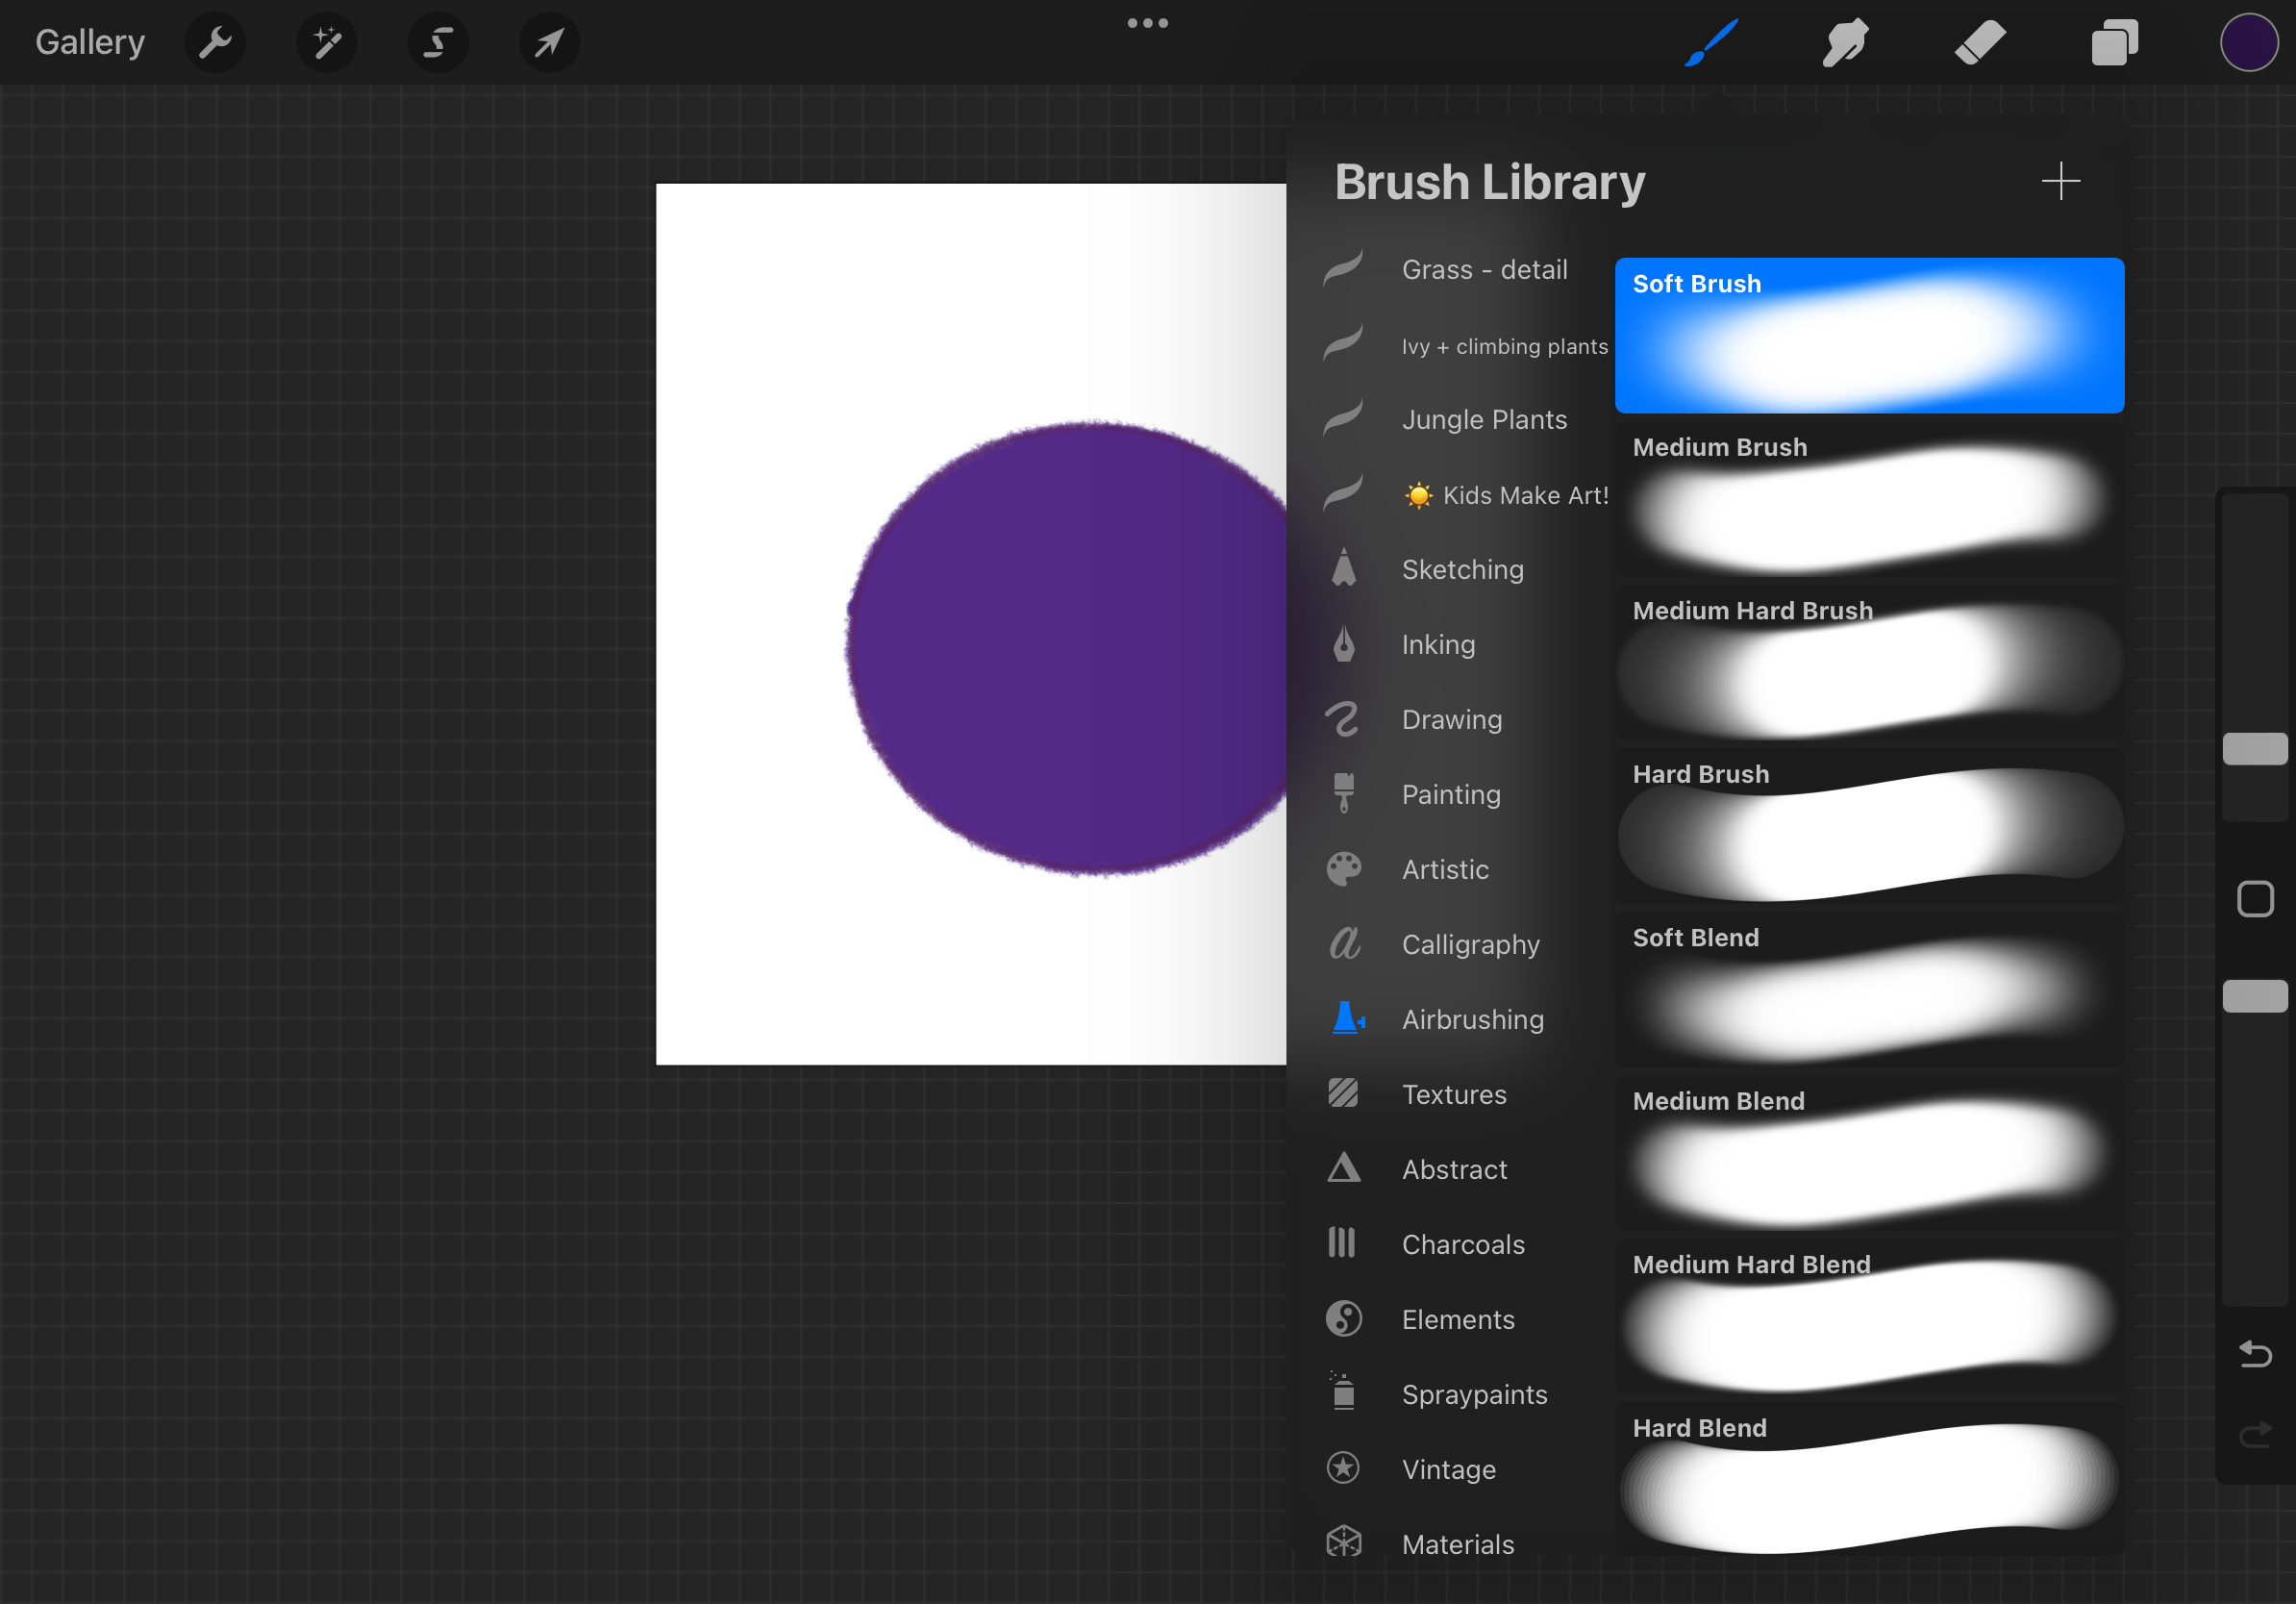
Step 5: Using Gestures to Work Faster
Procreate has some amazing shortcuts that make your workflow smoother:
- Two fingers tap: Undo
- Three fingers tap: Redo
- Pinch to zoom: Zoom in or out
- Four-finger tap: Toggle fullscreen mode
These may feel strange at first, but trust me—they become second nature quickly.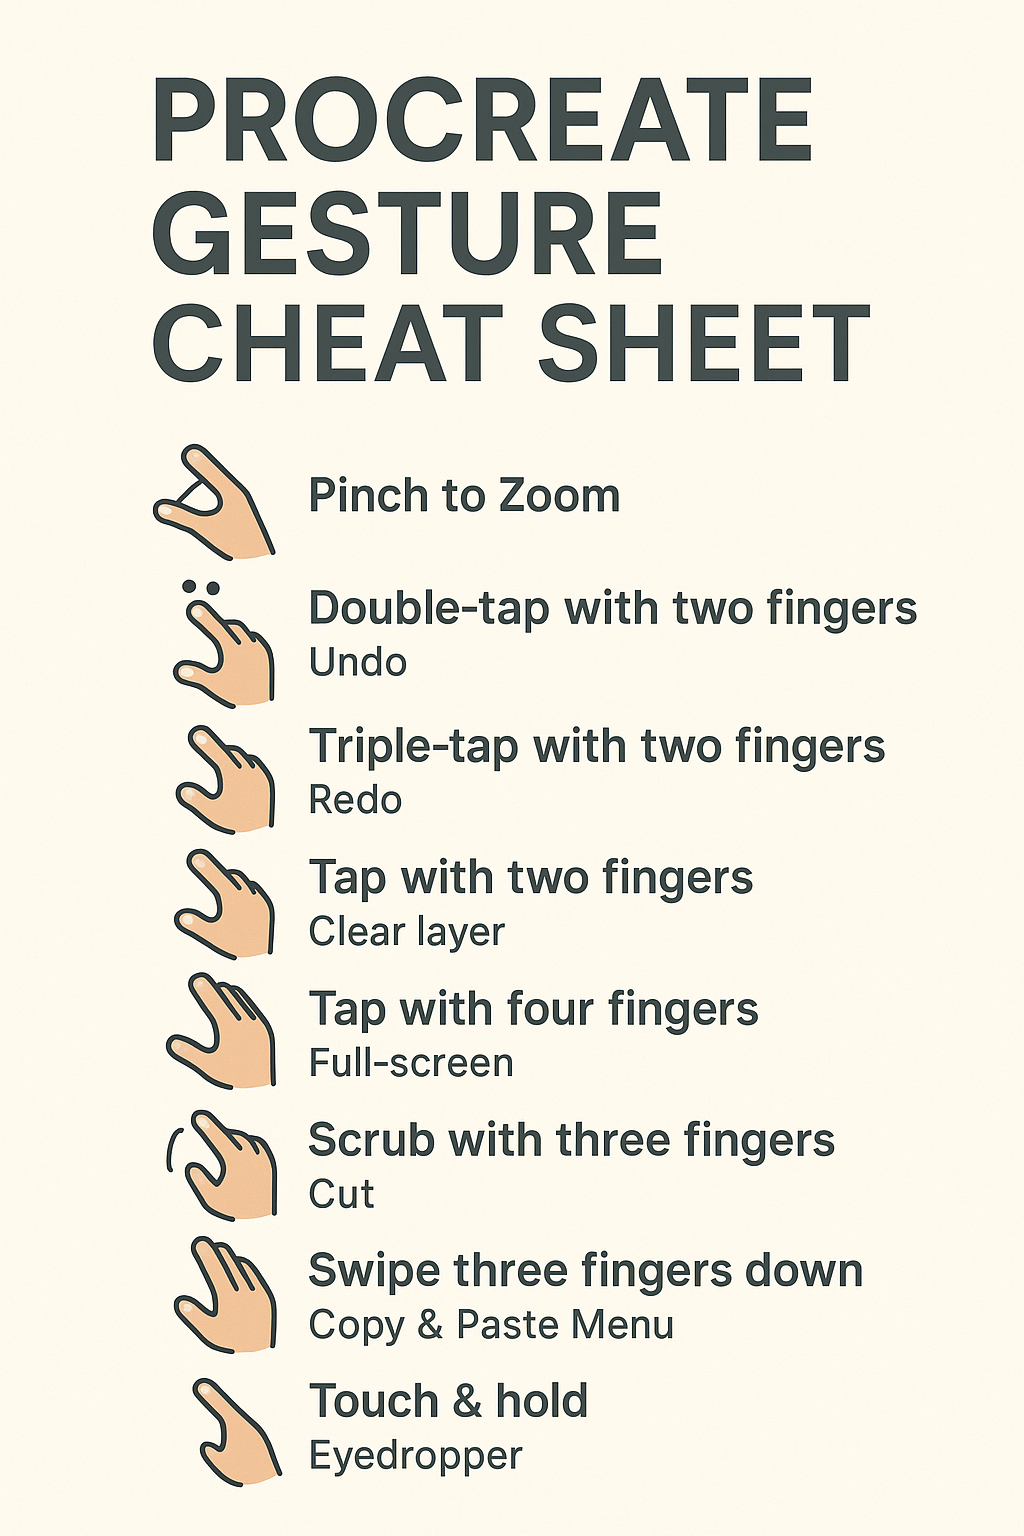
Step 6: Exporting Your Art
Once you’re happy with your work, it’s time to share it!
- Tap the wrench icon (Actions menu)
- Go to Share
- Choose your format:
- JPEG or PNG for social sharing
- PSD if you want to edit in Photoshop
- Procreate file to save all layers
You can also export a time-lapse video of your drawing, which Procreate automatically records from start to finish. It’s perfect for sharing your process on social media!
Final Thoughts
Learning how to use Procreate might seem tricky at first, but I promise it gets easier with practice. Start small, experiment with a few brushes, and don’t worry about making things perfect. Some of my favorite pieces began as messy doodles!
Once you feel comfortable, you can explore advanced features like animation assist, custom brushes, and layer effects. But for now, just focus on having fun and enjoying the creative process.
I hope this beginner procreate app guide helps you feel more confident in using Procreate. If you’ve just started your digital art journey, I’d love to see what you create—feel free to tag me or share your work!