
Illustrating a children’s book is a magical process that brings stories to life through colors, shapes, and emotions. In this blog post, I will take you through my step-by-step journey of creating a vibrant and engaging book spread—from the initial sketch to the final illustration.
1. Concept and Sketching the Idea
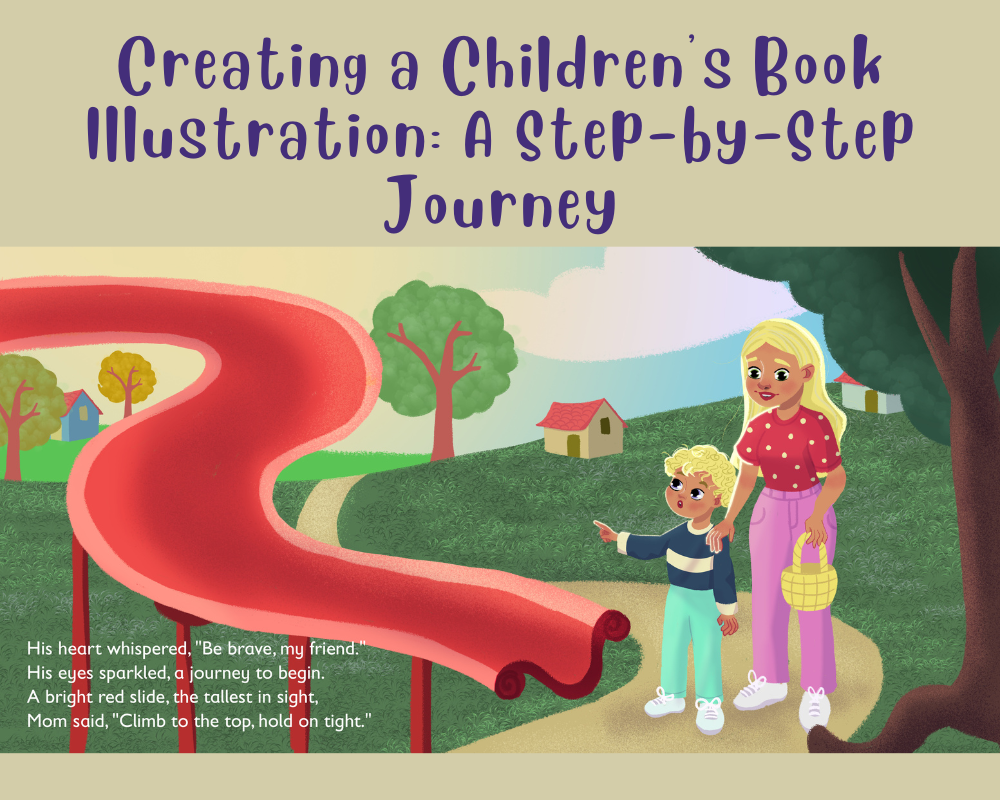
Every illustration starts with an idea. For this spread, I wanted to capture a special moment between a child and their mother at the playground, focusing on the excitement and anticipation of climbing a tall slide. The text accompanying this spread describes the child’s bravery and the mother’s encouragement, so I aimed to illustrate a scene that visually complements these emotions.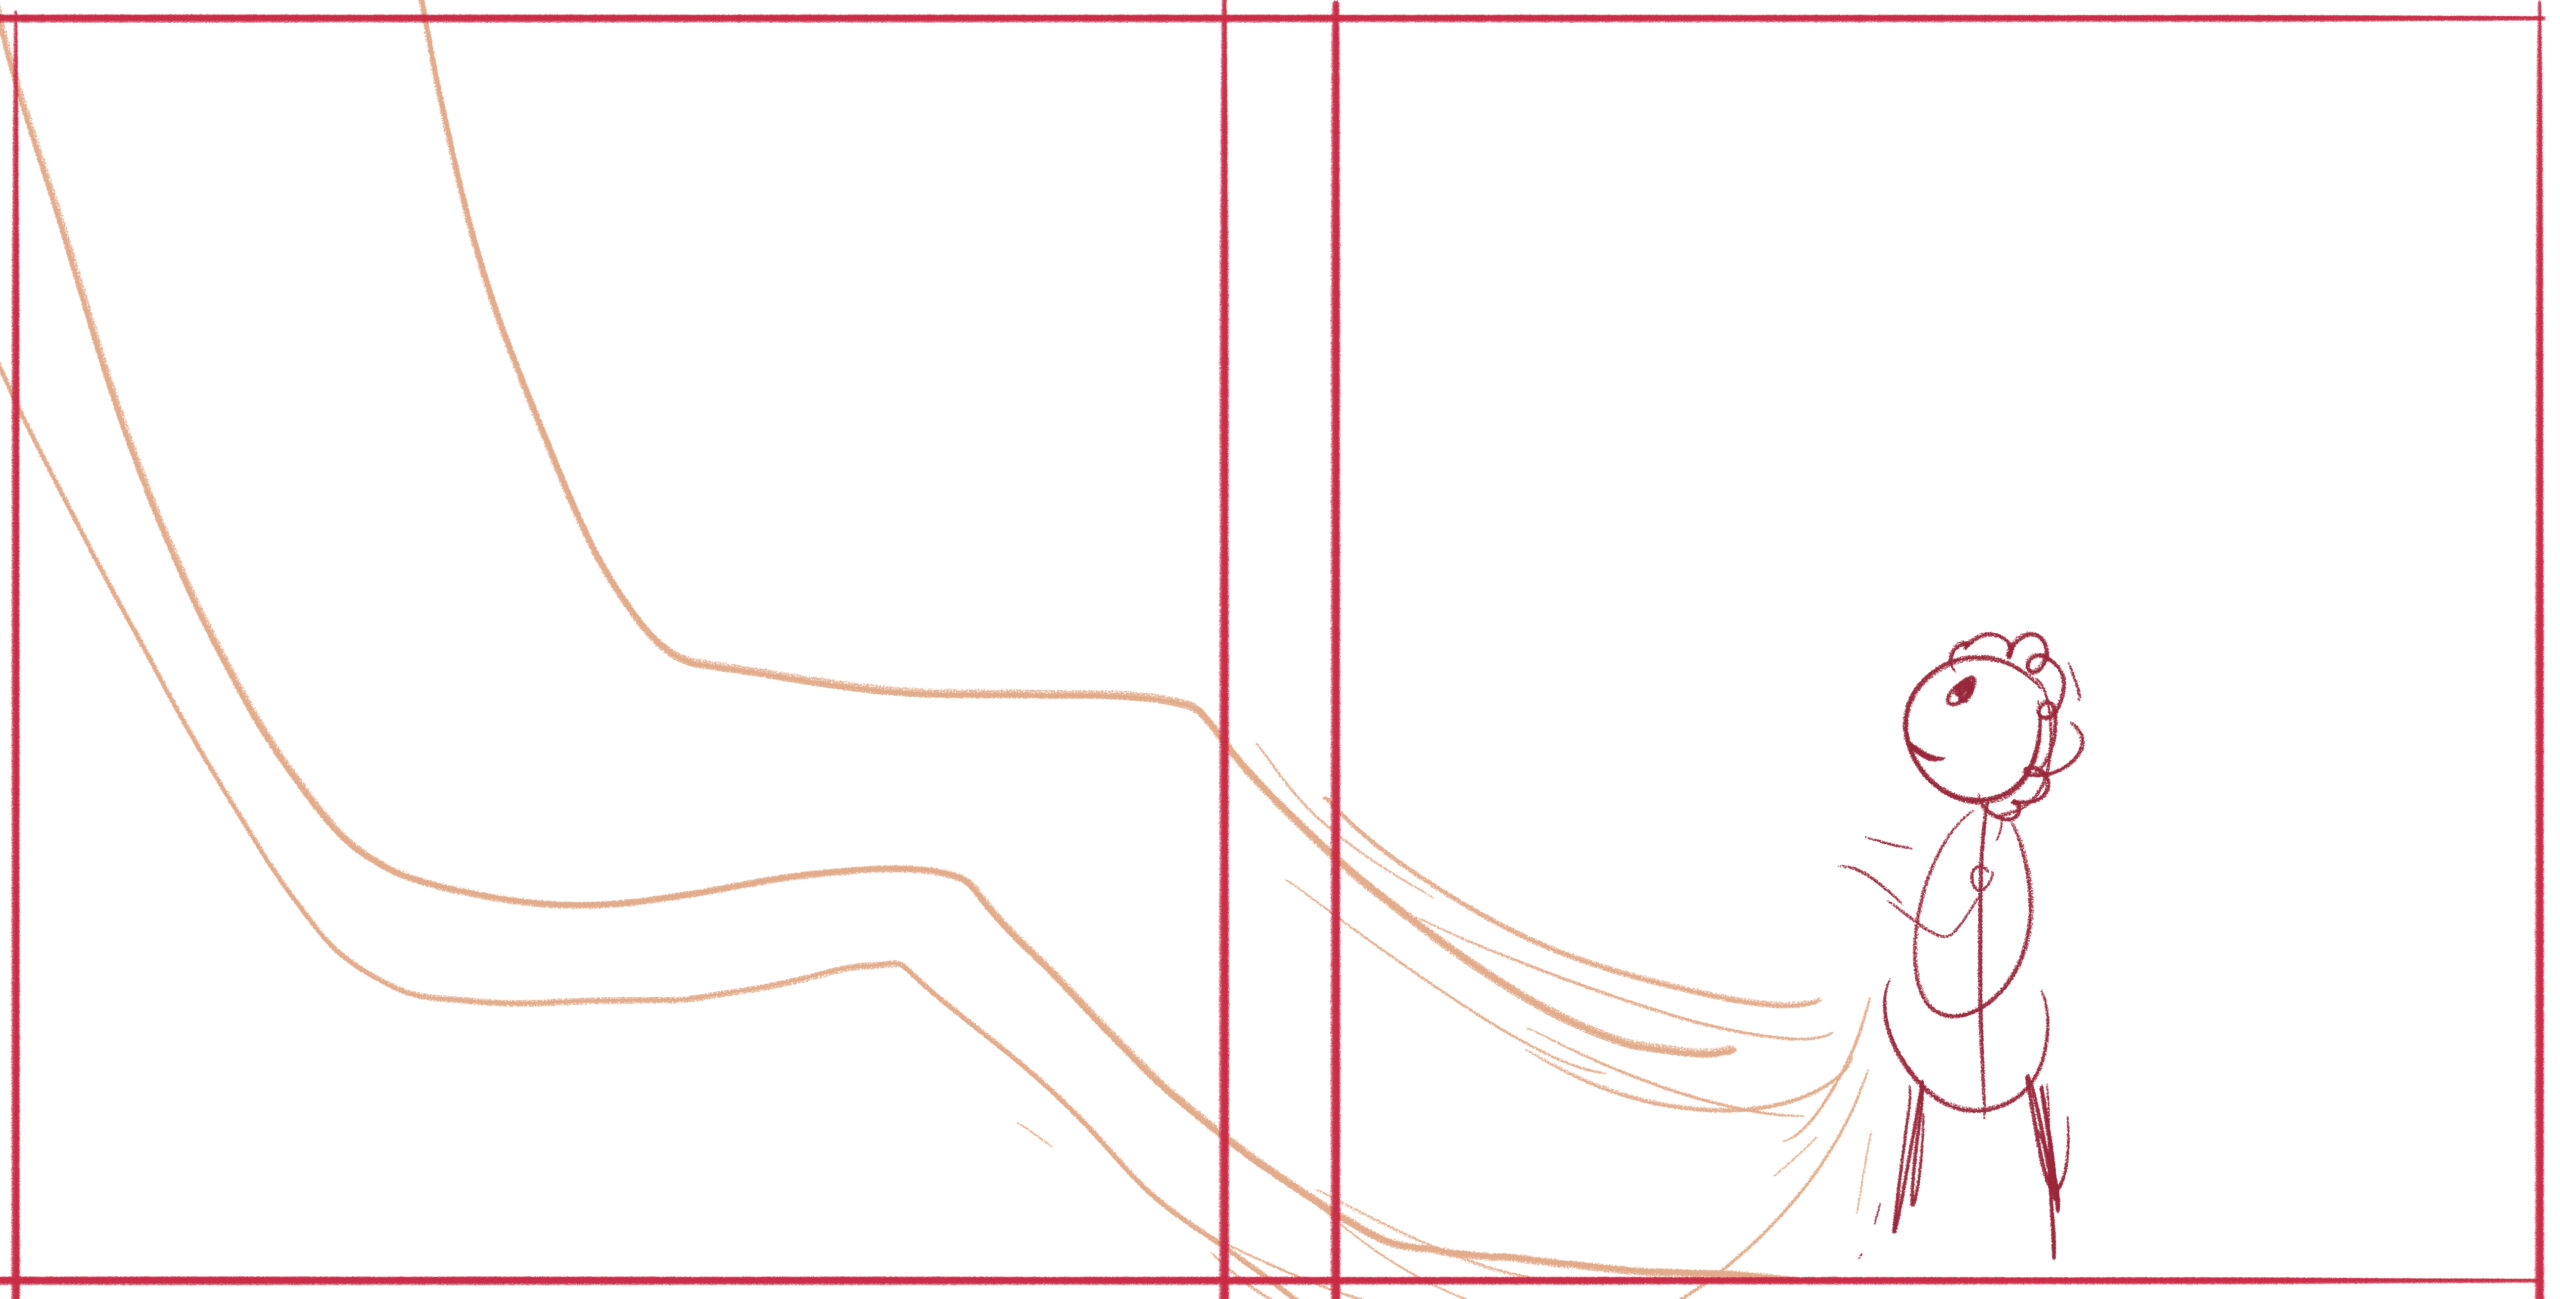
I started with a rough pencil sketch, laying out the composition. The slide was the focal point, guiding the viewer’s eye through the page. I also sketched the background elements—trees, houses, and a winding path—to create depth and a cozy environment. The characters were designed with expressive faces to reflect their emotions: the child’s mix of excitement and nervousness, and the mother’s warm and reassuring presence.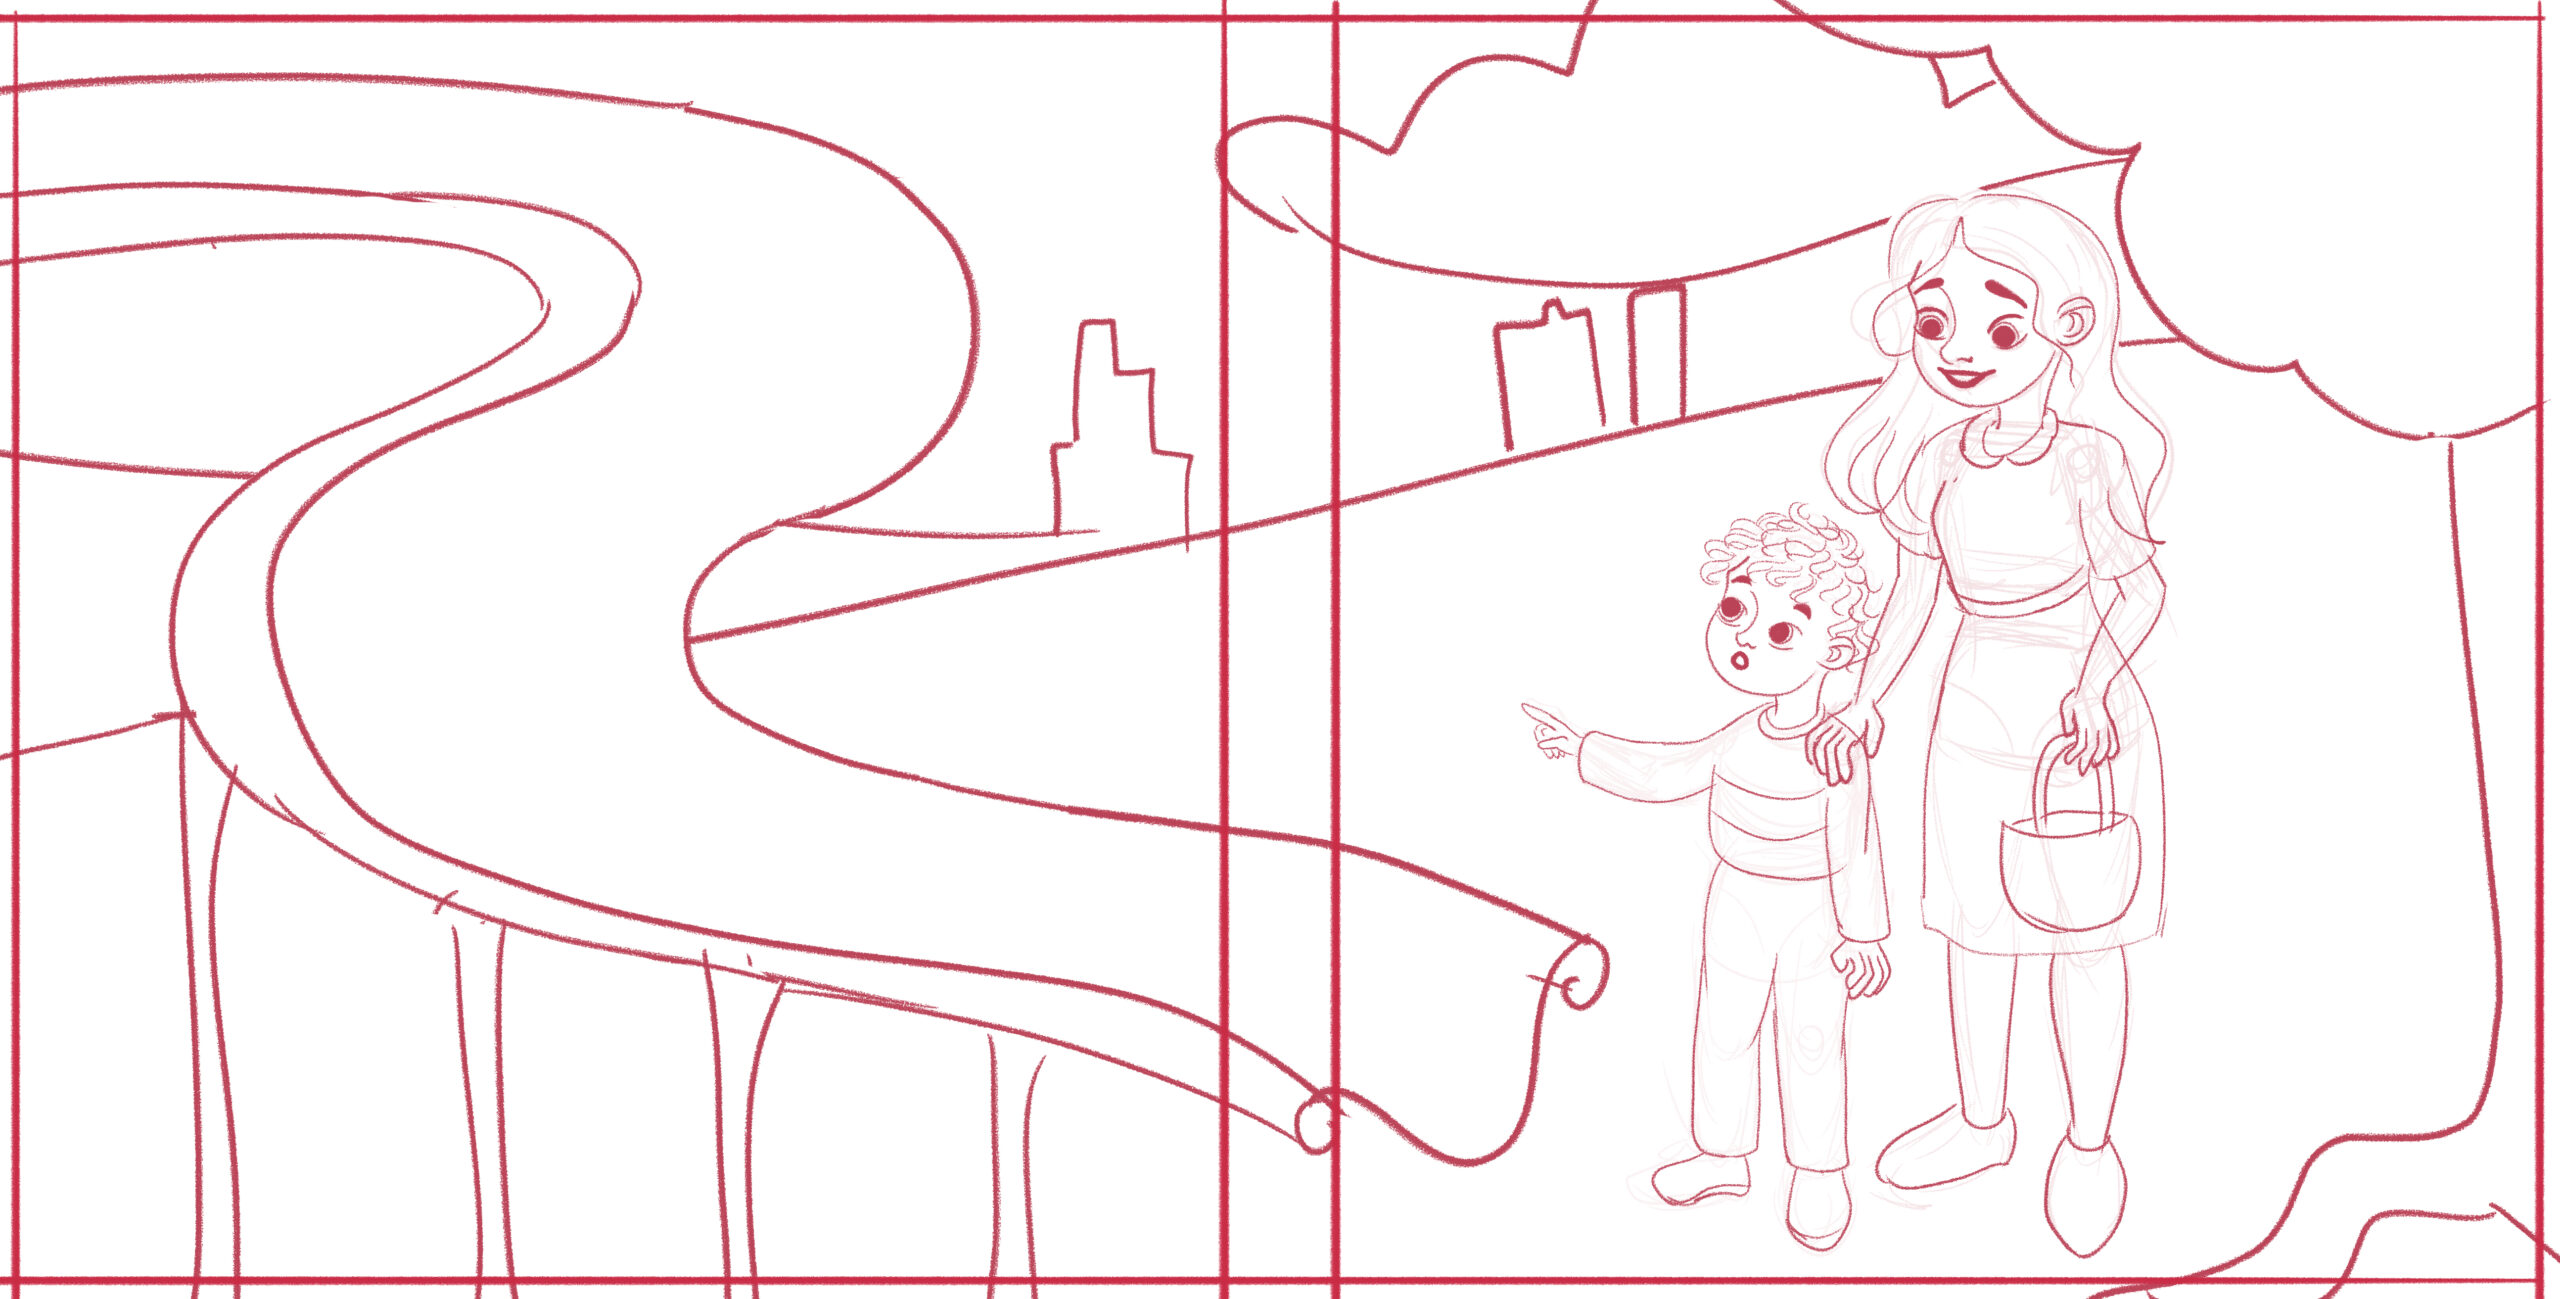
At this stage, I also made sure to follow the book’s layout guidelines, keeping text placement in mind. The sketch was kept loose and dynamic to allow for adjustments later.
2. Refining the Sketch
Once the rough sketch was in place, I moved on to the refined sketch. Here, I added details to the characters, clothing, and environment, ensuring that all elements were clear and well-defined. I also adjusted proportions and positioning to create a balanced composition. The final sketch is crucial because it serves as the blueprint for the coloring stage.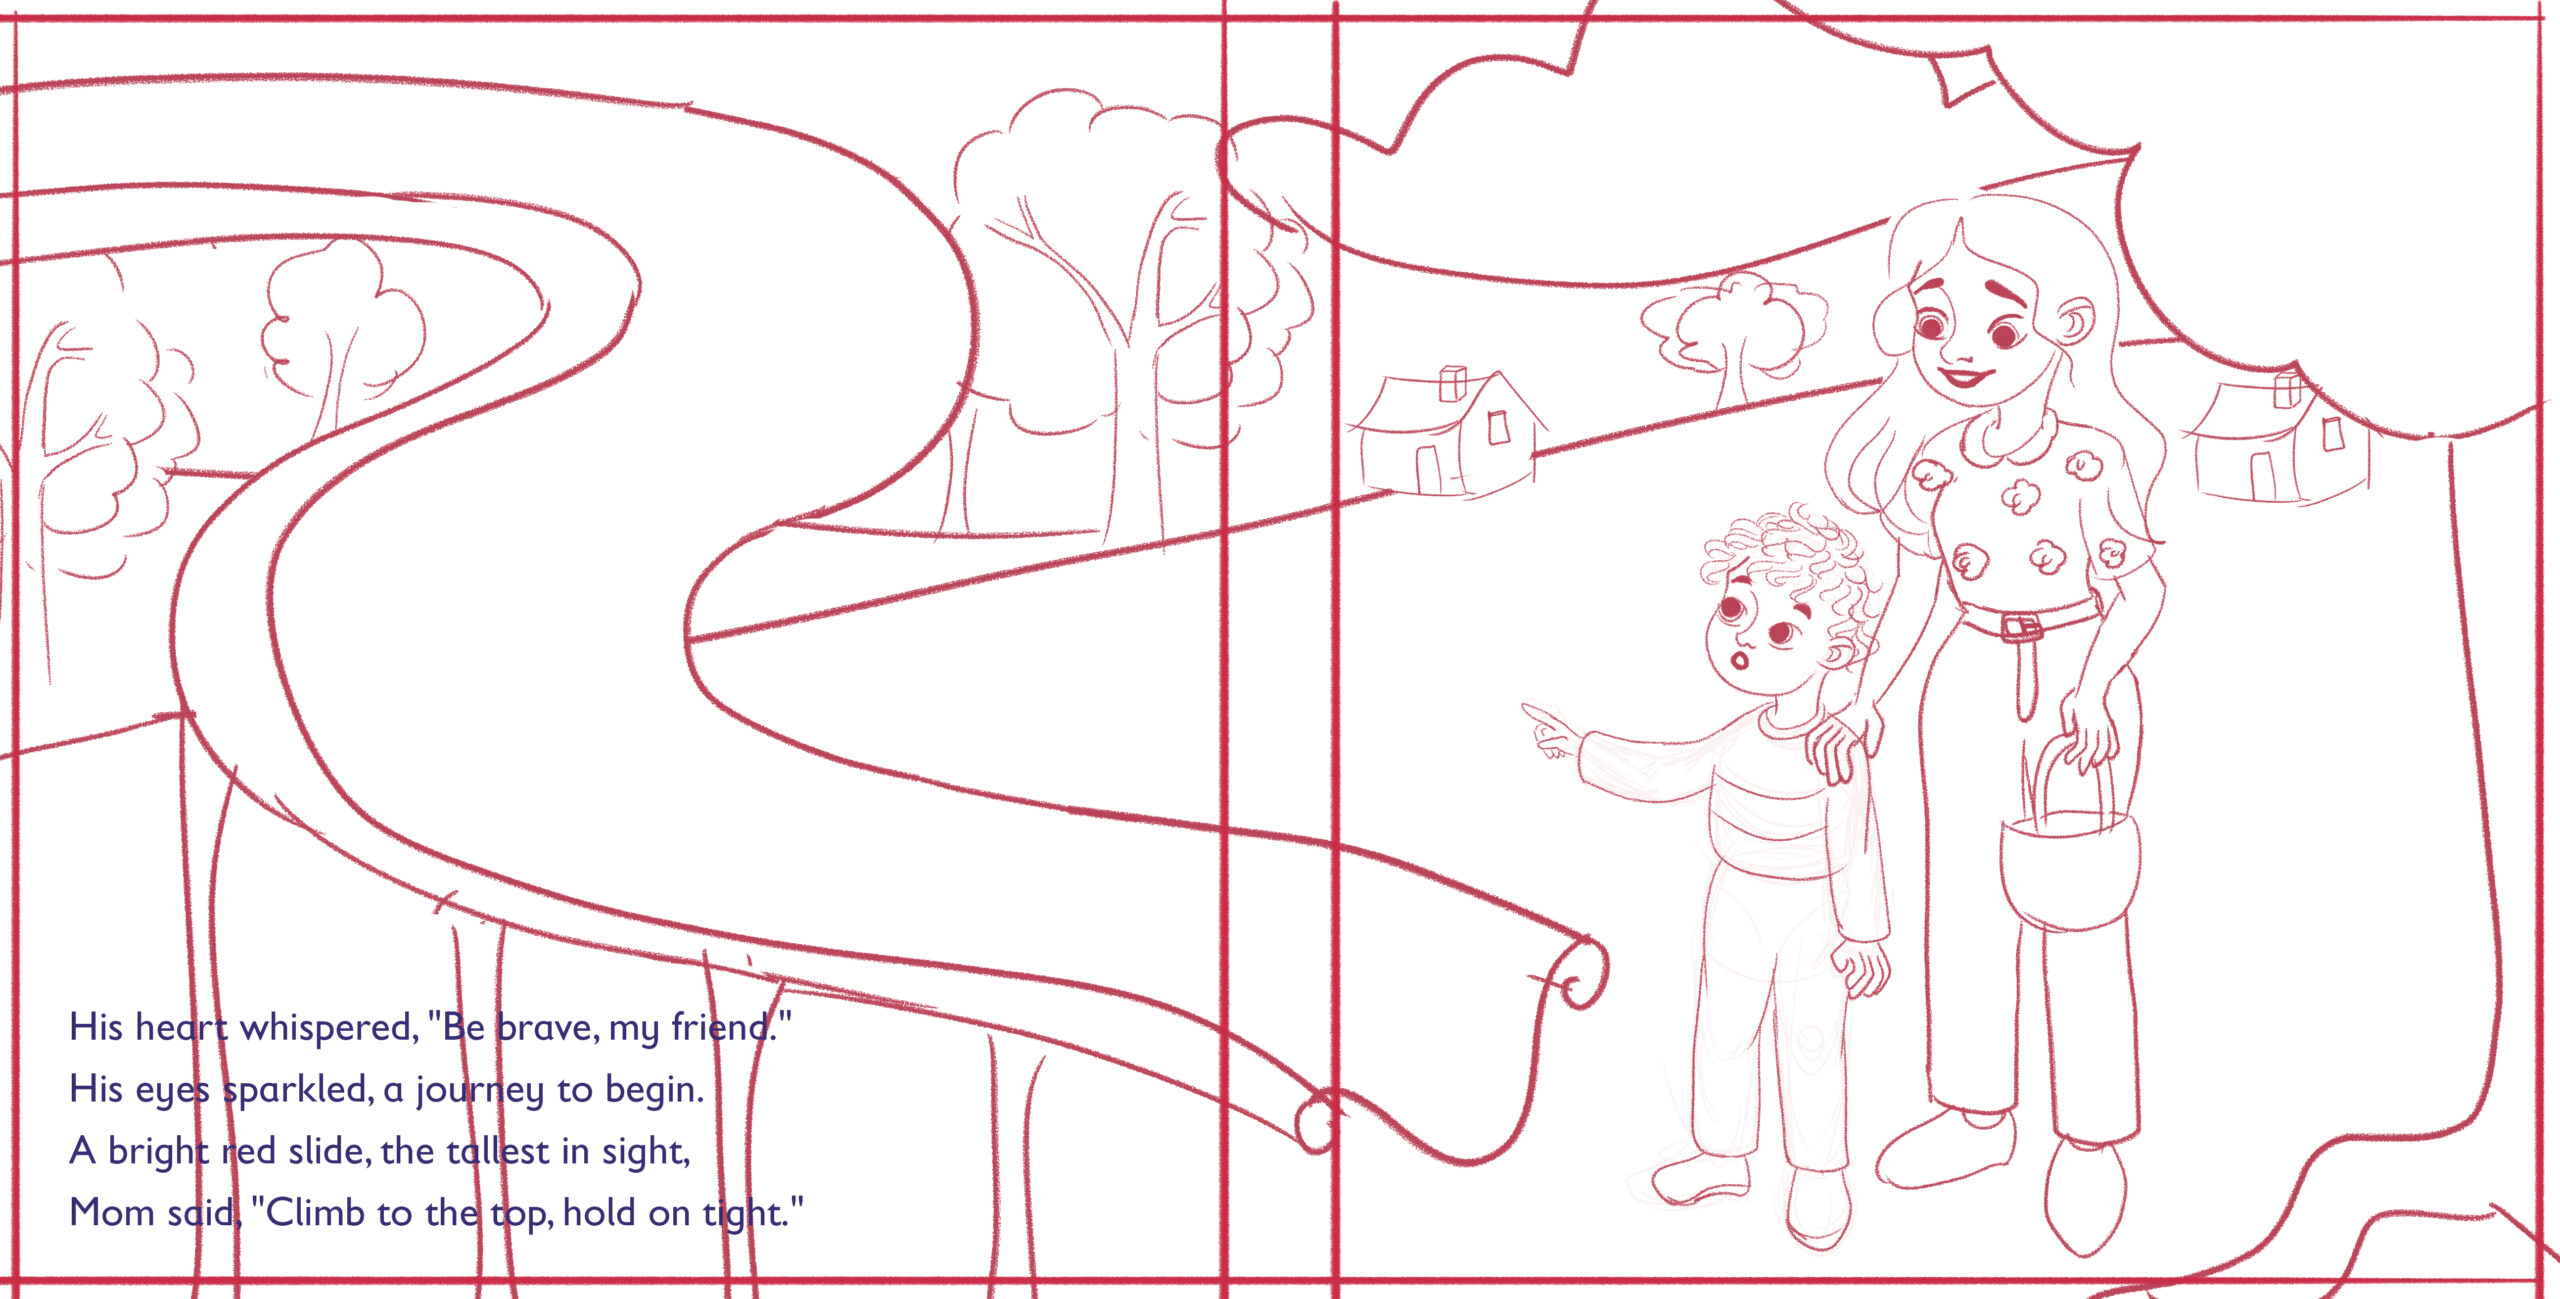
At this stage, I also checked how the illustration would fit within the book’s two-page spread. Ensuring that important elements didn’t fall into the book’s gutter (the fold between pages) was essential for a clean and readable layout. Then I added texts to make sure they are well fitted in the spread.
3. Base Colors and Background
With the sketch finalized, I moved on to the coloring process. I started by blocking in the base colors, choosing a bright and inviting palette. Since this scene is set in a park, I used warm greens, earthy browns, and a soft sky gradient to create a natural and pleasant atmosphere.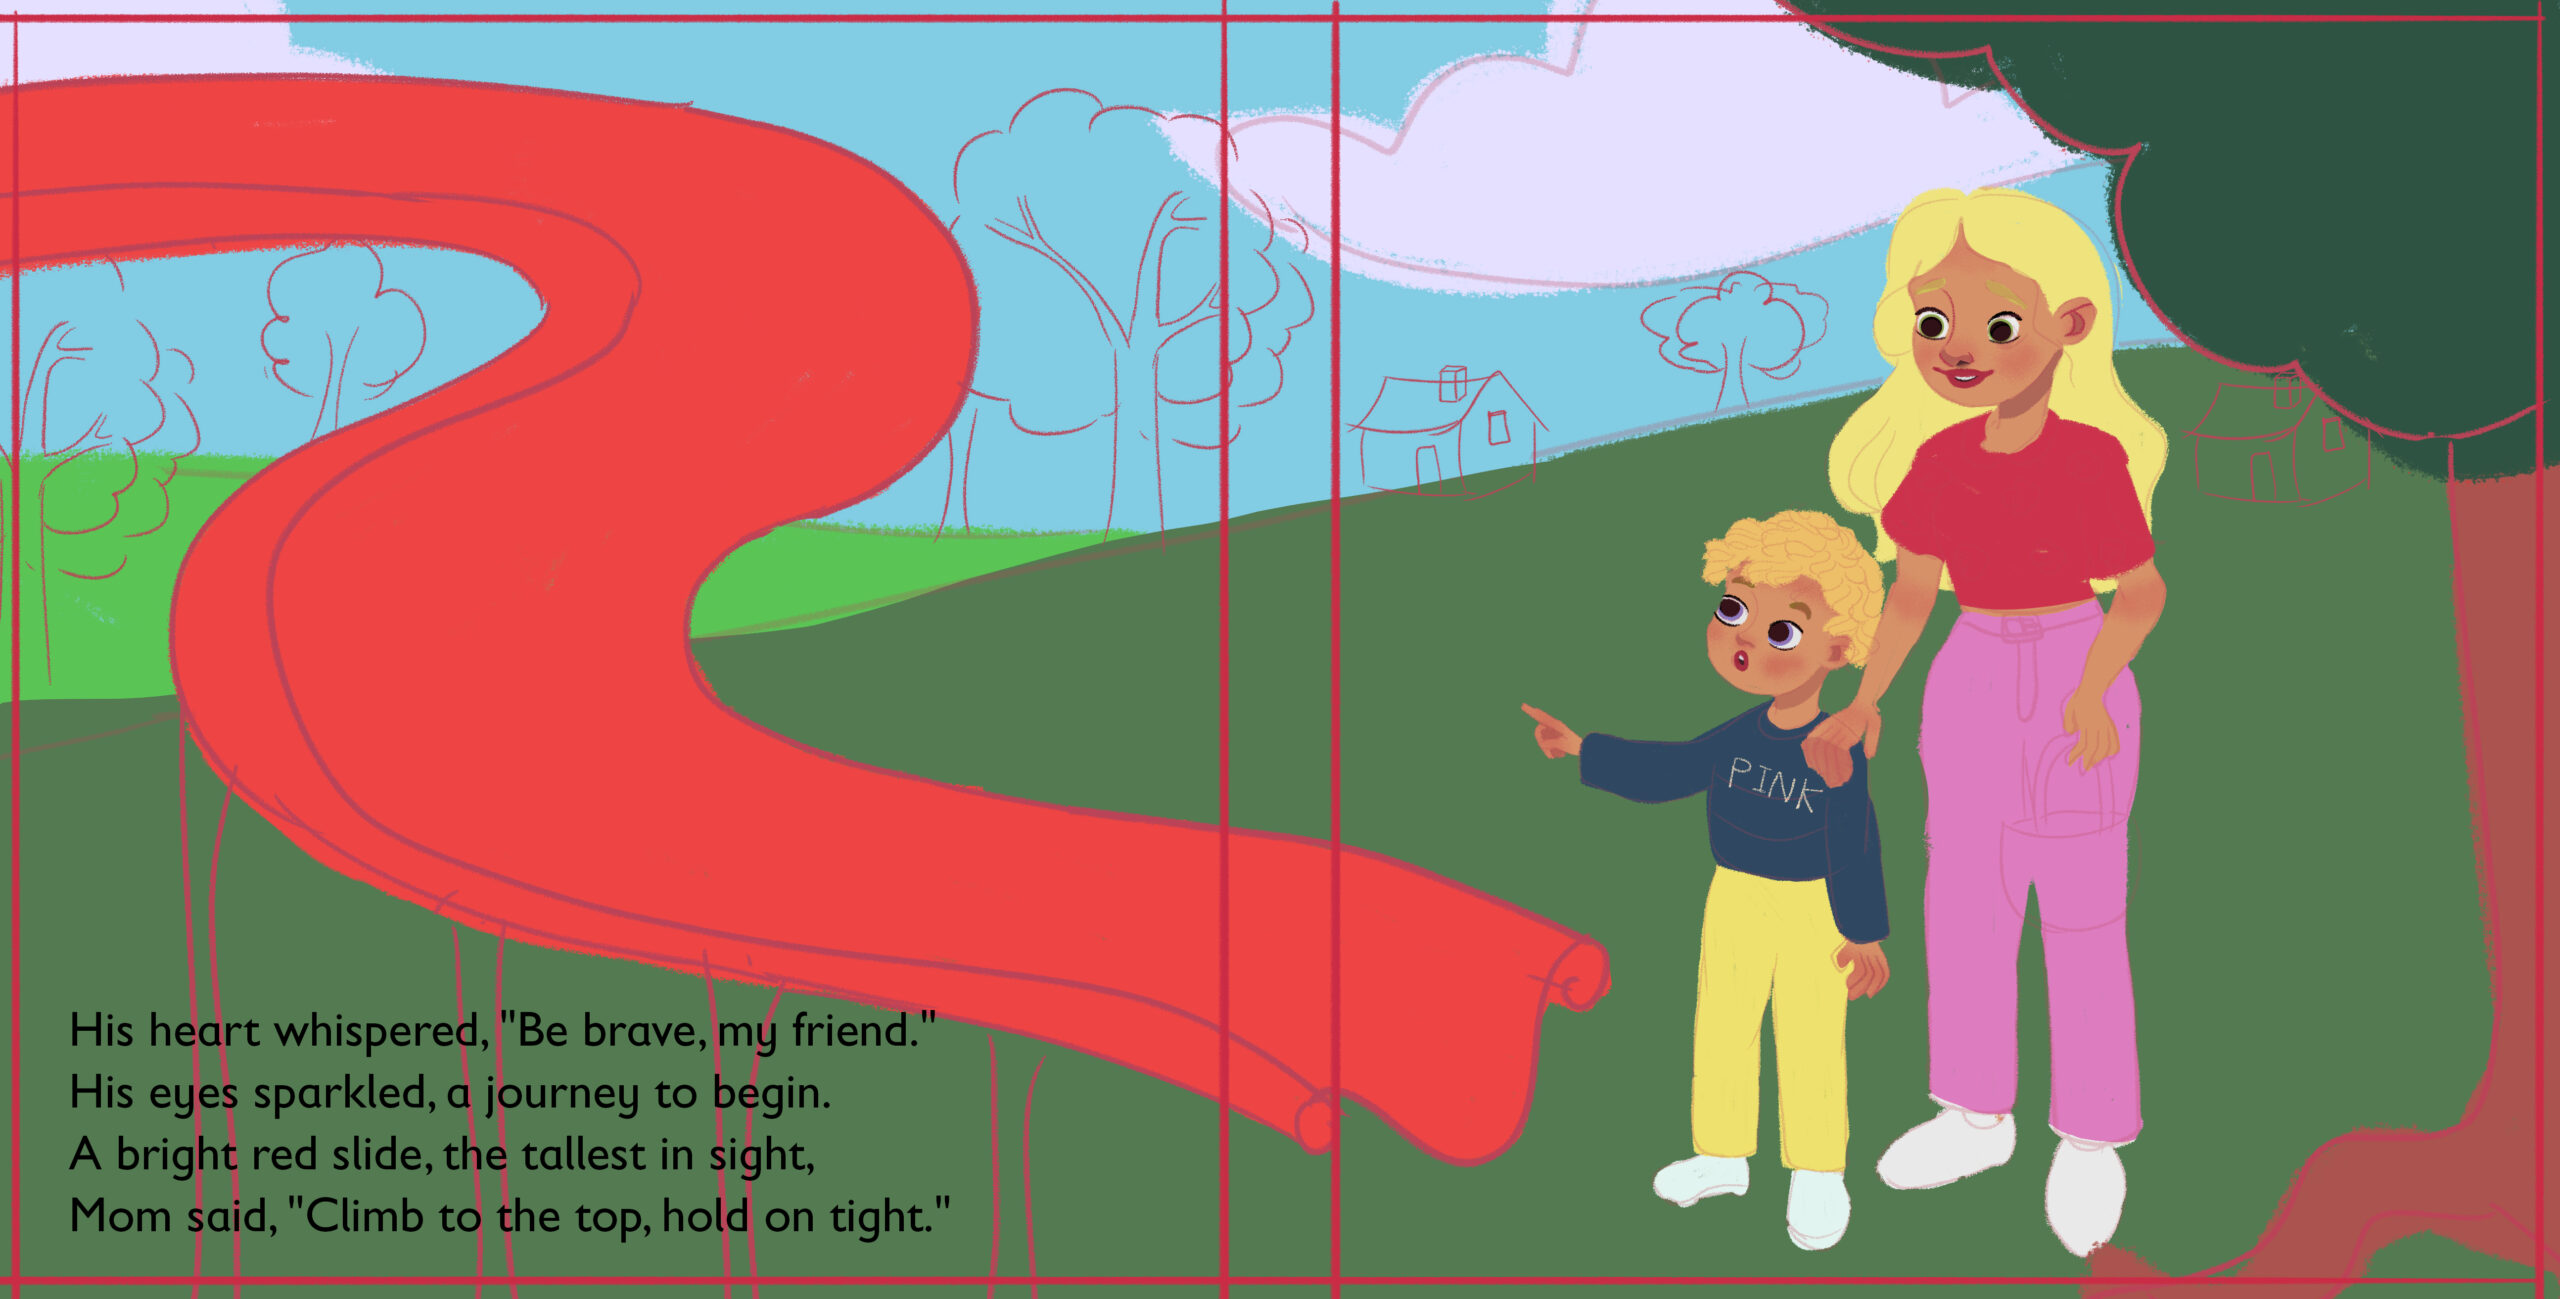
The red slide, as the main subject, was colored first to establish its prominence. I made sure it stood out while still harmonizing with the surrounding elements.
4. Adding Shadows and Highlights
To add depth and dimension, I applied shadows and highlights. The characters’ clothing received soft shading to give them a three-dimensional feel. The slide, being a shiny surface, had subtle highlights to make it look smooth and inviting.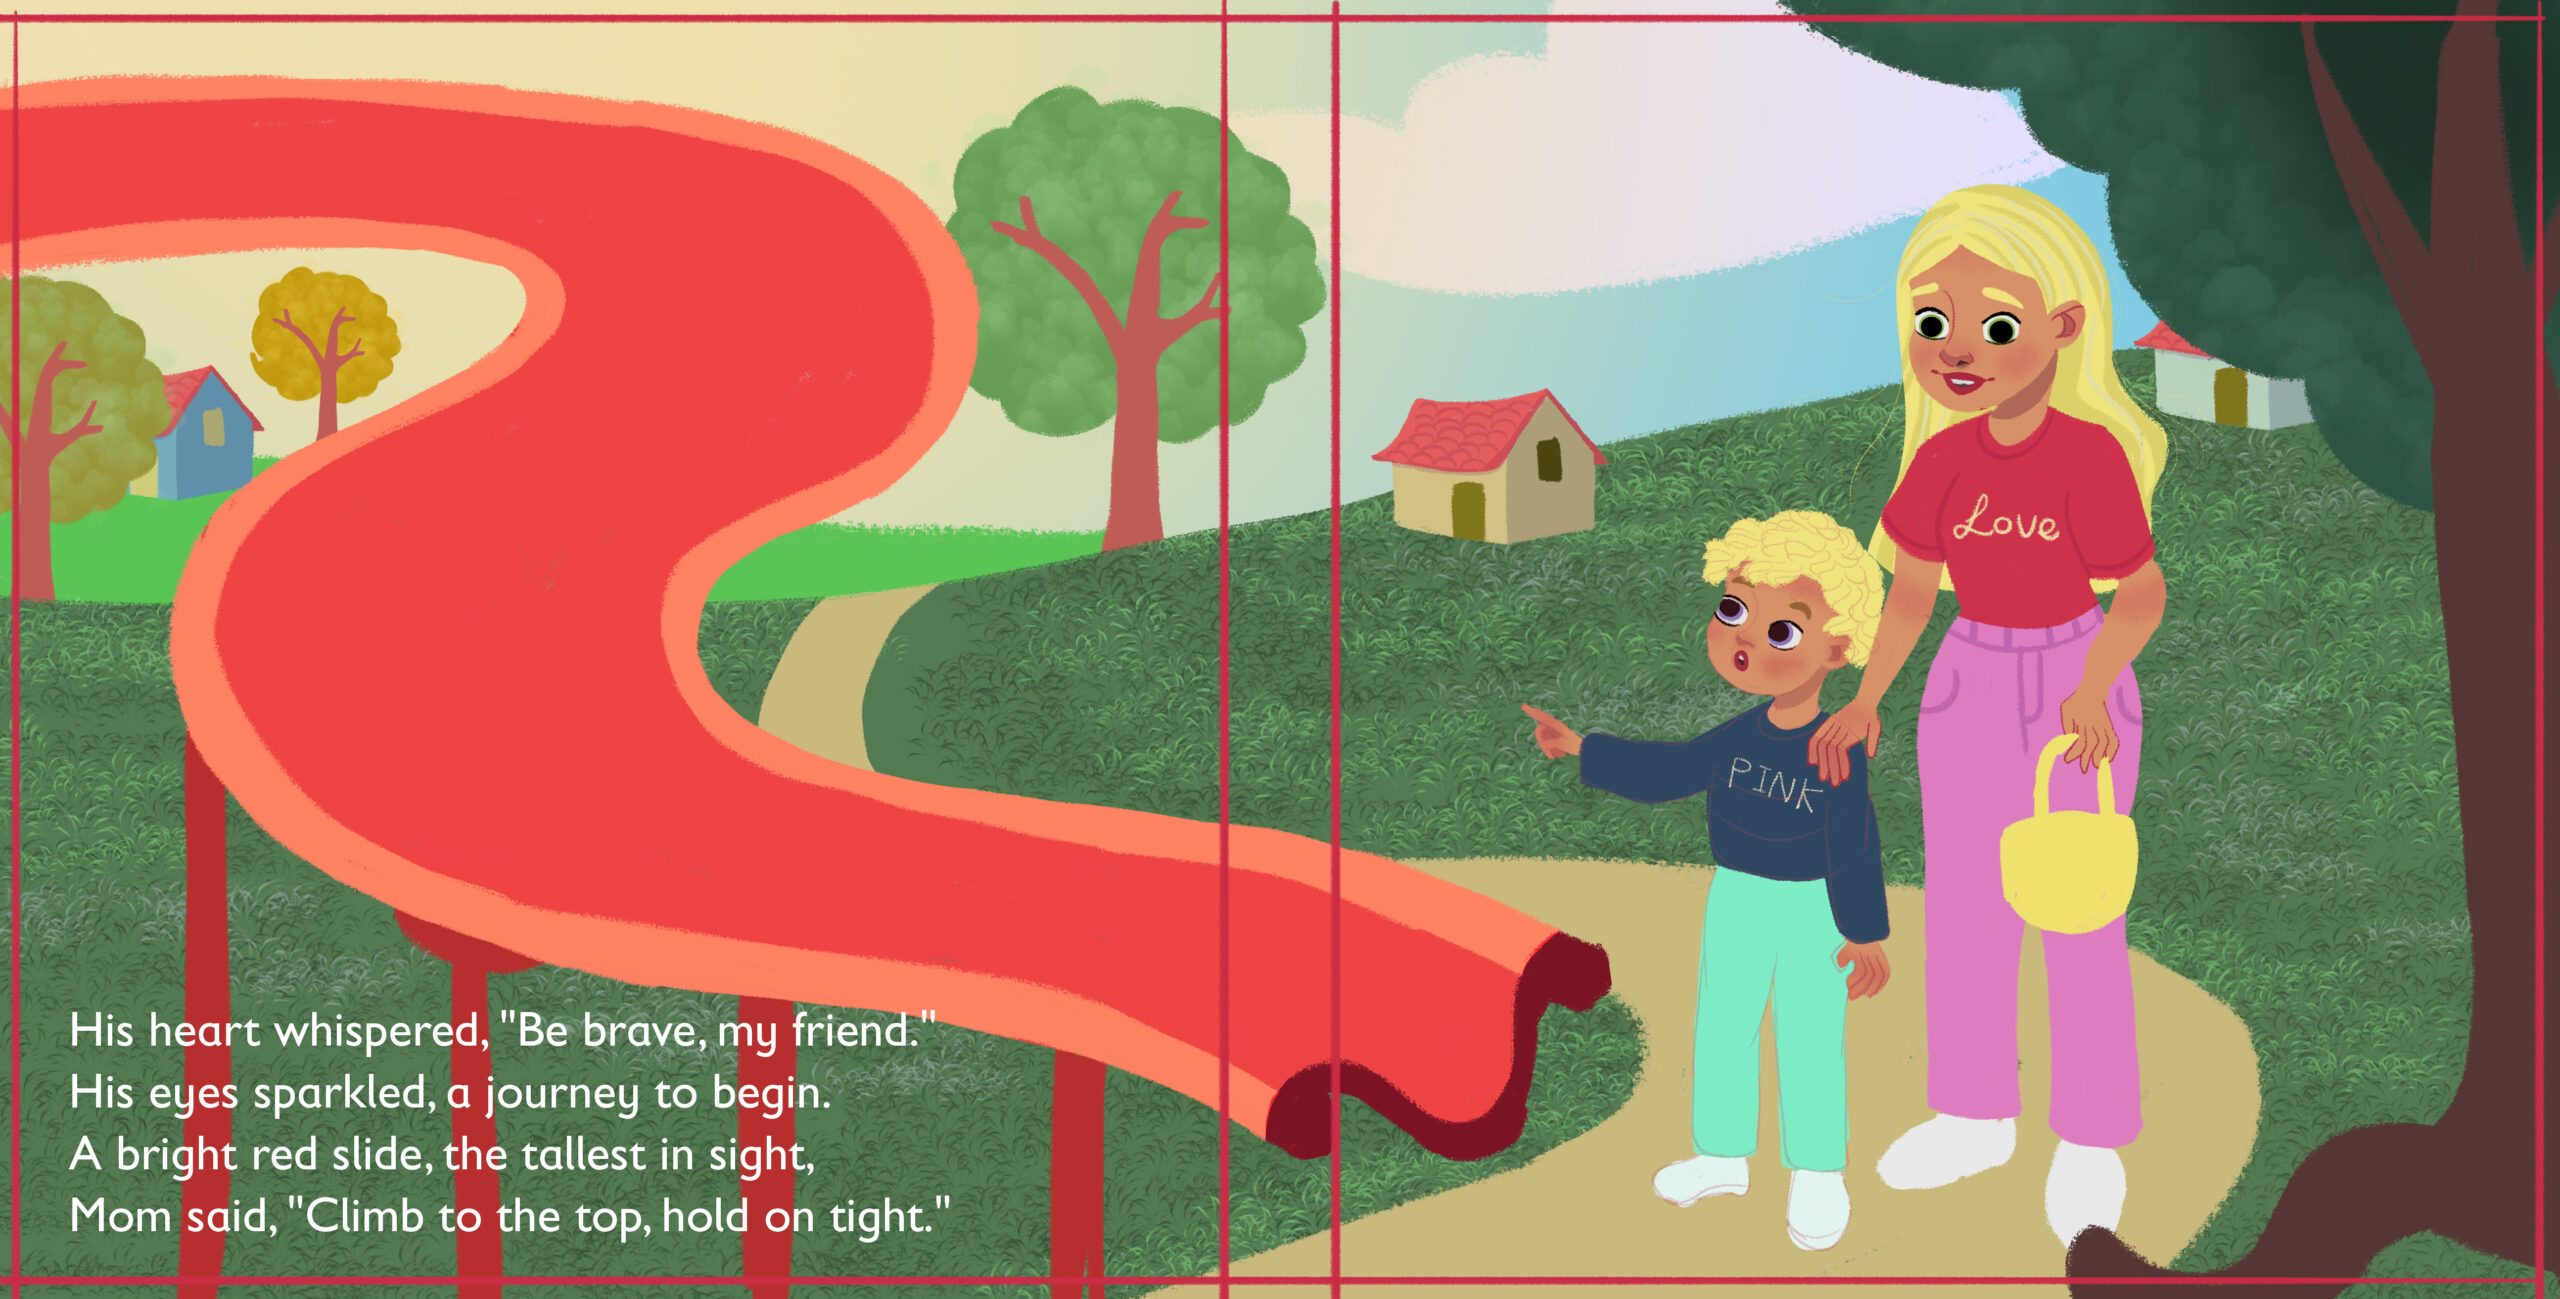
The background elements, such as trees and houses, were painted with a slightly textured and soft approach to keep the focus on the main subjects while adding to the richness of the scene.
5. Character Details and Facial Expressions
Facial expressions are key in storytelling illustrations. I carefully painted the child’s wide-eyed excitement and the mother’s gentle smile, making sure their emotions were clear. Small details, like the child’s slightly open mouth or the mother’s gentle grip on their shoulder, added to the authenticity of the scene.
To make the characters pop, I added subtle rim lighting and defined their features with crisp linework where necessary.
6. Final Touches and Adjustments
In the last stage, I made final adjustments to colors, contrast, and composition. I ensured the lighting was consistent and added tiny details like grass texture, soft clouds, and background elements to enhance the overall look. Finally, I checked the text placement to ensure readability and harmony with the illustration.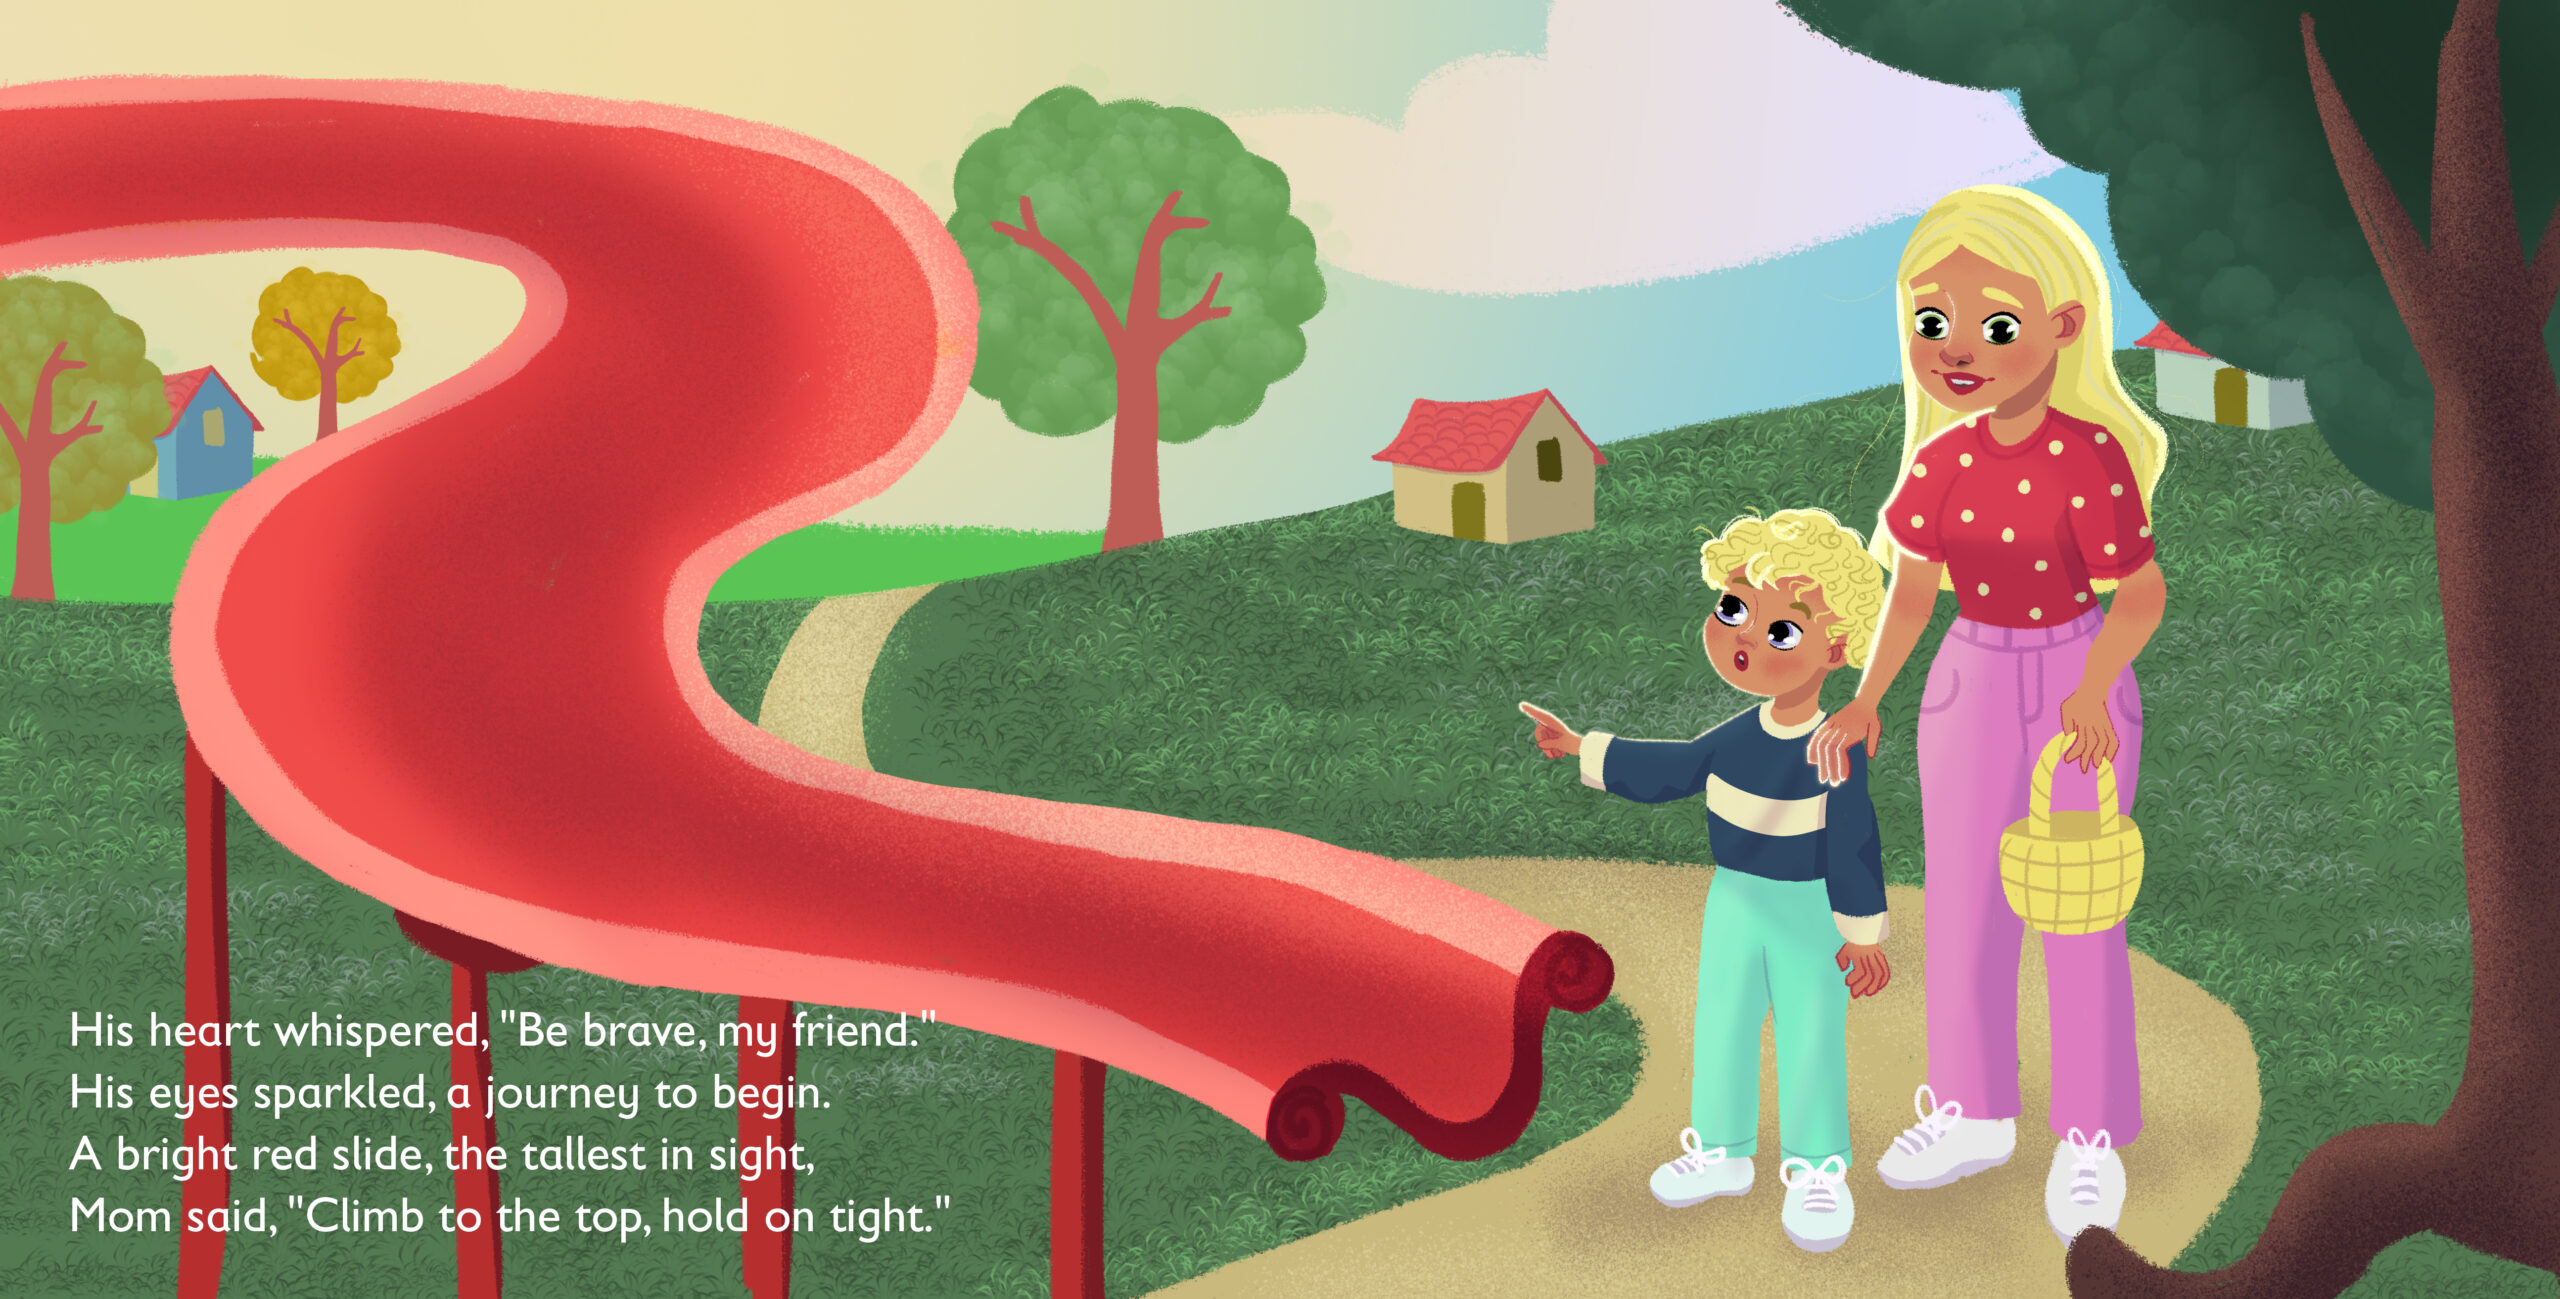
Final Thoughts
Creating this children’s book spread was a rewarding experience, allowing me to bring a story to life through art. From the initial idea to the final illustration, each step played a vital role in making the scene engaging and immersive.
I hope you enjoyed this behind-the-scenes look at my illustration process! If you’re interested in more insights into children’s book illustrations, stay tuned for upcoming posts. Let me know in the comments—what’s your favorite part of an illustrated book?