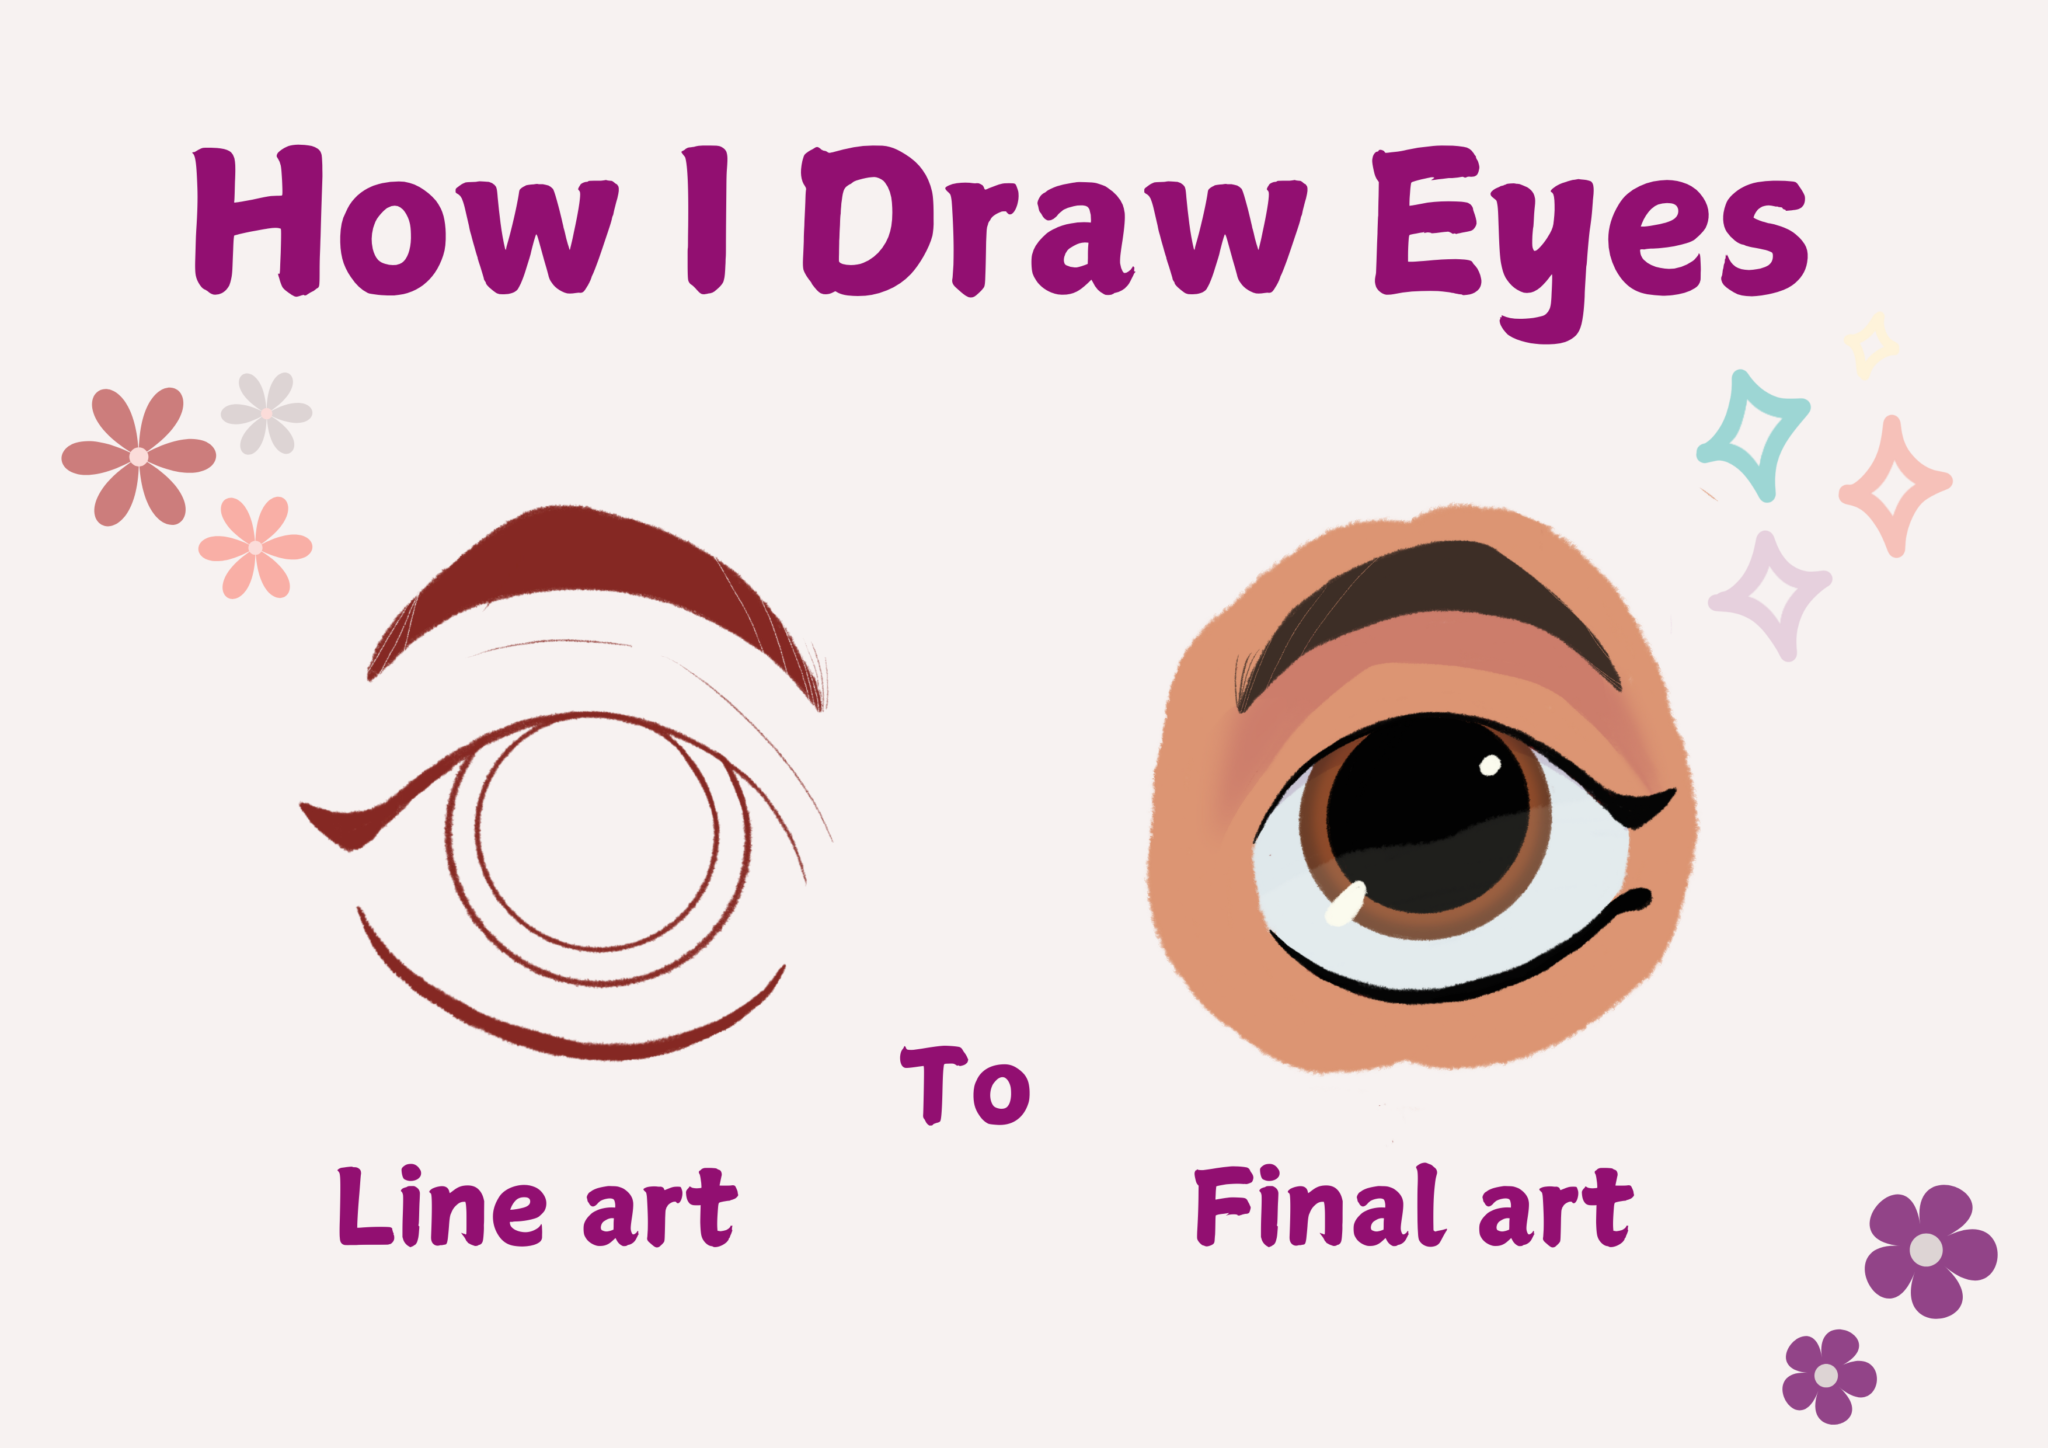
Hello, creative friends! In this tutorial, I’m excited to walk you through how I draw female eyes and my process for coloring cartoon eyes. I’ll cover everything from the initial linework to adding color and shading step by step. Let’s bring those eyes to life!
1. Outline the Basic Eye Shape
When creating cartoon eyes, I start with a simple oval or circular shape, choosing a form that aligns with the character’s personality.
Once the basic shape is in place, I sketch in the upper and lower eyelids. Usually, I begin with the upper eyelid and then move to the lower eyelid, curving each slightly to follow the eye’s overall shape. These lids are key for adding structure and expression, giving the eyes a realistic look even in a cartoon style.
For my cartoon eyes, I like to keep it simple by drawing a small lash at the outer corner of the upper eyelid. This little touch makes the eye look more cartoonish without making it overly realistic.
Next, I draw the iris and the pupil. I tend to start by placing the iris, ensuring it’s centered and proportionate, and then add the smaller circle for the pupil within it. Then, I draw the Eyebrow! Even the simplest eyebrow shape can add loads of personality. Depending on the character, I may exaggerate the angle or curve of the brows to convey emotion, from raised brows for surprise to angled brows for determination or focus.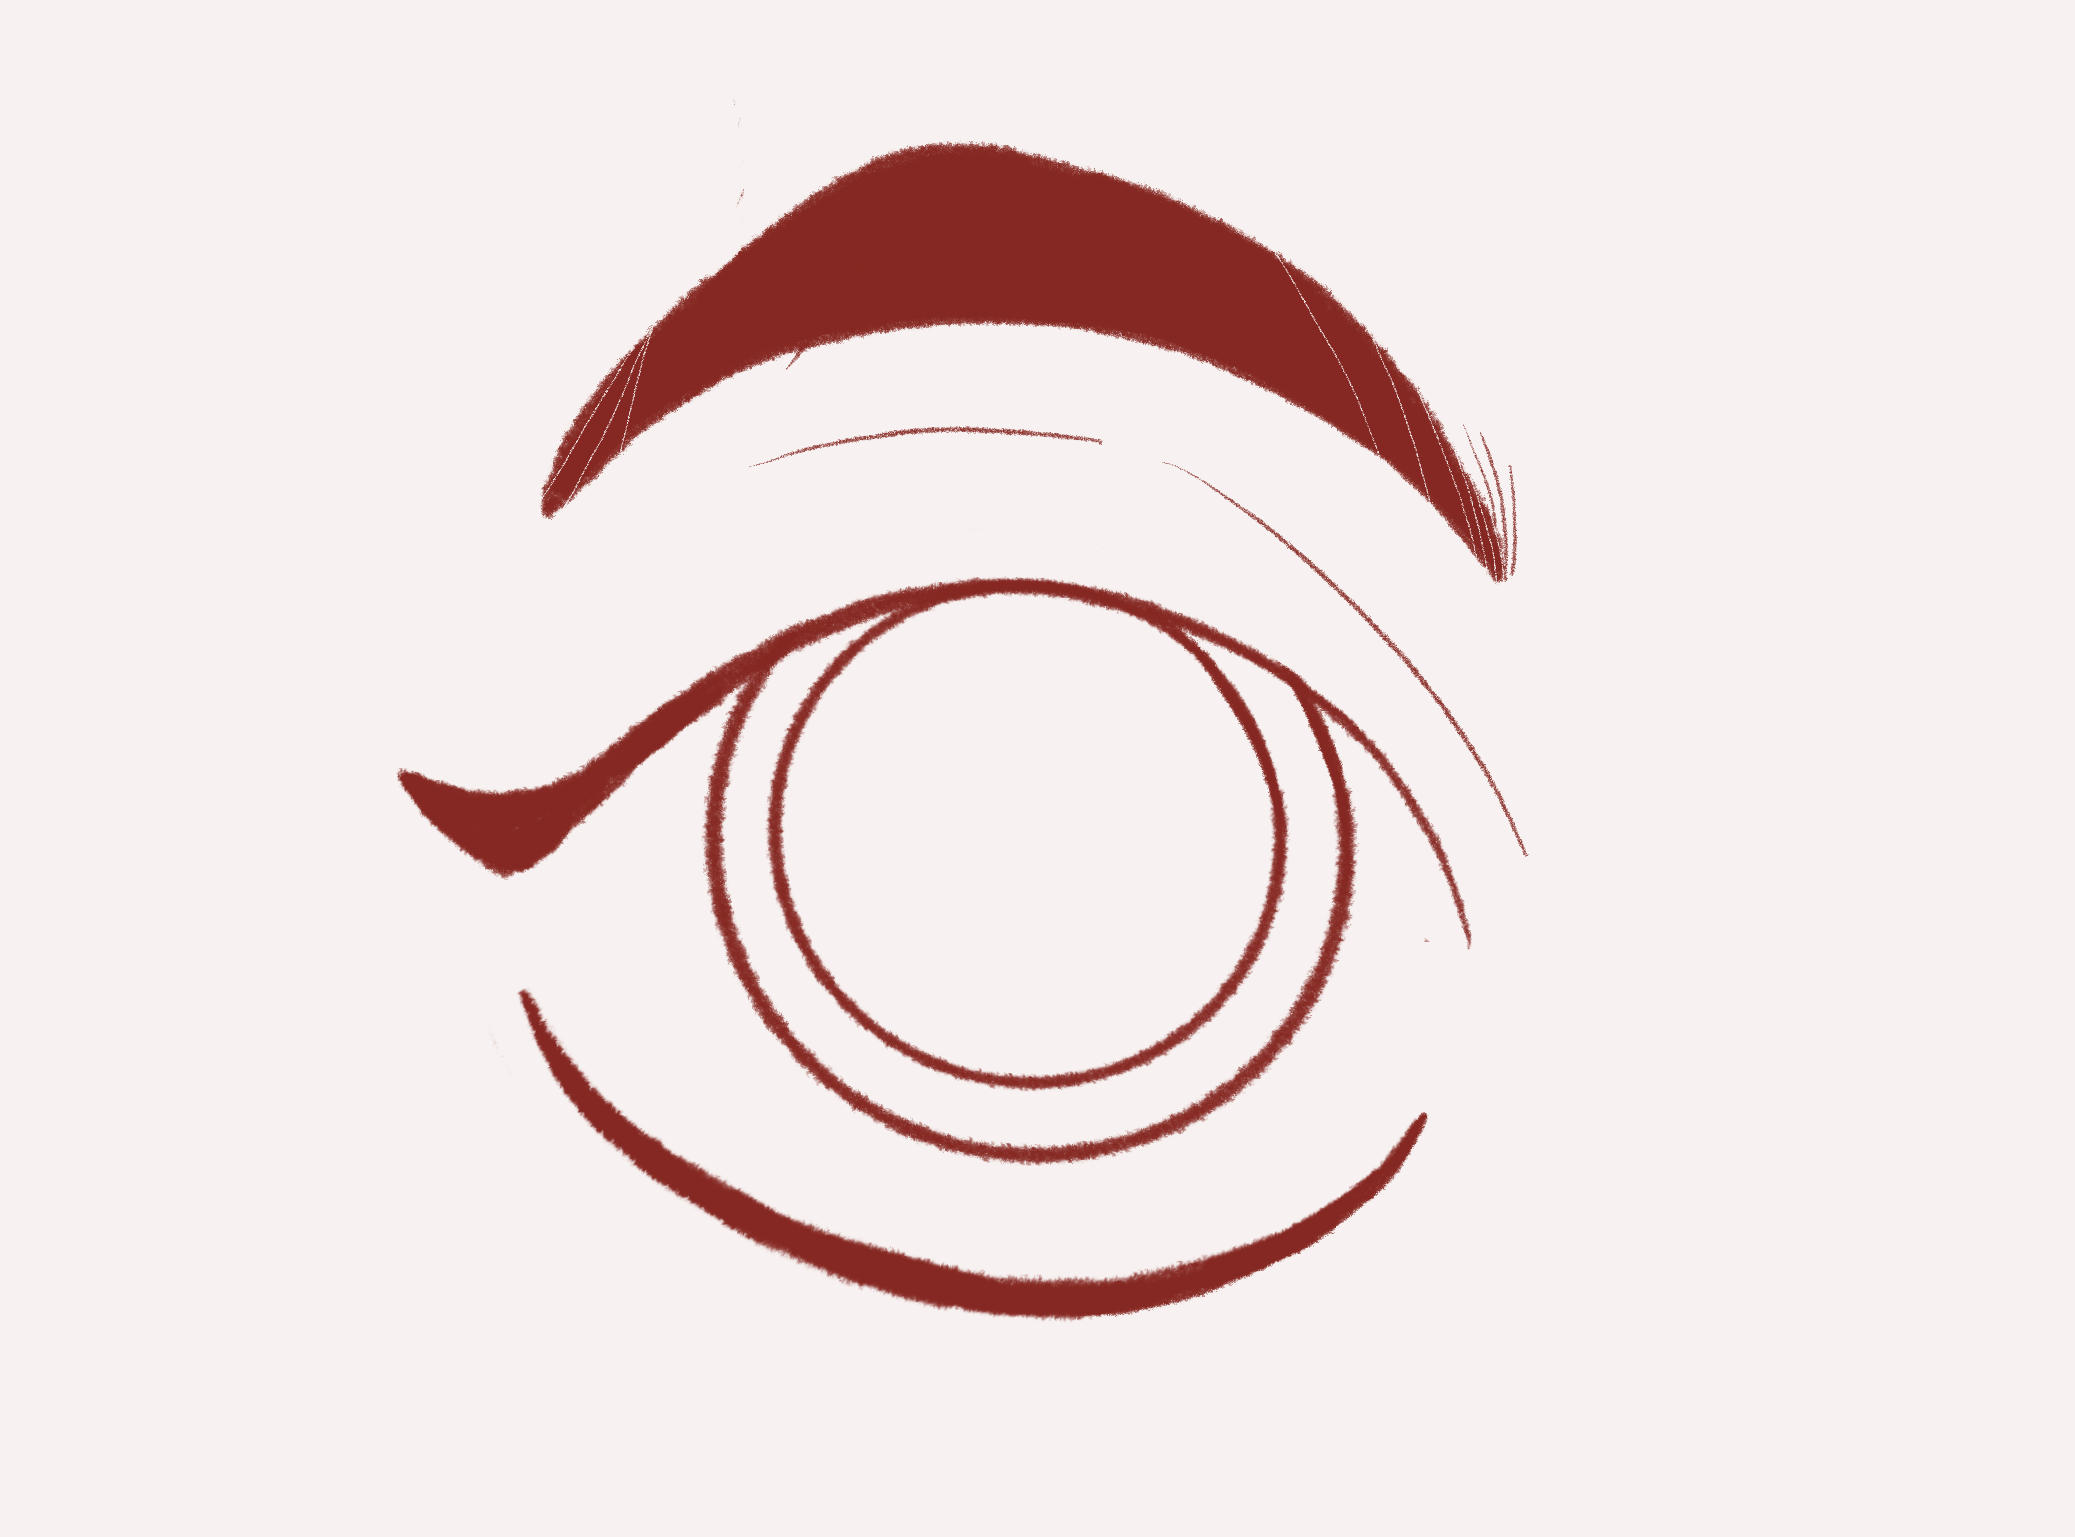
2. Choosing and Applying Base Colors
Once I’m satisfied with the outline, it’s time to add color!Once I complete the linework, I start adding color with a step-by-step approach to ensure the eye looks vibrant and layered. Here’s how I do it:
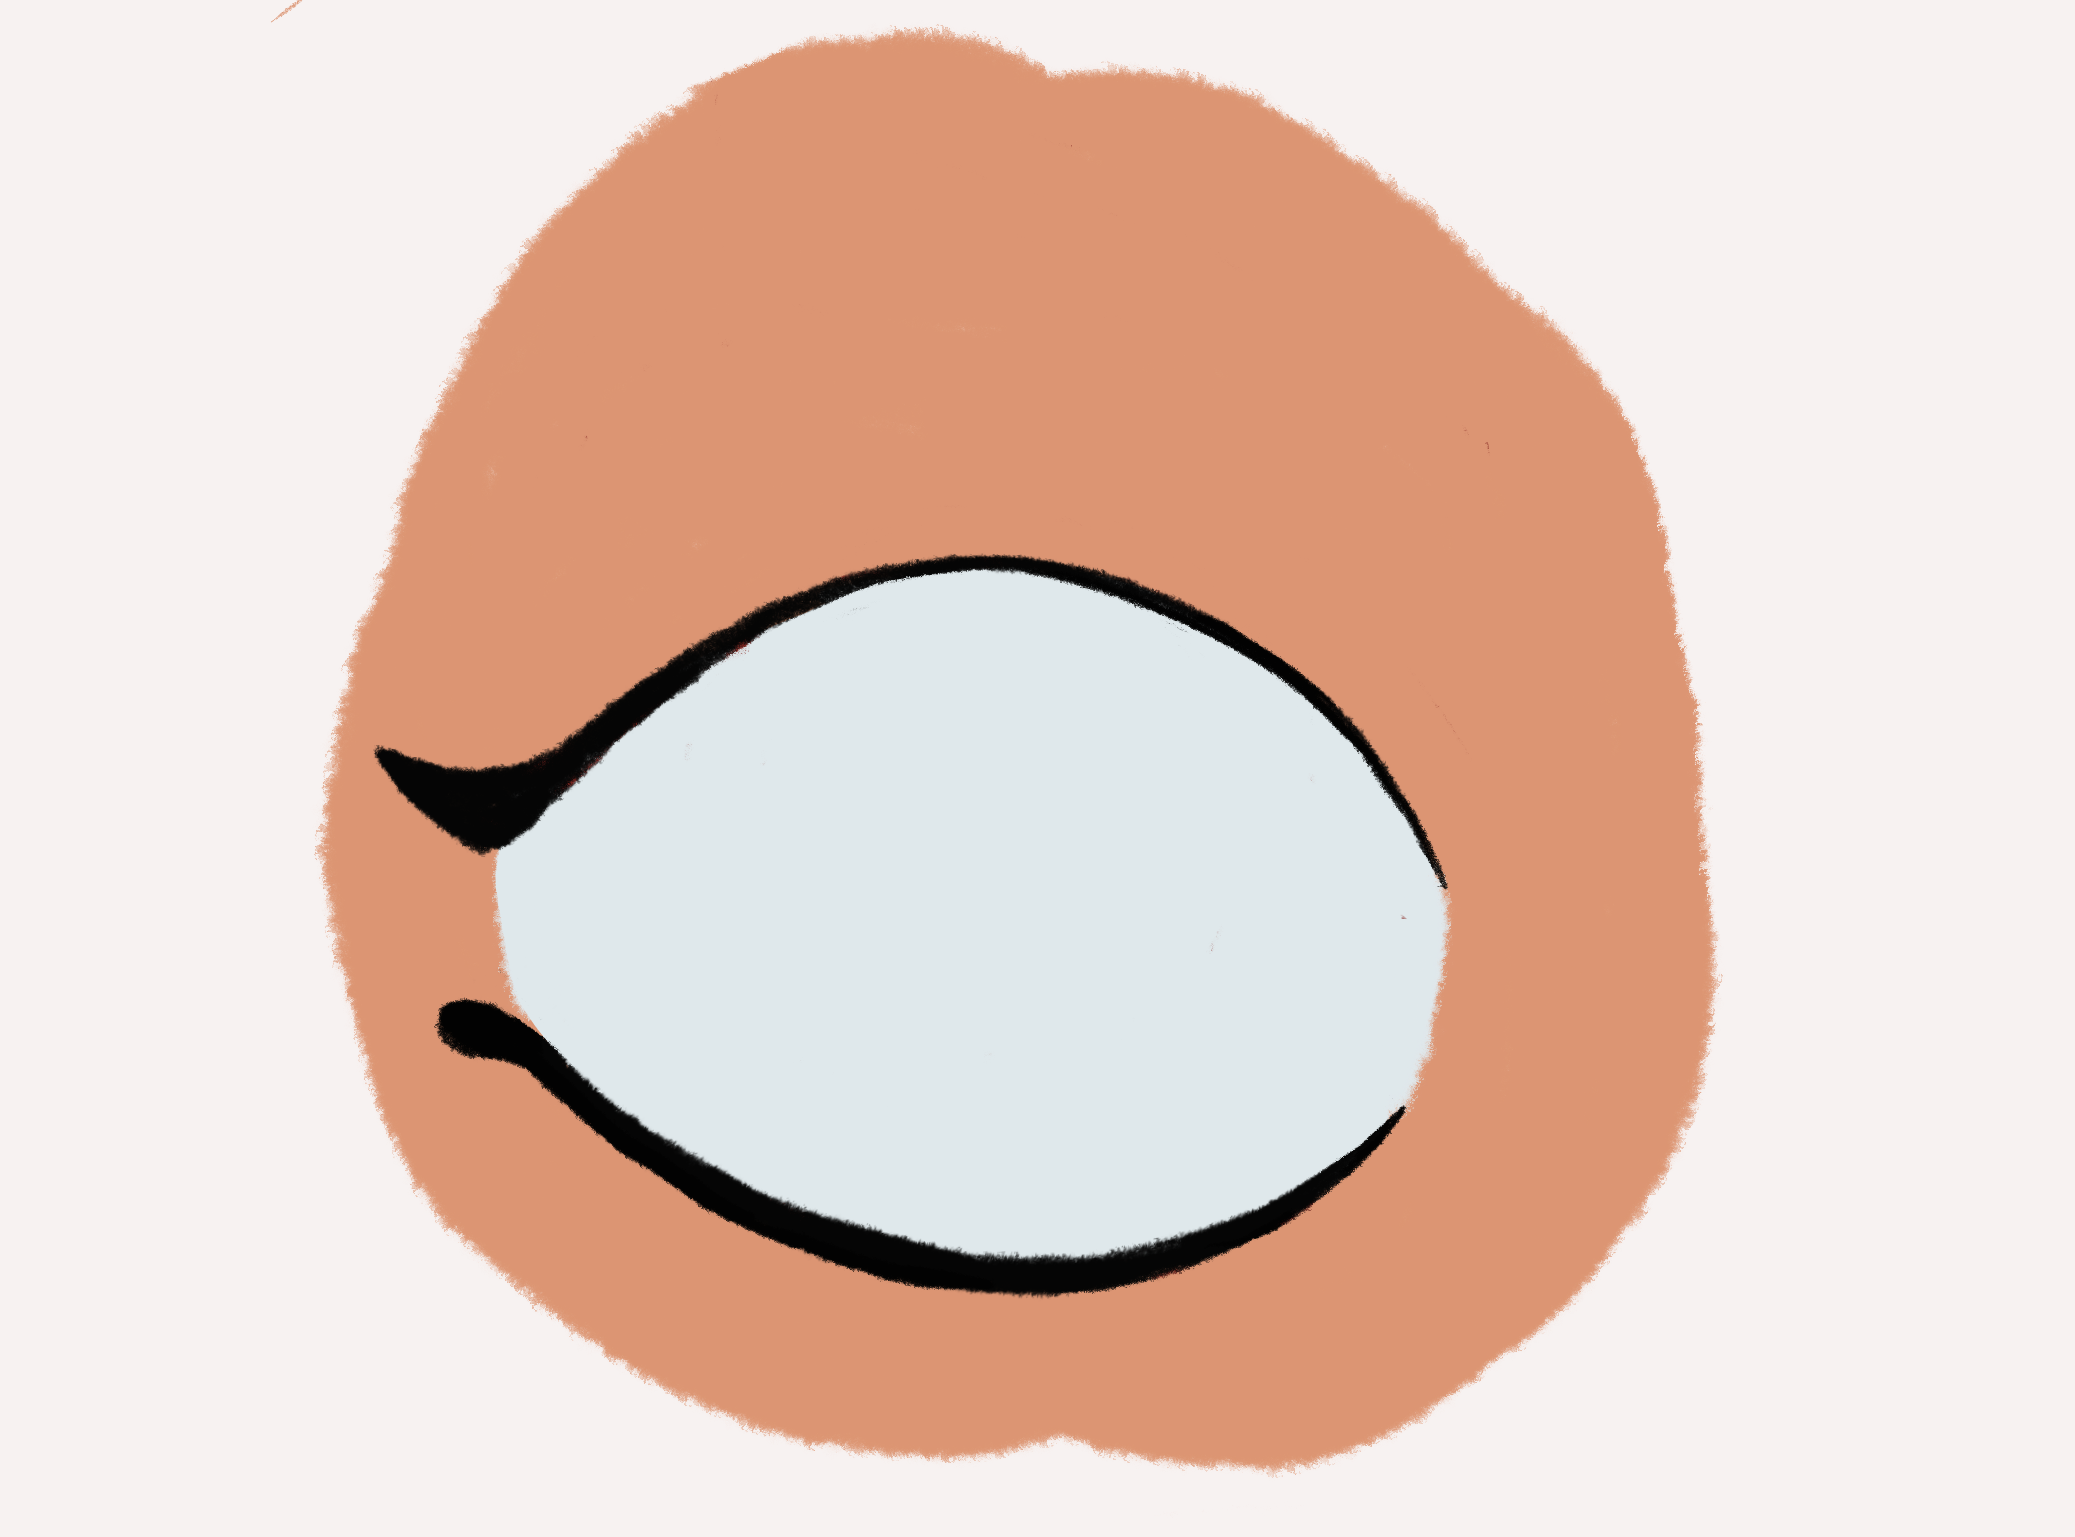
- Flattening and Adjusting Opacity: First, I group the linework layers, then flatten them and lower the opacity. This creates a subtle guide for coloring without the outlines being too bold or distracting.
- Coloring the Sclera (Eye White): I create a new layer underneath the linework and use a white brush to fill in the sclera. In Procreate, I often use the Color Drop tool for a quick and even fill. This layer makes the eye look clean and bright.
- Adding Color to the Eyelids, Eyelashes, and Eyebrow: On a separate layer above the sclera, I color the eyelids, eyelashes, and eyebrows. I usually choose black to keep it bold and sharp, making the character’s expression pop. This is where I like to add any extra details or shapes to the lashes if needed.
- Base Color for the Iris: I create another new layer for the iris and start by filling it with a solid, plain color that suits the character’s personality. I usually pick a base color for the iris that reflects the character’s personality.
For example:
Blues often suggest calmness or mystery.
Greens feel playful and unique.
Browns give warmth or an earthier feel. - Adding the Pupil: On a new layer above the iris, I add the pupil. I select a solid black color to make the pupil stand out clearly. The contrast between the pupil and the gradient iris helps draw attention to the eyes, adding a touch of intensity and focus.
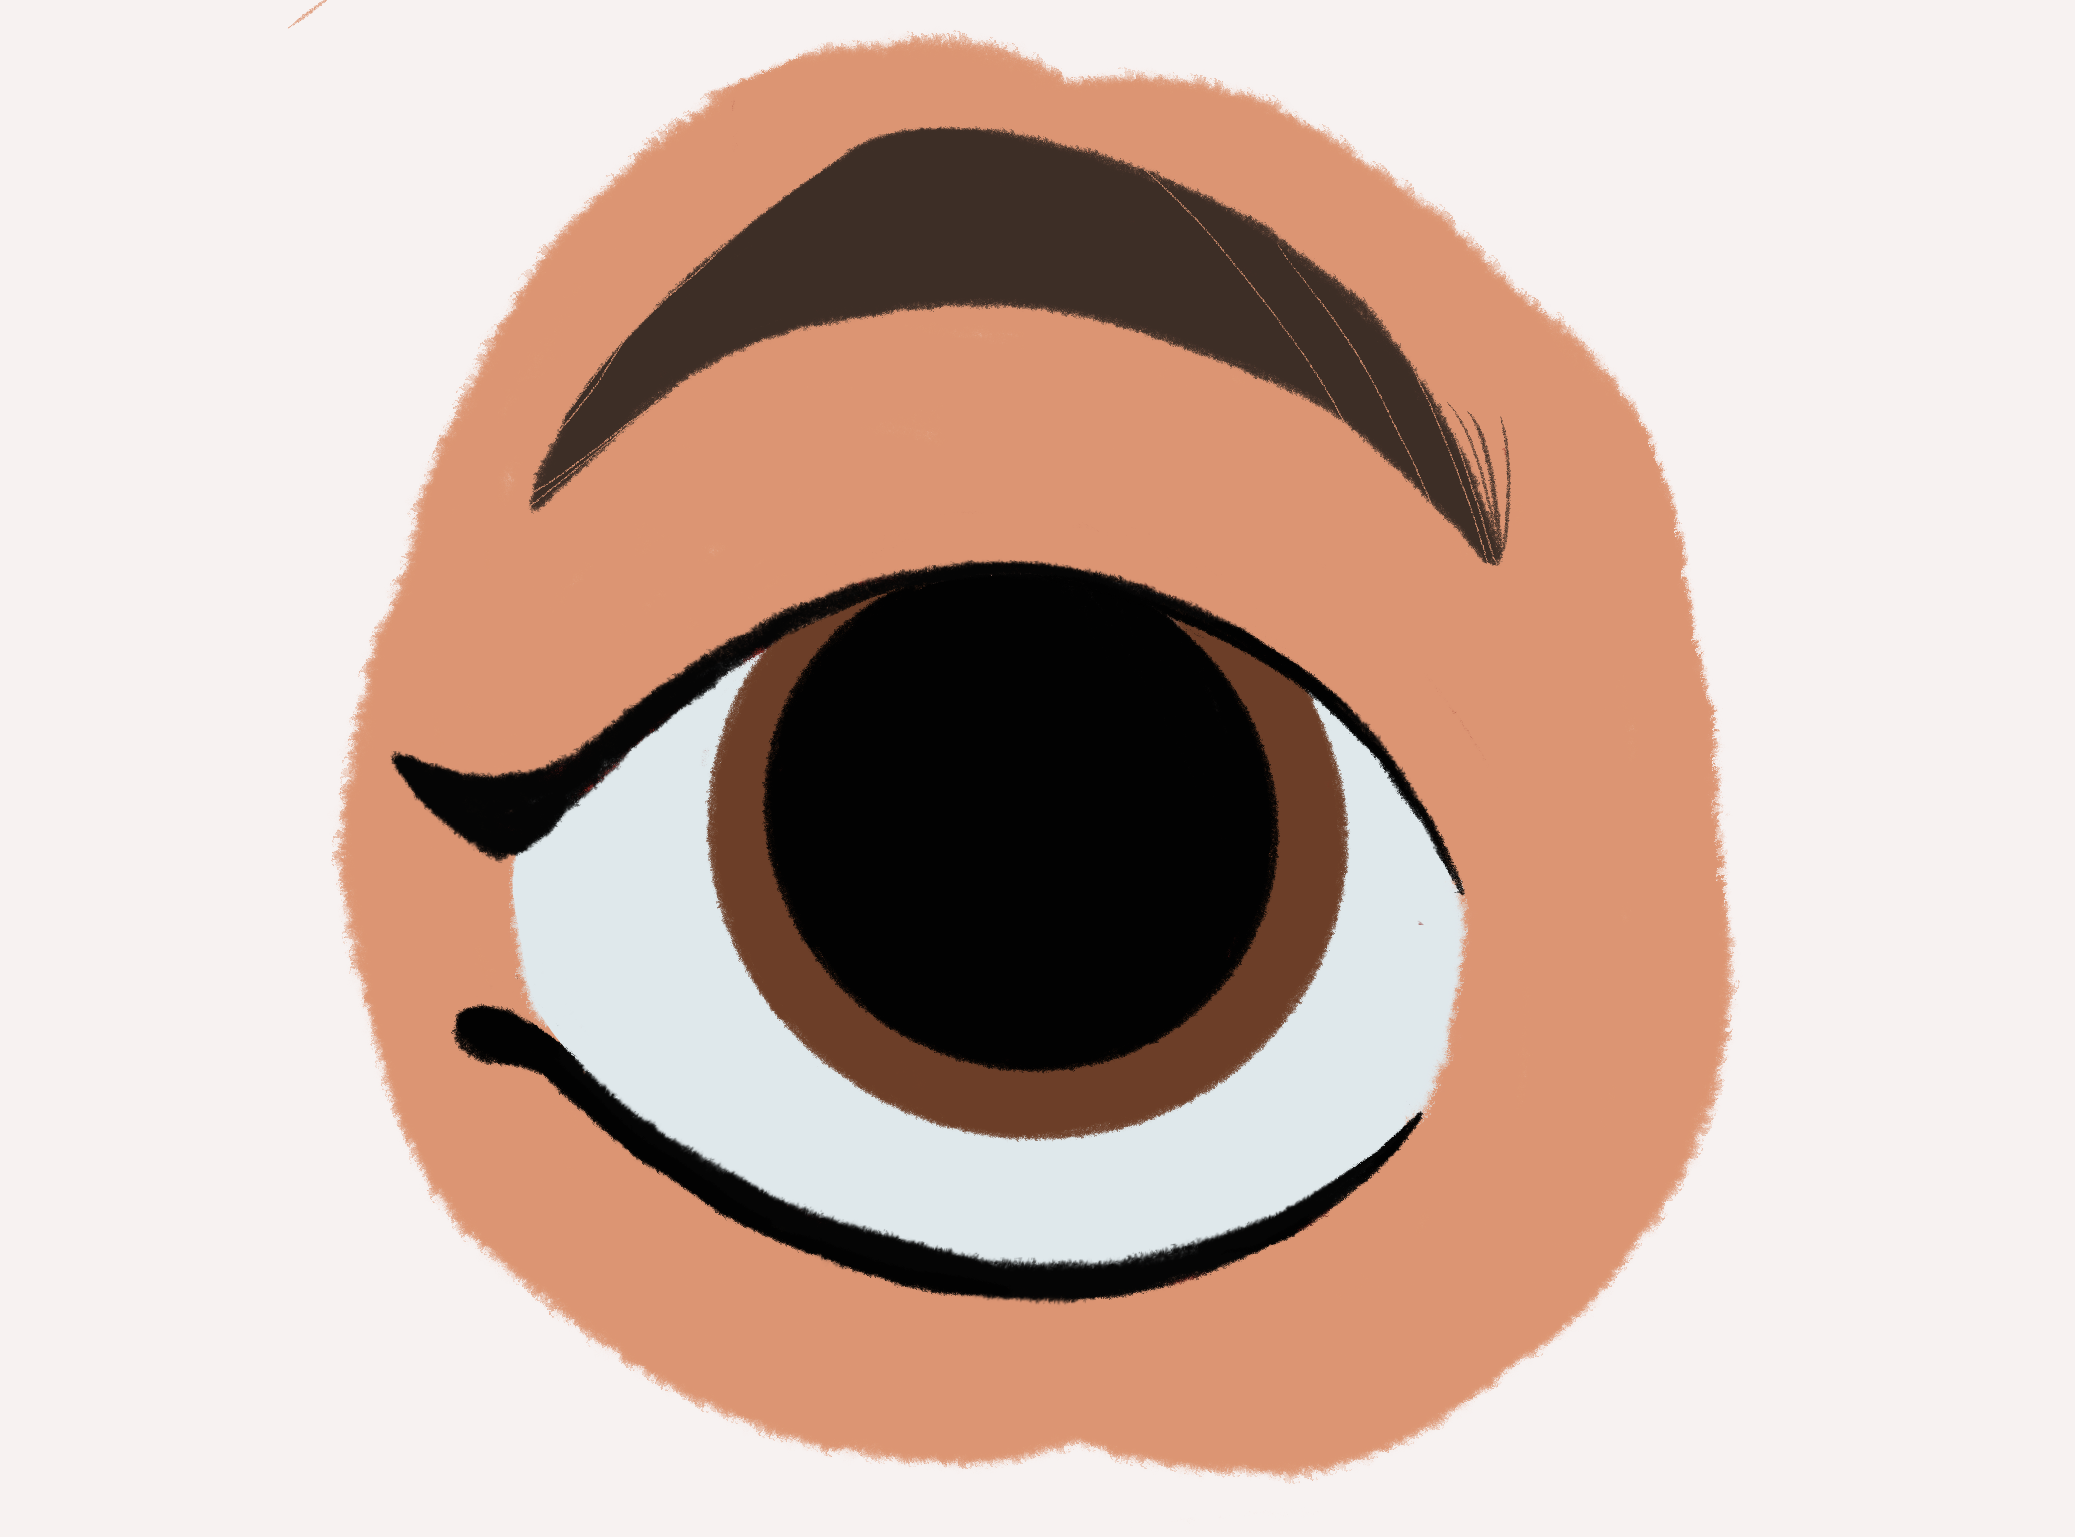
Using separate layers for each color element gives me the flexibility to adjust individual parts as needed. This layered approach helps build up depth, making the eyes look lively and expressive.
3. Shading for Depth and Dimension
Now, we get to the fun part—adding depth! To make the eyes look lively, I create a gradient effect by shading the top or outer edges with a slightly lighter or darker color. This gradient effect adds dimension and makes the iris look more realistic, even in a cartoon style.
Next, I choose a purple shade to color the shadow area on the eyelid. Then, I set the layer to “multiply” mode, which allows the shadow to blend naturally with the skin tone beneath. Finally, I adjust the opacity until I’m happy with the softness and depth of the shading.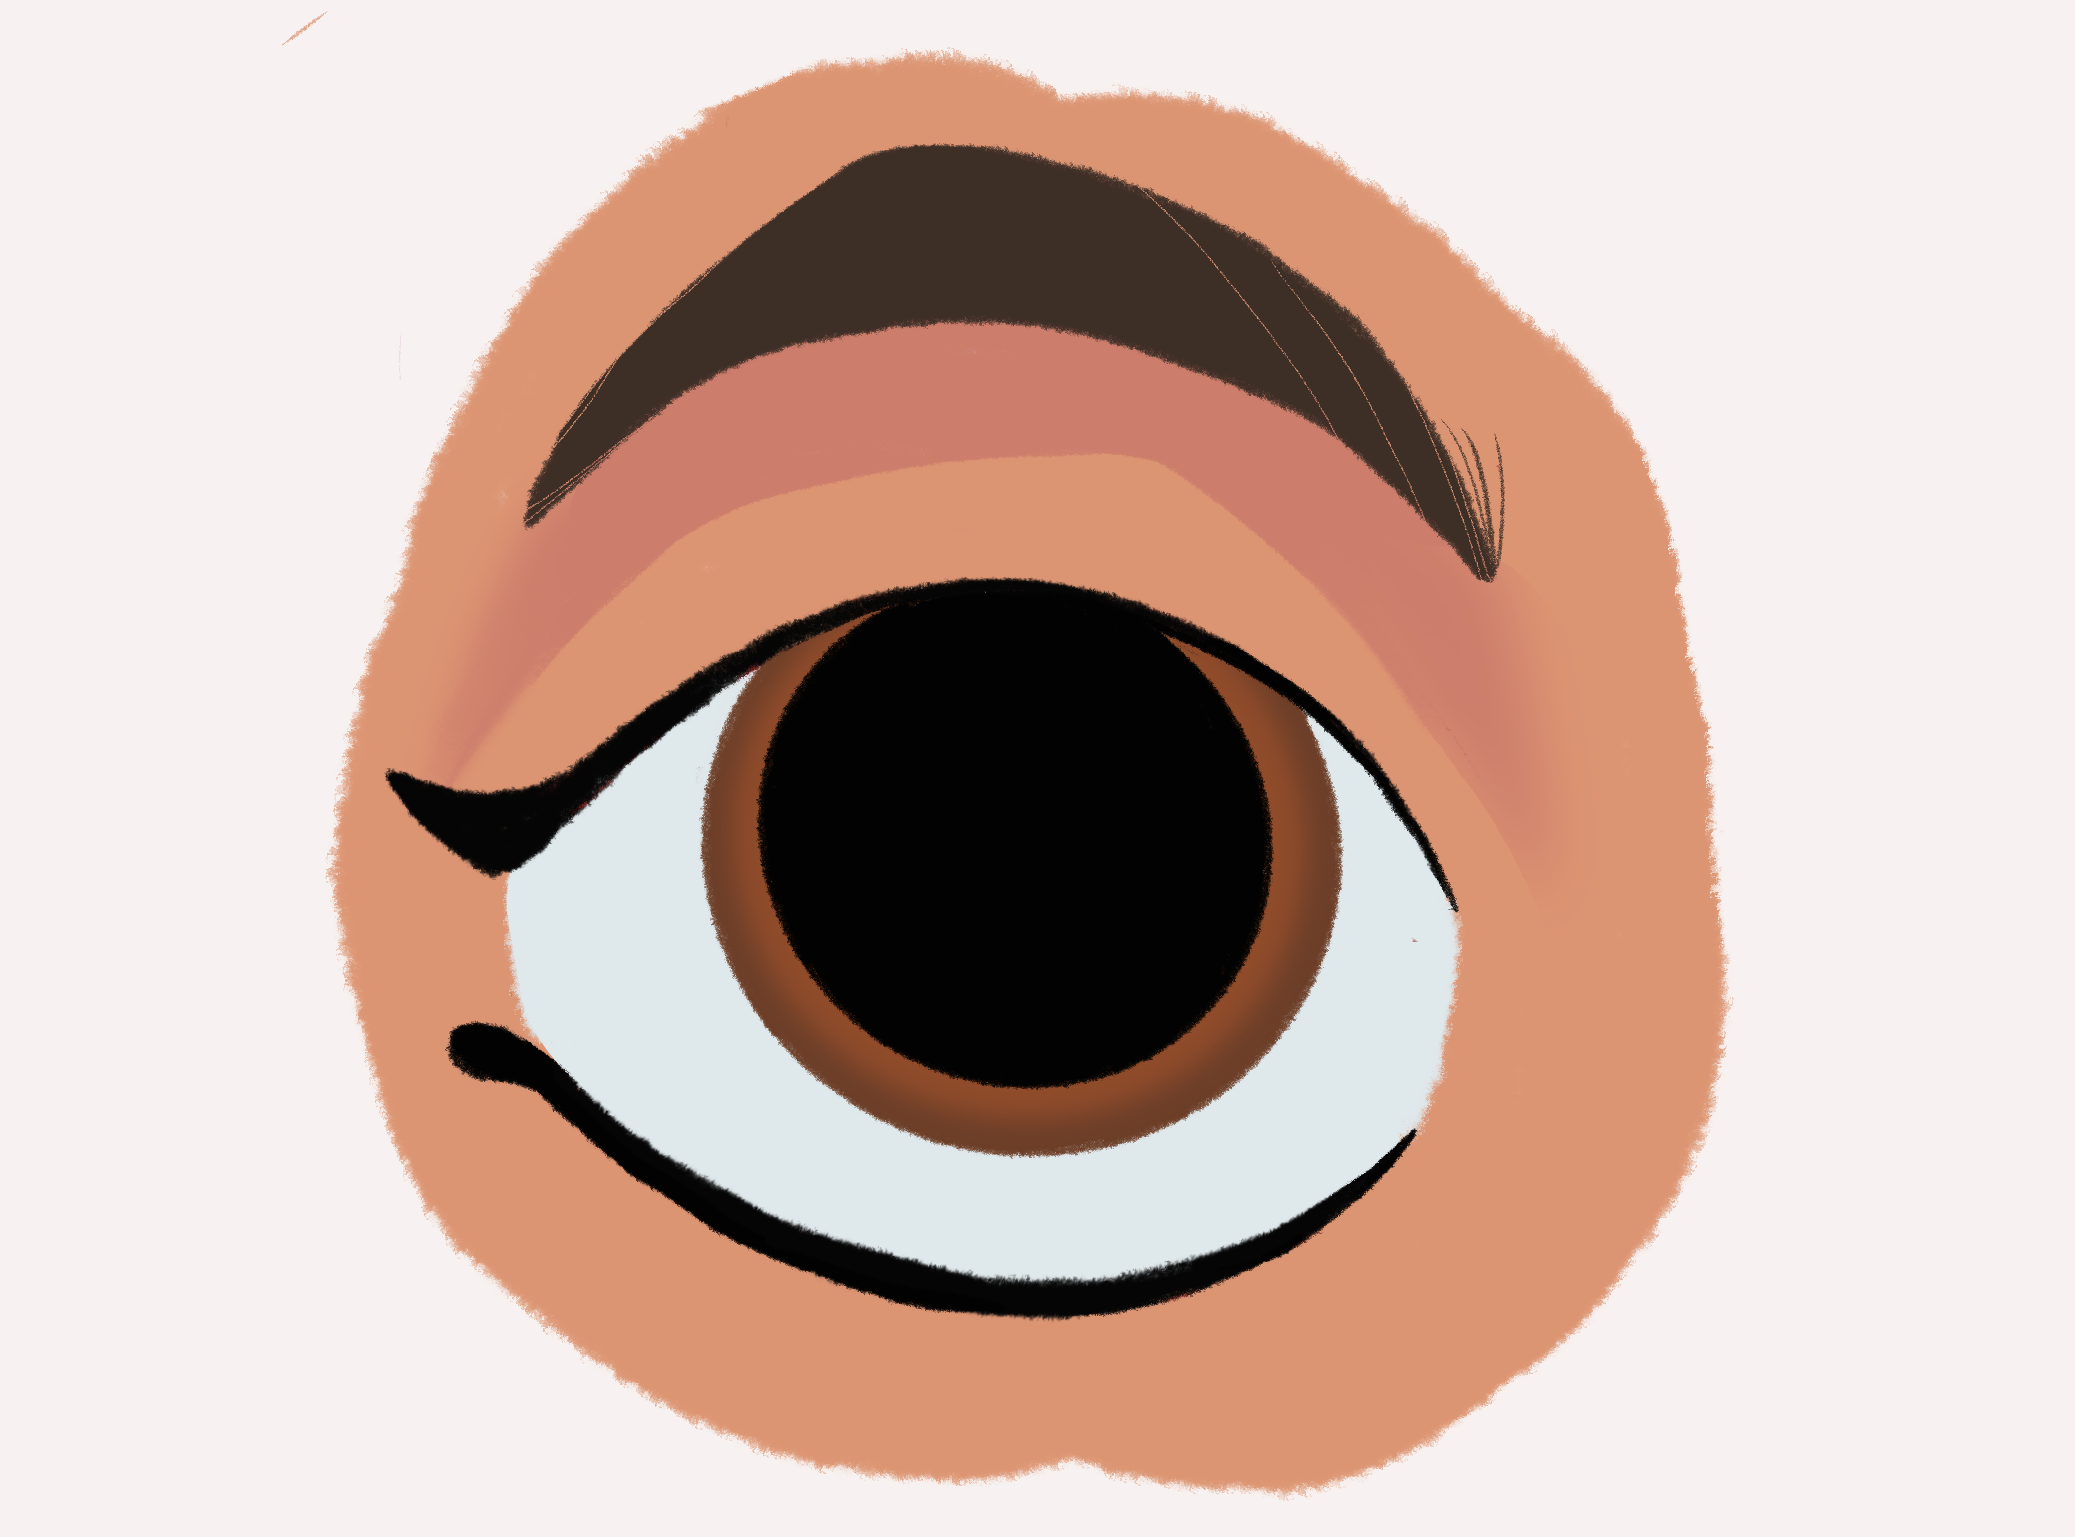
4. Highlighting and Final Touches
For this final step, I add the finishing touches that give the eyes a realistic, 3D look. To create the highlight, I start by making a new layer on top of all the other layers, placing it just below the eyelid layer. This way, the highlight looks like it’s part of the eye, with the eyelid partially covering it, which makes the effect look more natural.
I choose a sharp, yellowish-white tone and lightly color a small portion of the iris, typically at the upper edge of the eye where light would naturally hit. This highlight acts as a reflection, bringing out that shiny, glass-like quality of an eye. To make this highlight blend smoothly with the rest of the colors, I set the layer to “Screen” mode. This setting softens the highlight, allowing it to shine without overwhelming the base colors. I also lower the opacity slightly, so the reflection has a gentle glow rather than a harsh brightness.
Additionally, I like to add two small white dots on the iris to create a light reflection. These dots enhance the eye’s sense of depth and realism, making it look like light is bouncing off the surface. I place them in slightly different spots on the iris to mimic the natural way light would catch and reflect.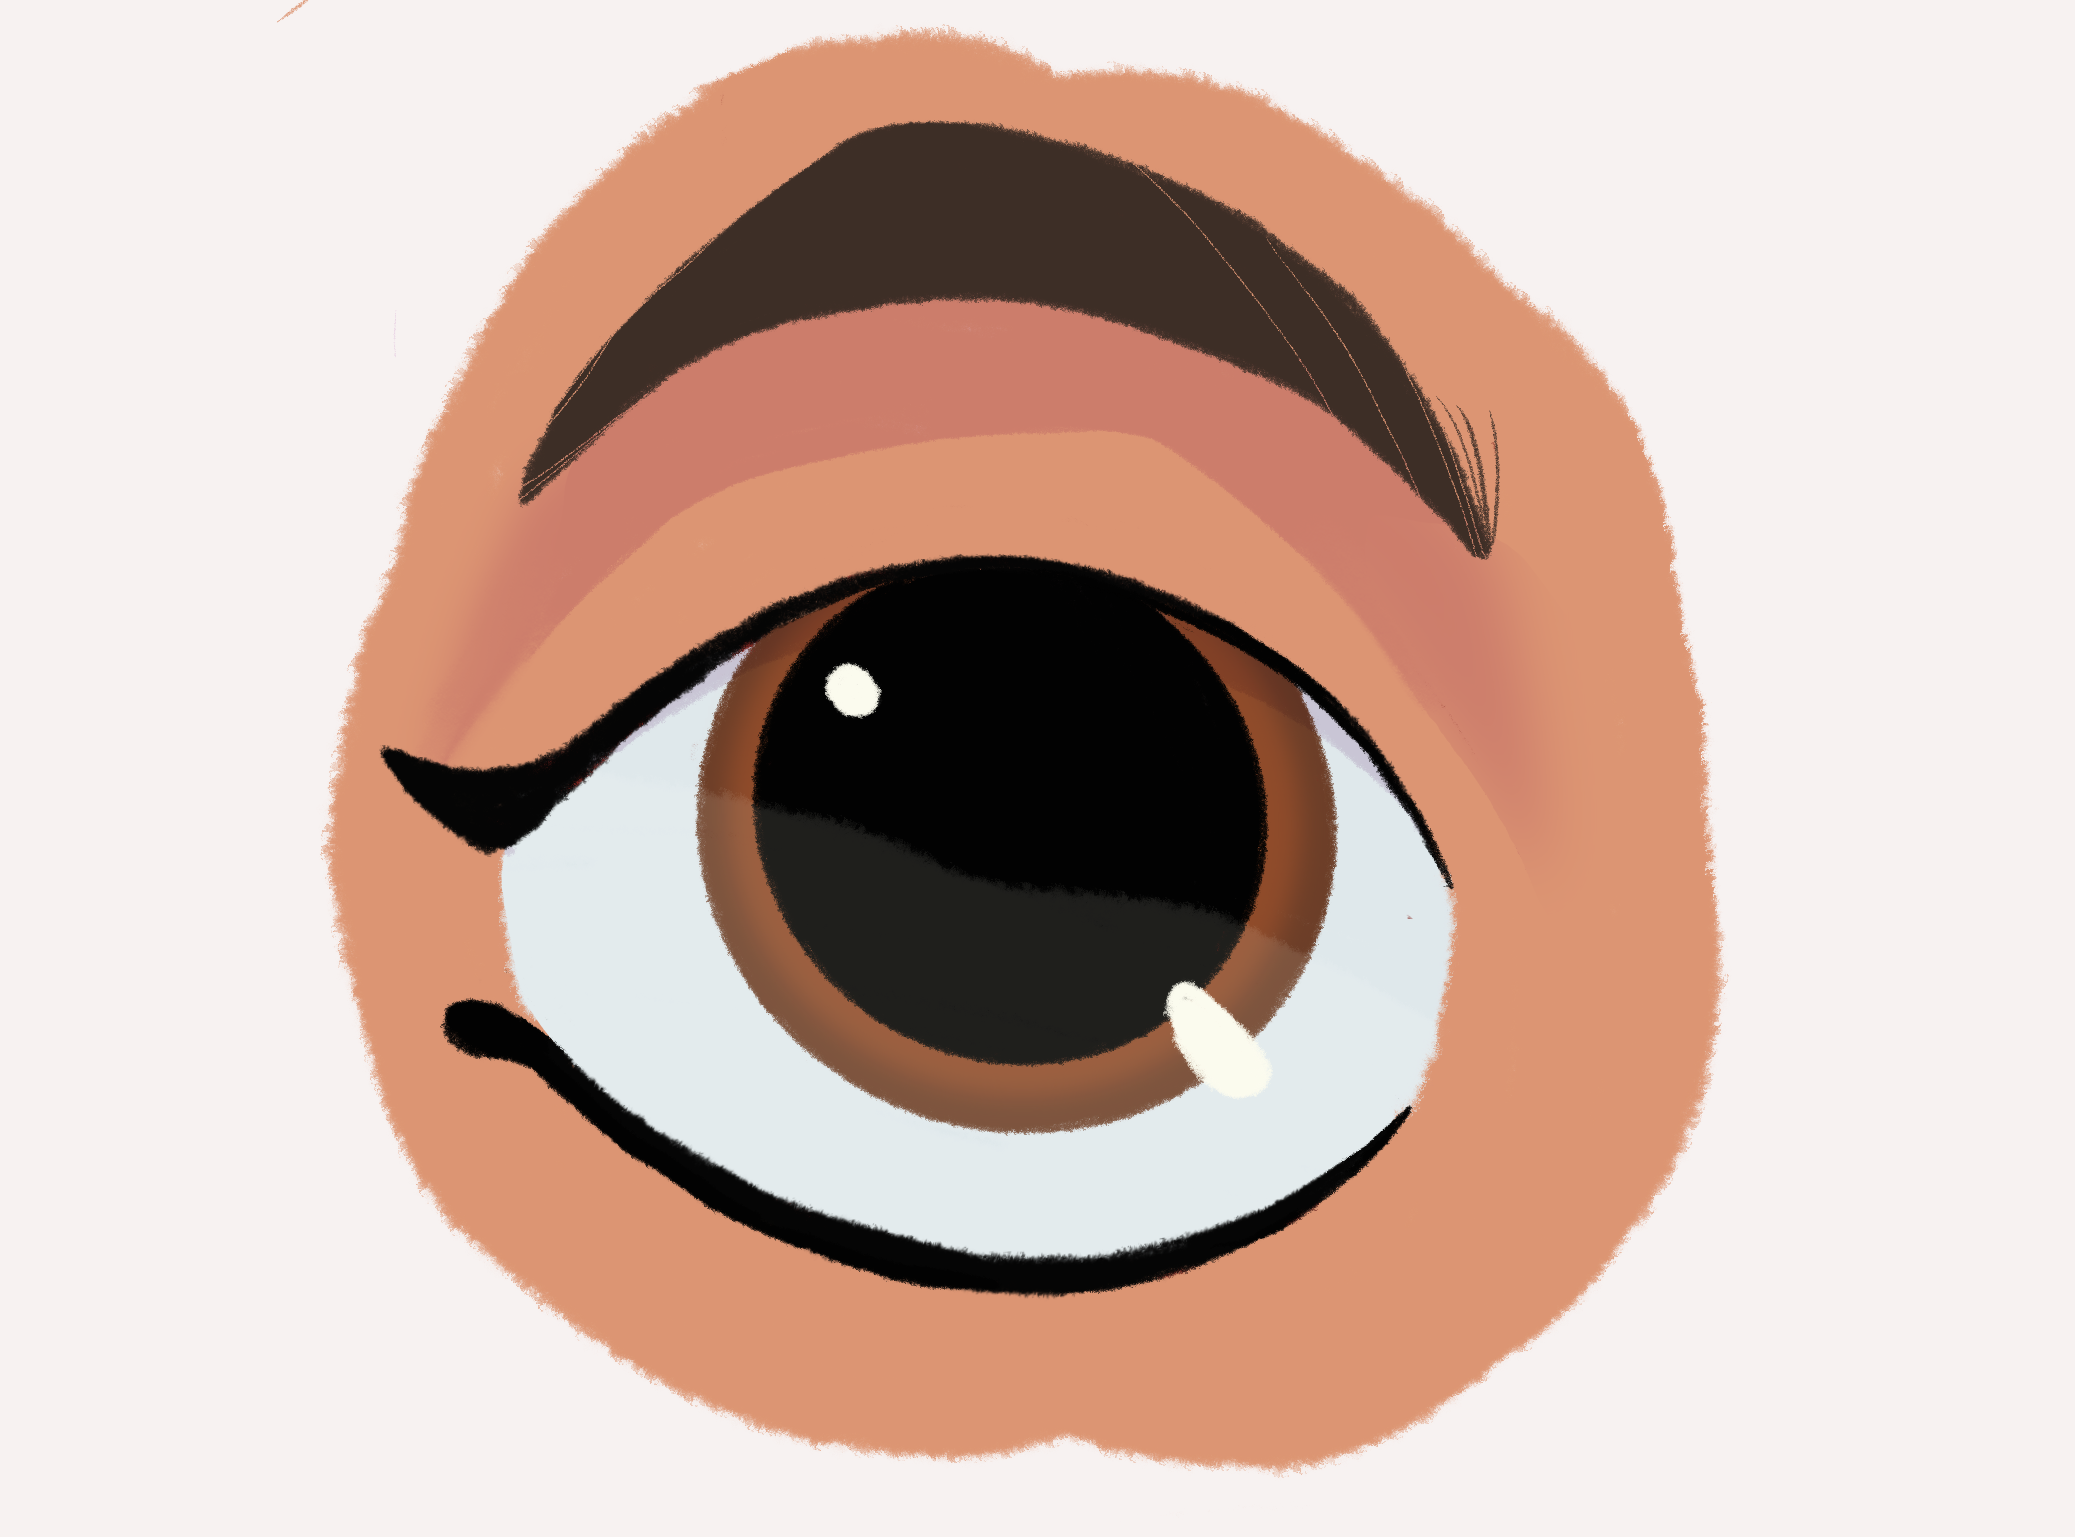
Thank you so much for following along with this tutorial! I hope you enjoyed learning how to bring cartoon eyes to life. I’m excited to share even more tips, tricks, and step-by-step guides with you. Make sure to stay tuned, because there’s a lot more art magic coming your way!
